Camaro Hood Scoop #10
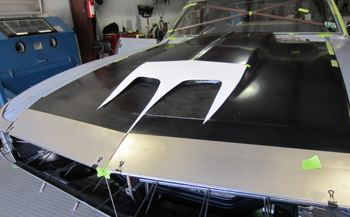
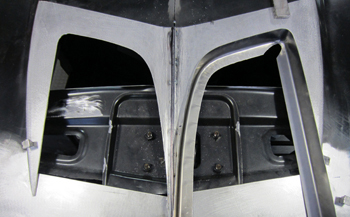
As seen I decided to stay with the Cowl Hood theme on this project although I wanted to snazz it up a bit. This picture shows the stock hood with a template of my new scoop being integrated.
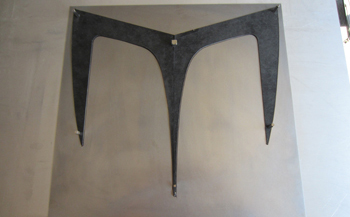
The template is ready and Sam lays it out on to 18 gauge steel.
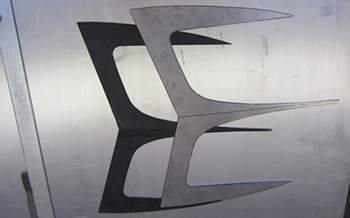
Now that it is cut out He can start the manipulation process.
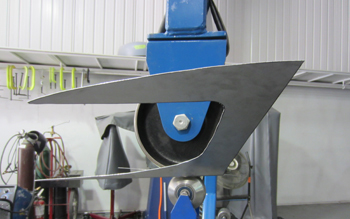
First we start on the English wheel and get the overall shape we want.
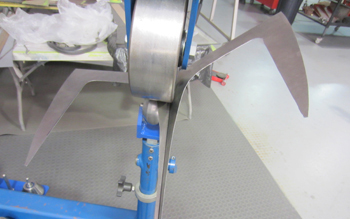
From this angle you can see how the edge of the large upper wheel holds the line and the small domed shape wheel below curves the metal to have a formed piece.
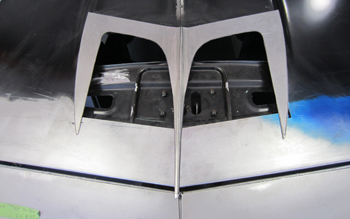
Sam lays it down on the hood and it is already taking on its vivid character.
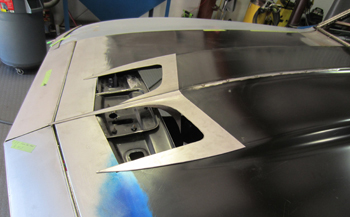
This angle shows it flowing off the cowl section.
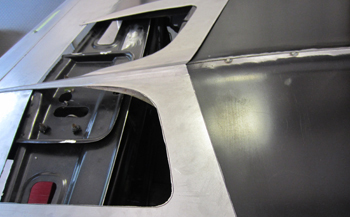
Close up shows how the center has already been modified a bit to remove some of the waterfall or birds beak that G.M. had in the stock hood.
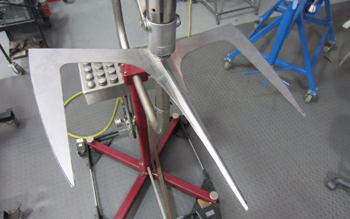
OK its planish time. With a custom die Sam ground to get the tight radius we needed it is really looking good.
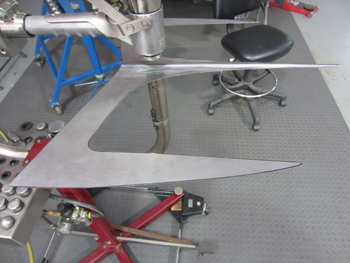
Up and down the length of it to get it to flow and maintain the curve in the center.
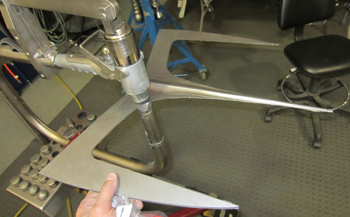
The flats need curved also.
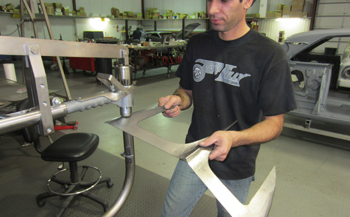
Sammy getting busy, He is rounding off the sides so it will flow in to the existing cowl hood shape.
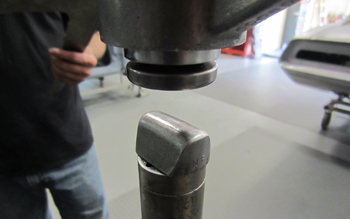
Here is the custom ground die Sam made. Sometimes you have to make your own because the factory does do not offer the shapes you need for custom bodied cars.
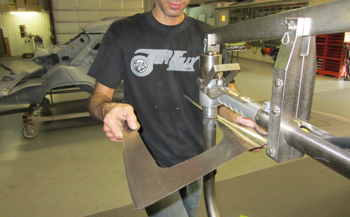
Metal in the hands of the Bully, Is like paint in the hands of Angelo.
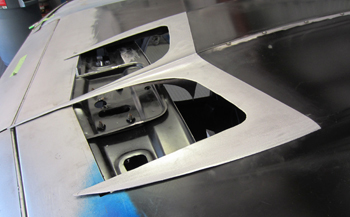
Sweet, I am pleased with the outer shape so time to build the center.
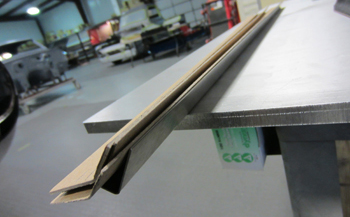
Sam has some interesting ways of shaping things like this 90 degree 18 gauge piece of steel bent with chip board layers on it to allow a soft inside edge.
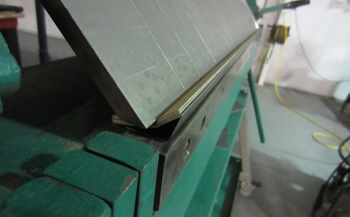
Slight pressure
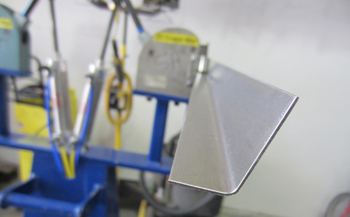
Proof is in the pudding as they say.
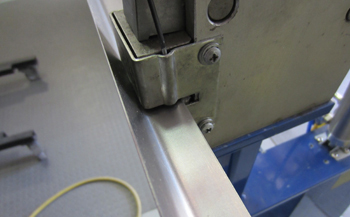
Stretcher will take it the rest of the way.
Cool, not a bad bend, first time out.
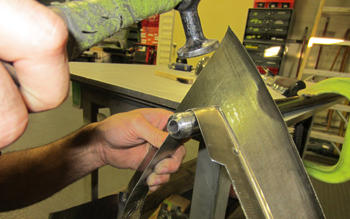
A bit of hammer and T- post dolly work and she will look press molded.
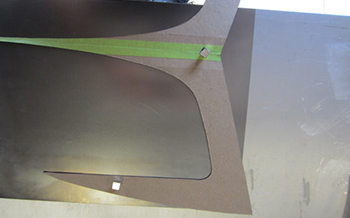
Using the original mock up he lays it out for the center.
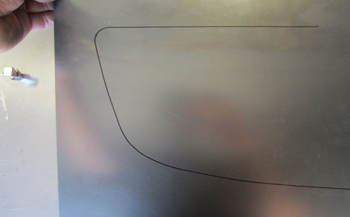
Traced and ready
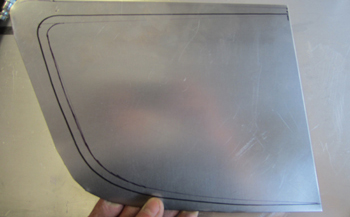
Traced inside a 1/2 inch to give us a subtle transition.
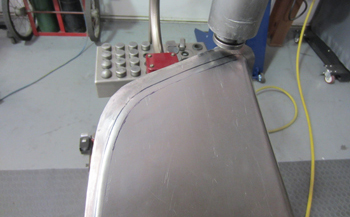
Using the planishing hammer and keeping it on an angle it comes to life.
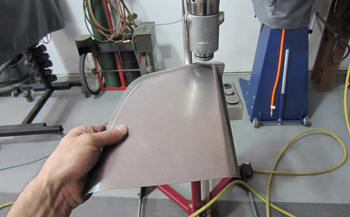
A bit of tweak and twack on the edge.
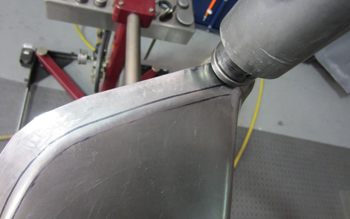
Very simple in the masters hands.
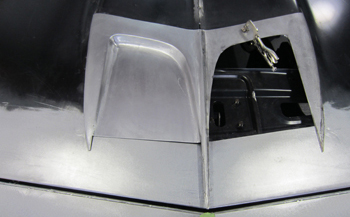
Welded in and ready she looks great.
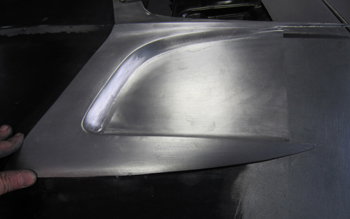
Side angle shows a beautiful finished product.
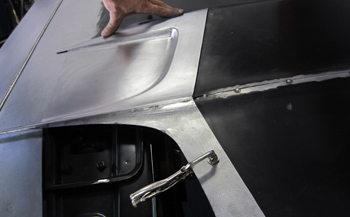
He is fitting it to the outer edges at the same time to keep it level with the rest of the hood by doing two and three things at one time. This proves Sammy's multi metal tasking abilities.
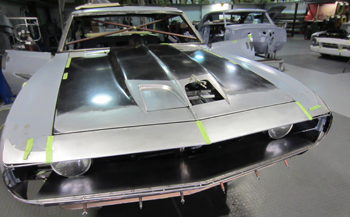
Stand back and take a look.
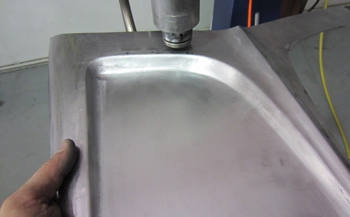
Sam wants to touch it up a bit after welding to remove the tiniest irregularities.
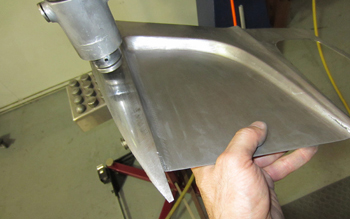
All around He goes checking tapping checking tapping, He is as fussy as I am and I have some serious issues.
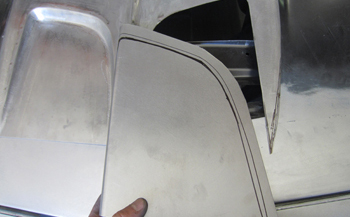
Other side needs love too.
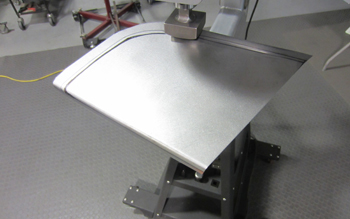
Same thing only He decides to use the Pull Max to speed up the process now that He is familiar with the part and its shaping.
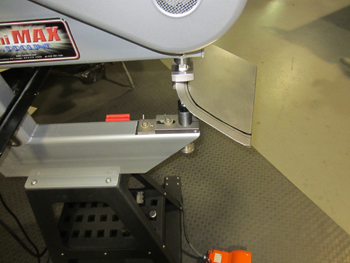
This Beast will get it done.
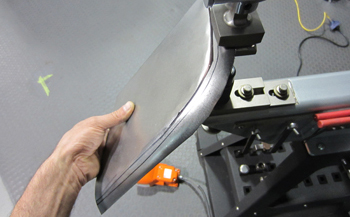
Ready or not it makes the time and you have to move it or lose it.
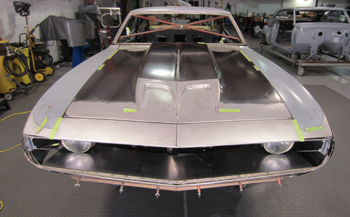
Voila !

