

Build Tips
Camaro Hood Mods #11
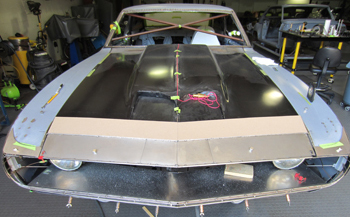
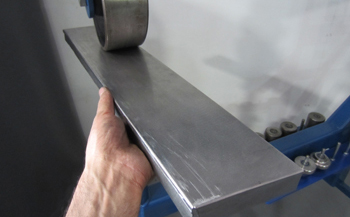
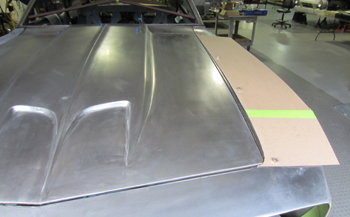
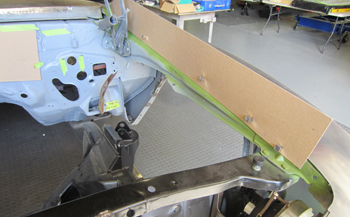
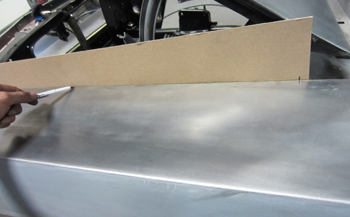
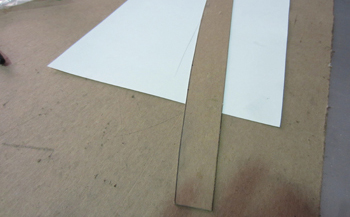
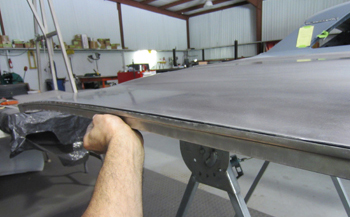
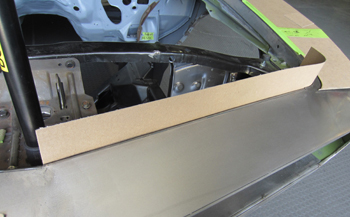
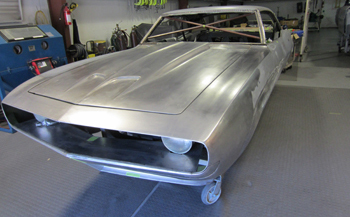
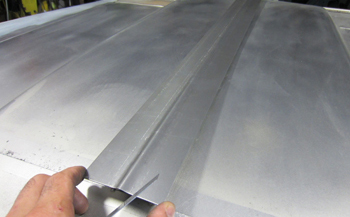
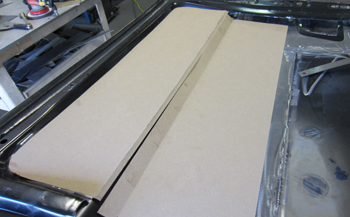
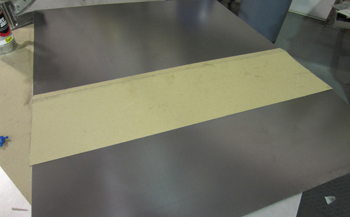
As seen we are adding a 5 inch section to the original hood. The front end was lengthened 2.5 inches overall but the original header panel is being shortened 2.5 inches to make up the 5 inch change. Using chip board Sam gets it ready.
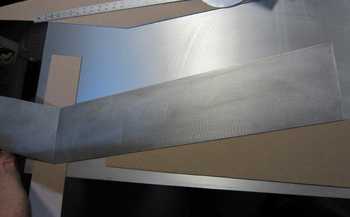
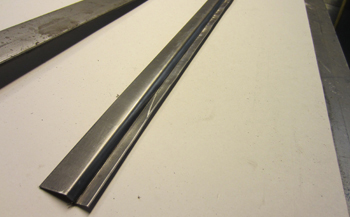
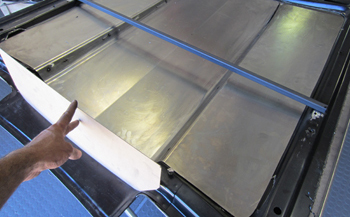
He cut it out in metal and it is ready for some tweaking.
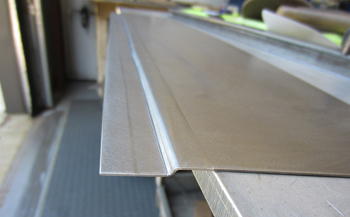
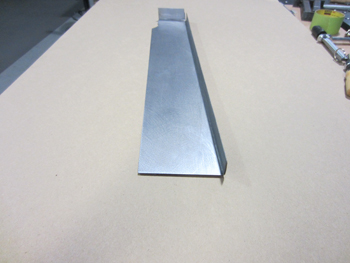
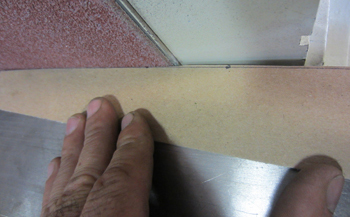
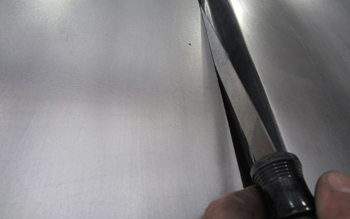
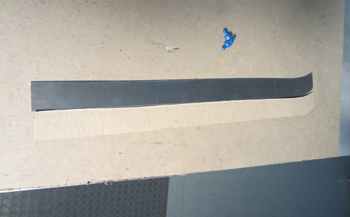
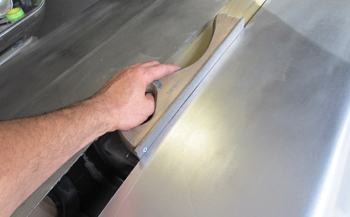
He started by folding over the inside edge that faces the header panel.
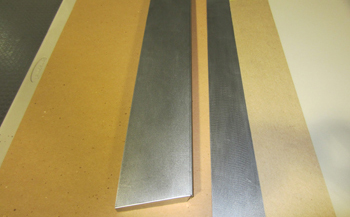
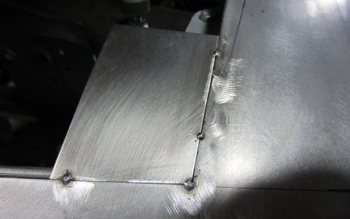
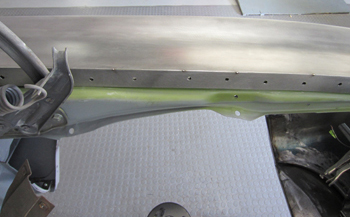
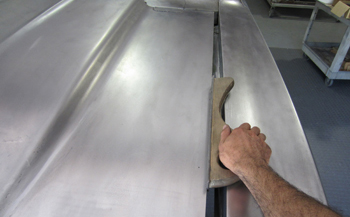
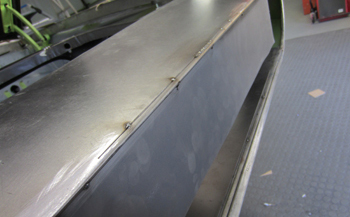
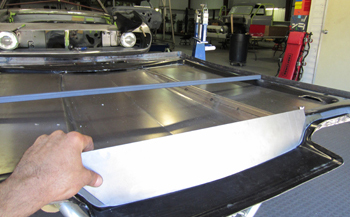
Then he added a factory looking recessed flange. This will keep the hood rigid with the same style that G.M built it in.
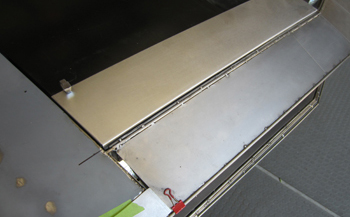
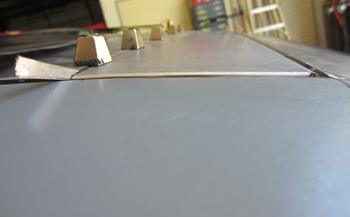
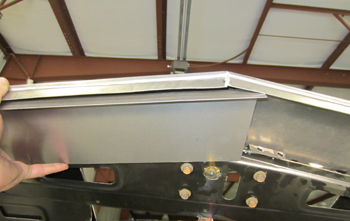
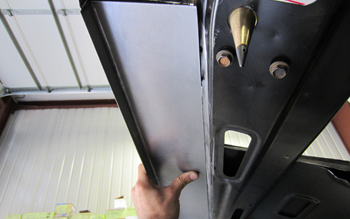
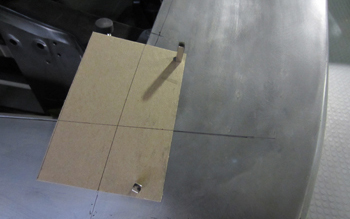
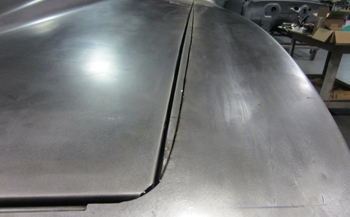
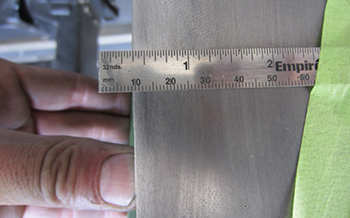
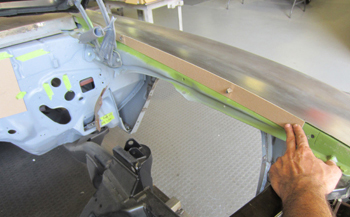
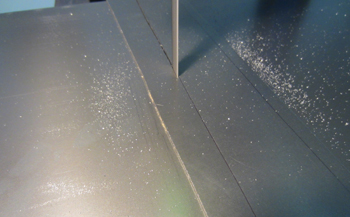
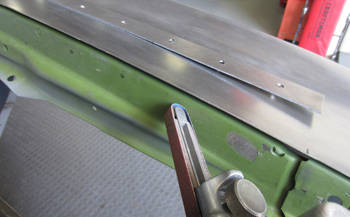
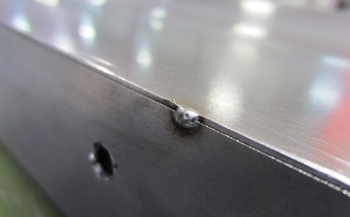
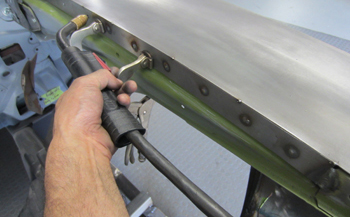
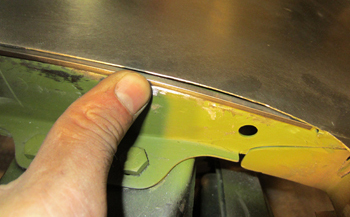
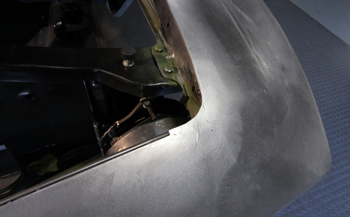
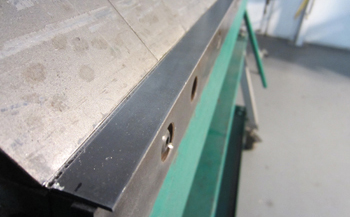
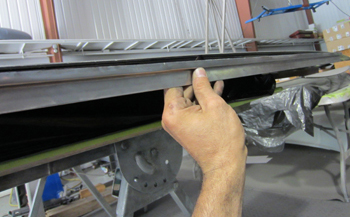
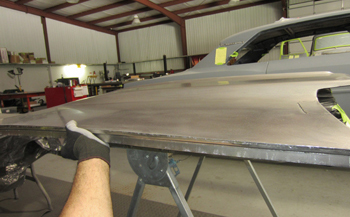
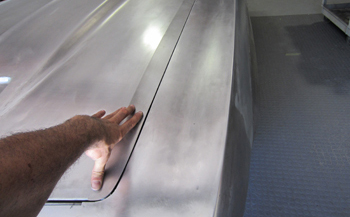
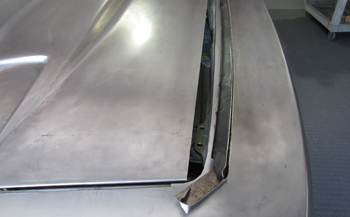
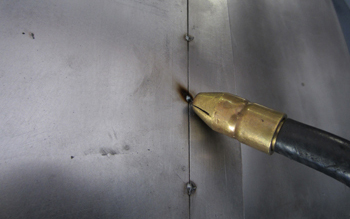
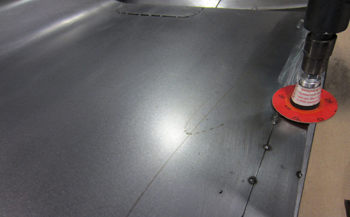
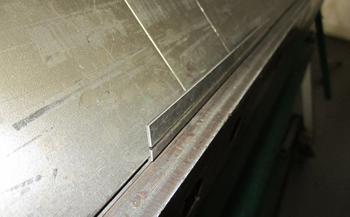
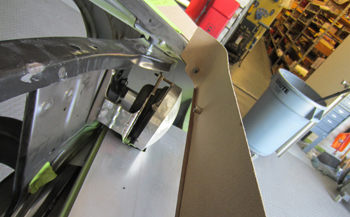
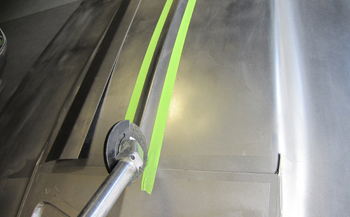
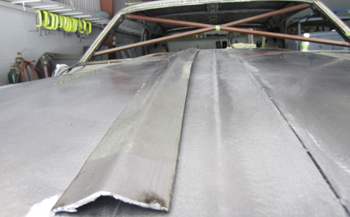
In place and looking good. Notice the 3/16th wire tacked in place between the header and hood extension to assure a precise gap.
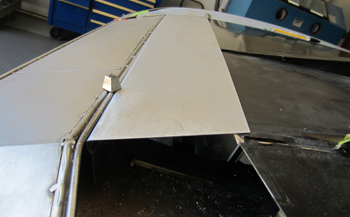
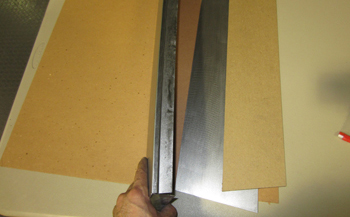
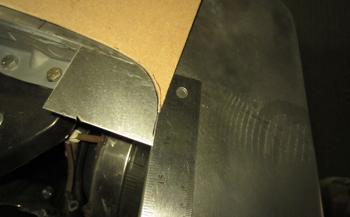
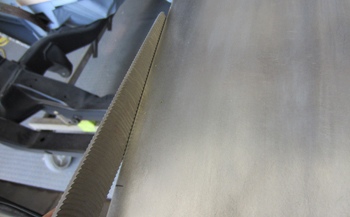
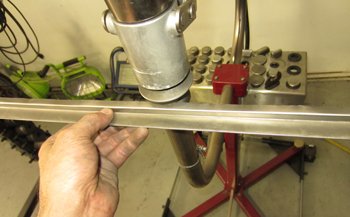
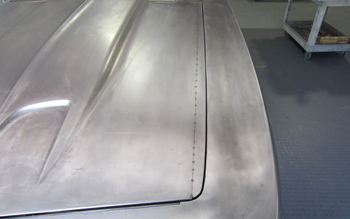
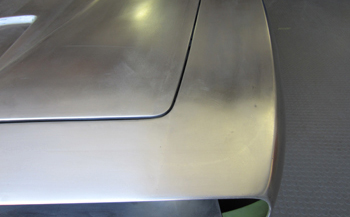
This angle shows how it has been bent to keep the same flow of the factory hood.

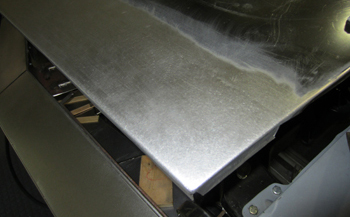
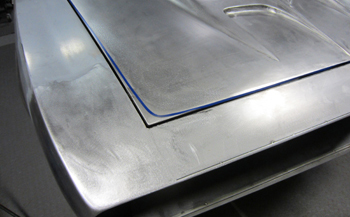
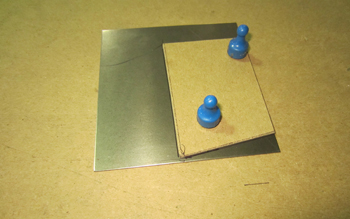
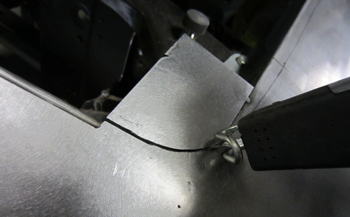
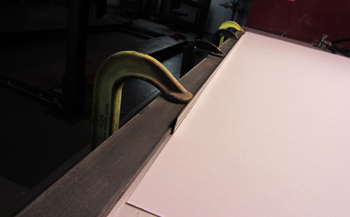
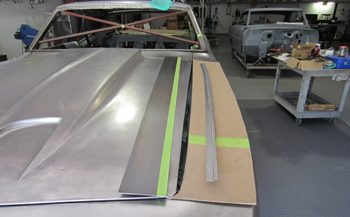
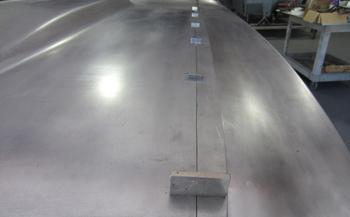
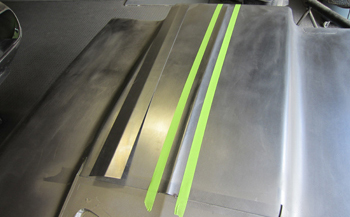
We cut out the hoods center section where the old cowl hood was because we are going to build a new front cowl section with our own style. As seen Sam has magnets holding the panel in place.
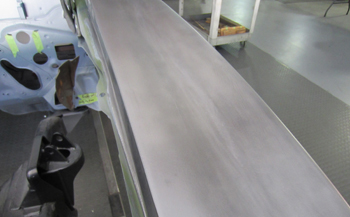
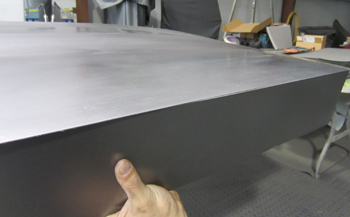
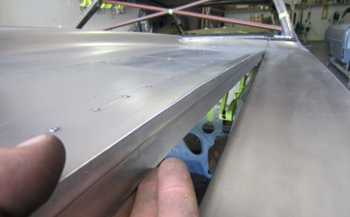
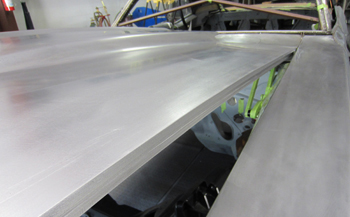
Birds eye view shows a level panel with same pitch as the hood and fenders.
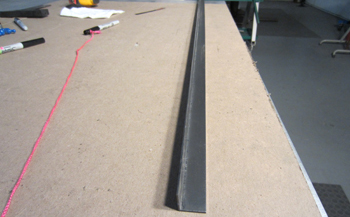
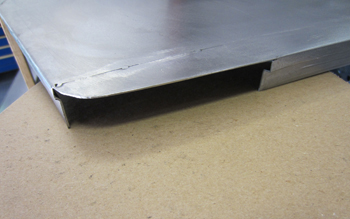
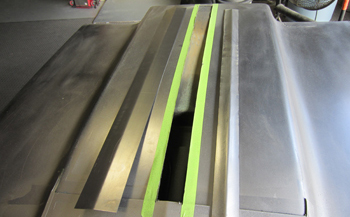
The outer panel needs to be reinforced so a bottom section is being fabbed to keep it all straight and true during the stress encountered with thousands of hood closings.
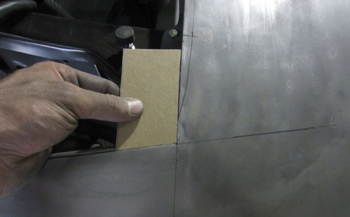
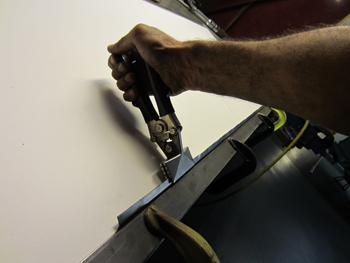
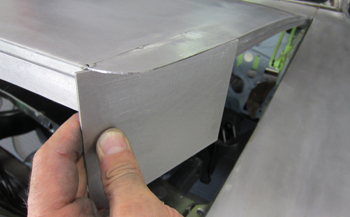
Just like the upper panel, wheeling it to fit exact is part of the game.
Sam fits it then trims a bit and it is soon to be ready.
It is getting close to being ready to weld in.
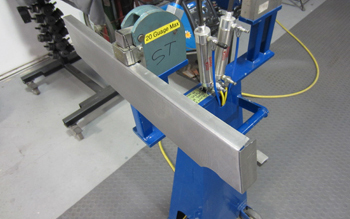
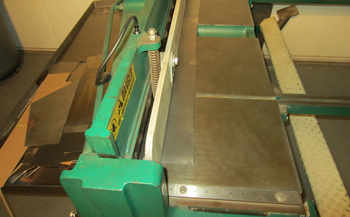
A little work on the Mittler power stretch and she will be ready.
Just about ready to weld in. Finish the top first, then final fit and weld.
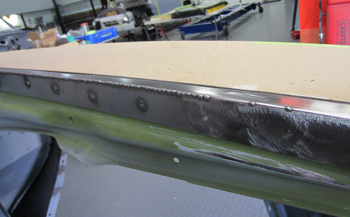
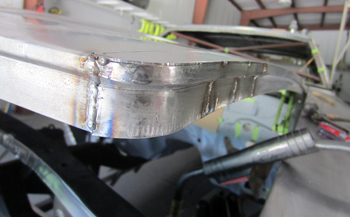
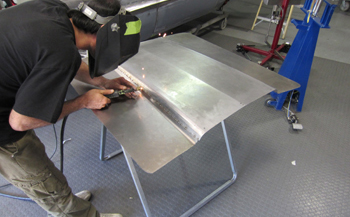
He welded the top sections in first and ground the welds to complete the hood extension. Then he installed the under hood support system just made.
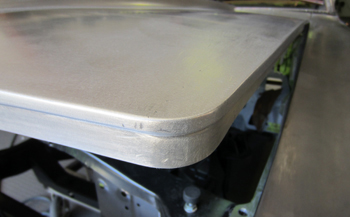
The original hood has straight corners and is square which is not what I want. As seen I taped it off to taper the sides and round the corners for a smooth transition.
When you stand back and look at it the car is full of voluptuous curves and Bam G.M. gave it hard corners? Not sure why but we are going to build it the way it could of, should of, and now will be.
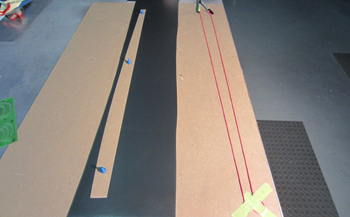
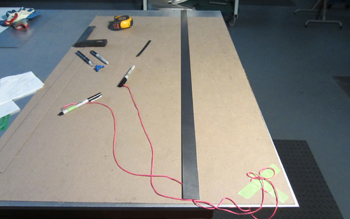
We start off by making a template to keep both sides exact. The fenders will also be curved all the way to the back. Using a sharpie Sam marked the top of the fender where he will cut.
Starting with the front corners it was squared off with a template to keep the perspective exact between the left and right side. A small section will be added to the corners.
Ready to rock. As seen in order to complete the curve as marked on the fender he will be adding a very small curve on the inside.
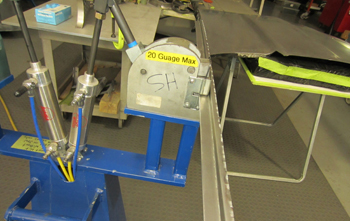
Cut out in 20 gauge.
Tacked in place and ready to mark off.
Marking exact. Measure twice cut once.
Sam roughs it out using a small air saw.
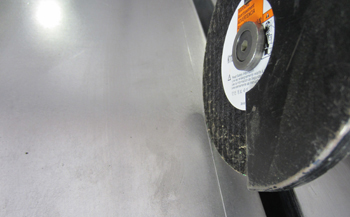
Time to slice and dice. He prefers the Long neck cut off tool for the bigger sections so he can see the line more accurately..
A bit of trimming and it will be ready.
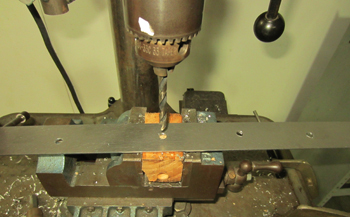
The old fender lip must be removed so spot welds are drilled out.
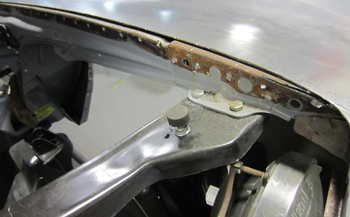
There's rust in them there hills / fenders. We will need to clean up the surface rust from 40 plus years with in the inner bracing.
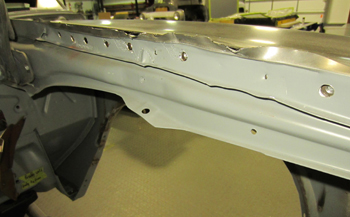
The inner support brace was properly cleaned then primed and we are ready to add some metal.
Using a straight edge he lays out the size exact. There is no room for error on the new metal. It must be "Dead On" as the cars name states the truth of this build..
Using chip board he traces the curve for an exact duplicate to the other side of the upper line. This piece will be made in two sections. First the rear to middle section and then the middle to front wrap around.
Tracing with a fine line sharpie works best.
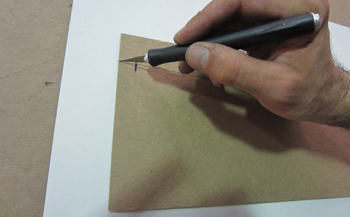
Using an exacto he cuts it out right on the line.
The new section.

Over to the grind station to trim.
Close up shows exact trimming.
It is Fitted and looking good, now on to the front section.
Full length and ready for steel.
Band saw cut.

Trim on the grind station exact.
Before welding we simply drill our spot weld holes out.
Time to De burr while it is off the car.
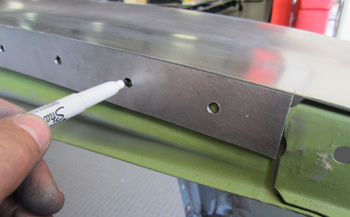
Pre-fit and mark the spot weld holes to grind off primer in that area.
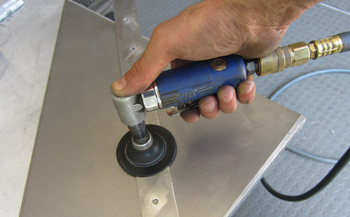
Belt grinder cleans the steel for best adhesion during welding.
Filing the edge to remove any burrs assures a perfect weld.
Tacked in place, right on the edge.
Close up shows Sams tacks, perfect as usual.
Clamped and welding it up.
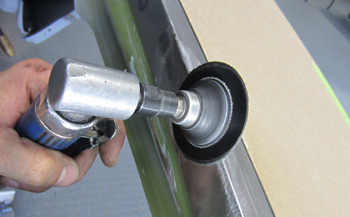
Quick grind all tack welds flat before fully welding the seam.
Spot tack, cool, spot tack, cool, etc etc etc.
Grind then file and ready for the next task.
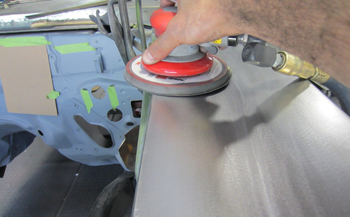
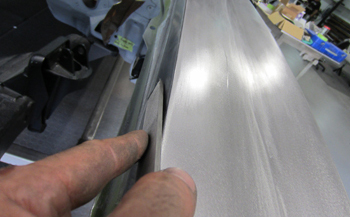
DA it down to show beautiful metal work
Sammy my friend, all I can say is Sweeeeeet!

Front section
Sam shimmed it up to hold it in place during welding tacks etc.
Ground smooth and fitting exact to the fenders edge he will now tack weld the shim in place.
Curved section is in.
Now of course the Hood needs to match this shape and have a section added to it also.
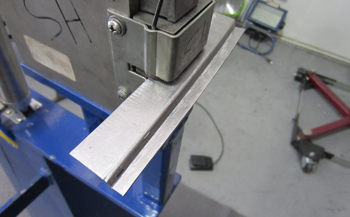
Sam shears it to the specs.
Laid out and ready to be manipulated in to a beautiful image.

He marked it where he wants to form the contours
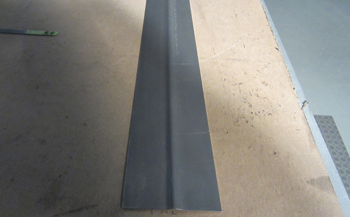
Brake a 90 degree bend first
90 is done
Clamped to table next.
Hand formed using roofer tools, available at home depot.
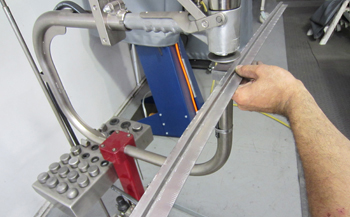
Rouged out then on to the power tools.
Planishing hammer finishes it out.
As seen it is fitted up to the hood, now we need to shrink it to match the fender.
On the drop down section he simply puts it in to the Mittler Lancaster style shrinker and pulls it in to submission.
Starting to look good.
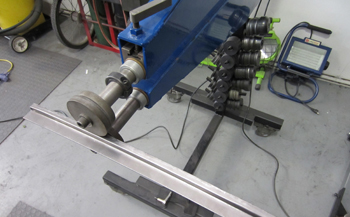
Next, on to the roller to refine the lines.
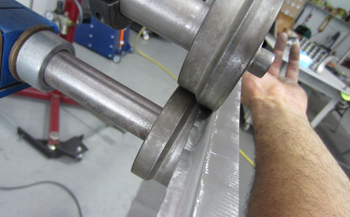
Close up shows the metal doing what it is told in the hands of the master, Sammy!
Just a bit of planishing to remove a few stubborn spots.
Fits nice
Ready to be welded in. Now we have to make the top section.
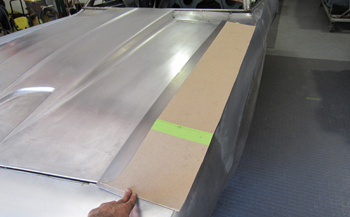
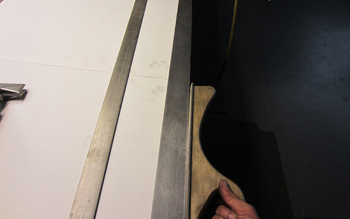
He lays the template over the hoods edge to make a 3/16th gap, marks it and is ready to move on.
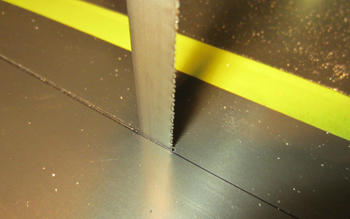
Band saw right on the line.
We fitted it to the hood it is looking nice.
Clamped to the table he files the edges straight and true.
Yes sir it fits. I never doubted.

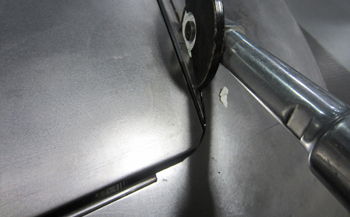
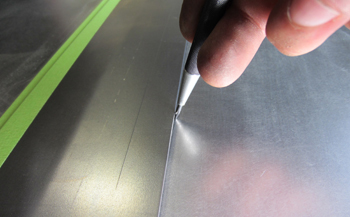
It is taped down to hold the gap while using a carbide tip he scribes the hood section to cut.
Ready to cut on the scribe line.
Old hood section with its flat square and straight design is removed and discarded forever.
File precisely.
Finish filing with a long file for a bit of tweaking.
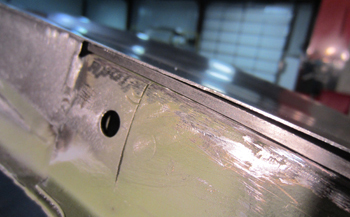
The earth magnets hold the 1/6th line precisely for welding.
Sam carefully tacks it in place.
Tacked and looking good. Time to remove the magnets and get after it.
Flat angle shows how nice it fits.
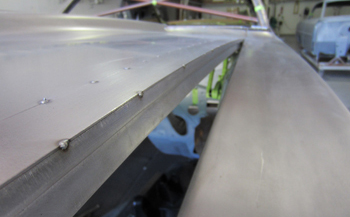
Tacked on the edge it is also ready for full out welding.
Grind down all the tacks as usual.
Finish welding. This was the hard part and not many can do it. Sam is a master and is a hard act to follow. You have to take your time to avoid any warping.
Ready to build the corner
A small piece is used.
Same basic procedures.
Shrinking it.
Weld in, grind etc
Finish it off.
Now the front.
Template as before.
Now cut in metal.
Tacked in place. Notice the metal tacked in the grille opening. This acts as a vise to keep the weaker opening from budging during the heat of welding.
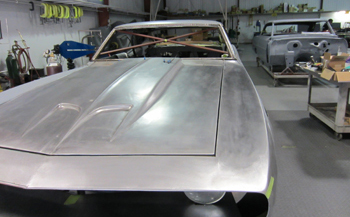
This Bad Wammer is looking good. Compare the details to the original car we started with and you will see a major difference.
Taking on its refined, yet muscular look
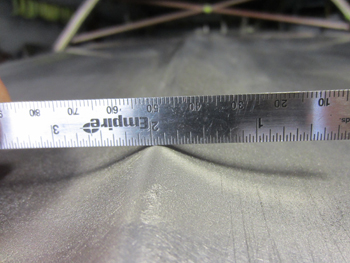
OK now on to the center section/peak of the hood. G.M. made this too high and offensive in my opinion.
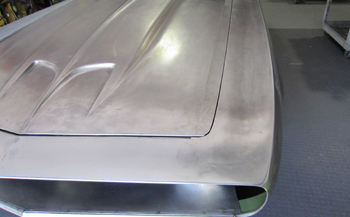
Sam cut some metal and formed a baby peak for the hoods center section, way smaller then the big G.M section was.

Small is the word here. Big is NOT better.
Laid out and she looks good.
Taped off and ready for some surgery.
The long neck comes back out and we are ready to Ronco it. Oh, excuse me, for you younger guys Ronco means slice and dice.
Well its gone forever now.

Sam lays it out and gets it ready.
Carbide tip to get pin point accuracy.
File it and get it ready
As seen the original on the left was huge like a bad birds beak.
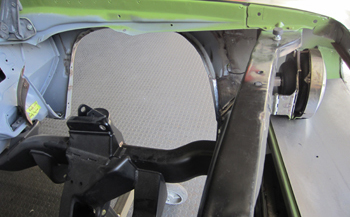
On to the back side or inside of the hood for stabilization and looks. We want all the room we can get for our induction system so here we go. Usual scenario, template first before any metal is cut.
Many sections to make it happen.
Coming together sort of like another hood all on its own.
End caps.
Sam welds it up and we are flying. After this He will install it to the back side of the hood but will tack weld it all in place with the hood in its closed position. With the motor out of the car He simply gets underneath and starts tacking. This way the hood stays in its perfect fit position while welding.