

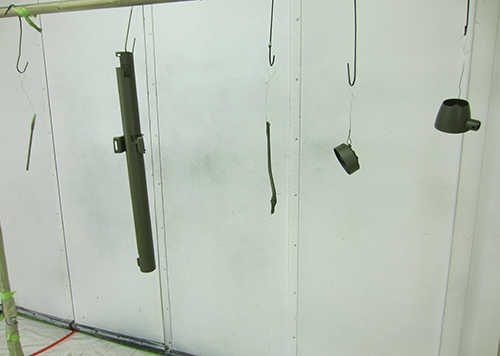
Build Tips
Camaro Grille #4
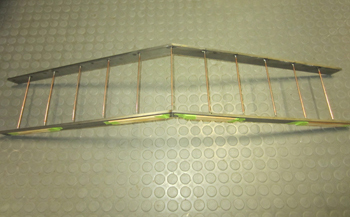
Bob started by mocking up a grille shell using 1/8th wire to get an idea of all the angles involved. I wanted to retain the original theme/style of a 69 grille as that is part of its heritage and loved by many. With our new front end sizing we needed to reduce the grille overall to fit in our new confines. We installed it in to the fender/hood opening and we liked what we saw. So it is time to build.
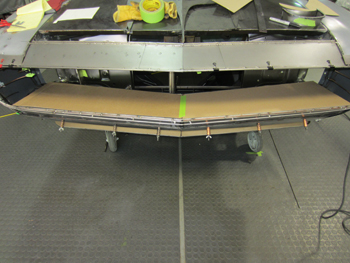
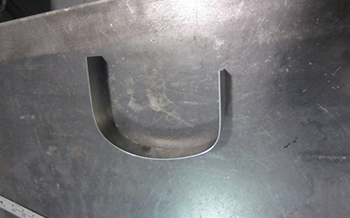
Just below the bottom section of the grille is where we start as this panel will support all the weight and is also the filler panel for looks. Chip board is fitted in the confines and we are ready to proceed.
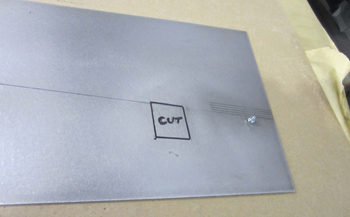
Laid out on some 18 gauge steel we need it to be stout so it will hold up well.
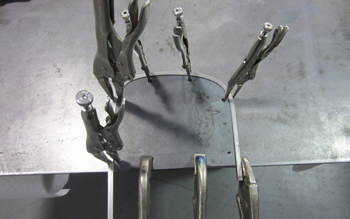
The next thing is to fab some brackets to hold the head lights in place. These are temporary to get an idea of our sizing so they can be easily tweak if needed.
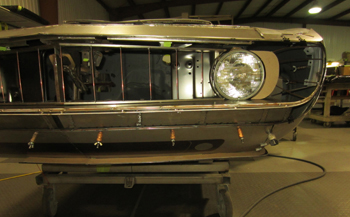
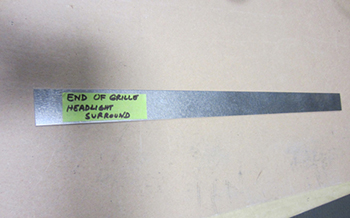
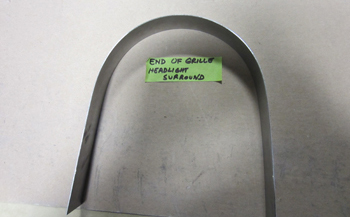
Once the bottom section was installed the mock up grille was inserted and then we installed the headlight in to the opening. It is time to mock fab the outer headlight filler piece.
Bob bent a few angles out of 18 gauge to get a closer idea and it fit pretty good. This is temporary to decide on what we wanted as far as fit and looks.
What we are after is the gap between the headlight, grille and filler piece to be consistent on both sides. As seen we need to tweak it a bit.
Coming around and starting to take on its own character.
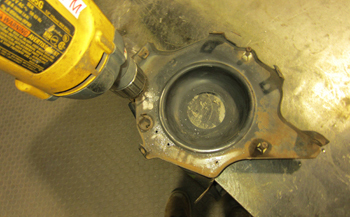
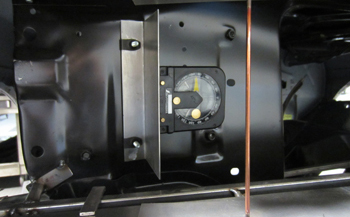
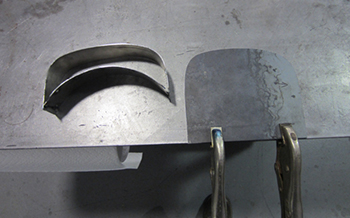
Bob drilled out some spot welds to dissect the original head light buckets. The old factory brackets holding the buckets on needed to be cut away. We lengthened the front end metal so the head lites need to come forth also.
We eliminated the unwanted and unneeded. Much like this whole project, out with the ugly, keep the pretty and add the ultimate to match it all up.
As seen earlier in caption # 5 just a few pieces to bend for the headlight supports.
Small 90 degree 3/4 inch lip will suffice.
Mounted with clip nuts for now. Always use a gauge to level it out.
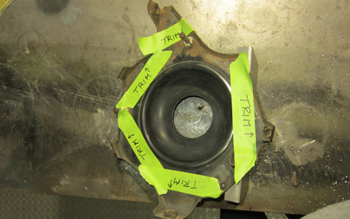
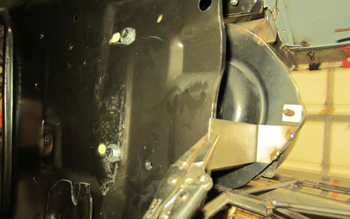
Not only the old brackets but also the out side edges were trimmed.
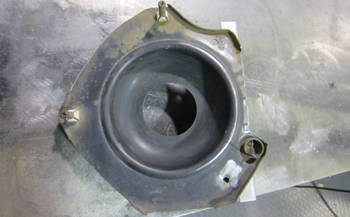
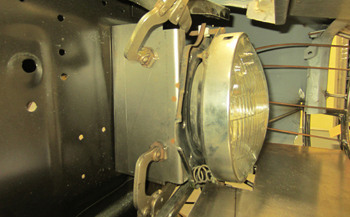
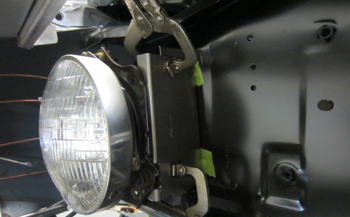
The original buckets already have the spring retainer and adjusting screws so why reinvent the wheel. We will use this unit.
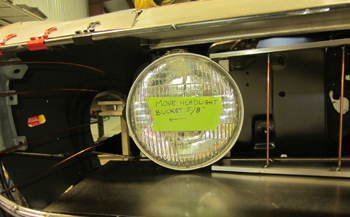
Compared to the original location as seen we have to move it over 5/8 of an inch.
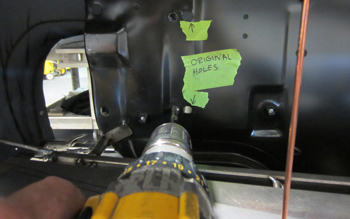
Time to drill out the radiator support on the marked locations for mounting.
Clamped in, fitted and time to drill the side brackets for easy relocation.
A small tab to support the headlight on the end was also fabbed.
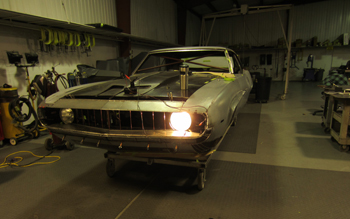
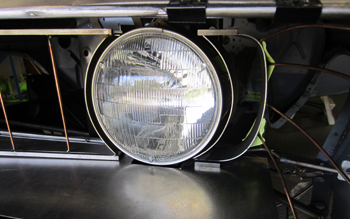
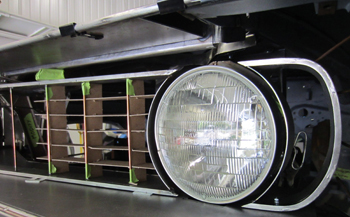
It is time to aim the head lites to be sure all is kosher. This way we know the gaps around the lite will be exact when the car is finished in is driving form.
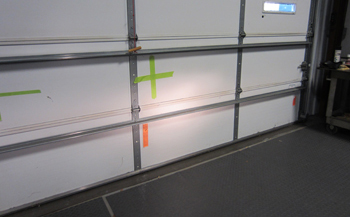
Cross marks the spot and we are on our way, low beam dead on.
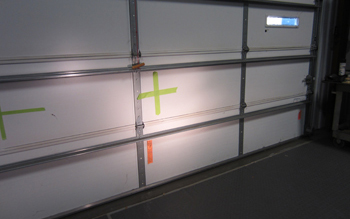
High beam also dead to right.
Next Bob made a forming template to get the outer grille extensions to be exact from side to side.
He drilled the template with 5/16 holes to hold the needle nose vise grips in place. He simply heated the 3/16th square bar and molded it around the perimeter.
On the outer body he simply uses some 20 gauge steel and forms it the same way.
Ready for tacking on.
Tacked in place, on the back side.
It needs a bit of trimming of which He will perform later.
Bob then added the inside sections that match up against the head lamps.
In place and coming around.
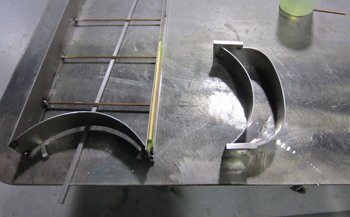
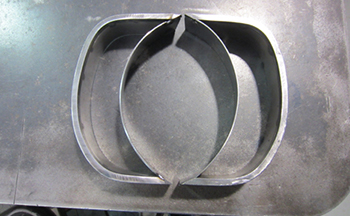
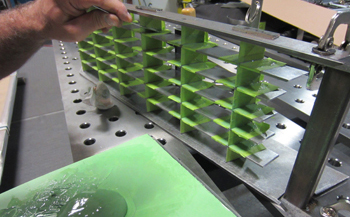
Using the fab table it is time to build the center grille. Bob starts out with 18 gauge for the bottom plate. He placed some steel over the V section with holes in the center which is where it will be tacked in place.

As seen the correct Vee or angle is needed to make it all happen Just a few tacks and it is ready.
Using the clamps to keep it all square and hold it down firmly. The 1/8th flat bar which will be the support for the individual vertical grille sections at the bottom.
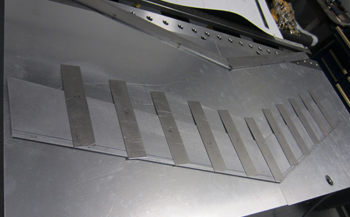
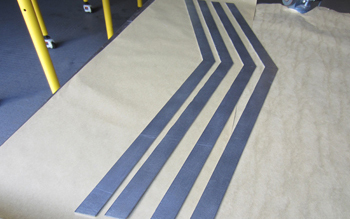
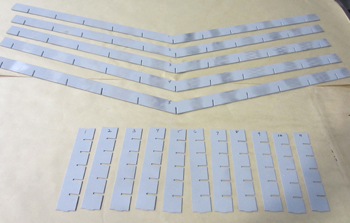
Bob cut out the separate vertical grille pieces and laid them out for review.
They will sit at a perfect 90 degrees.
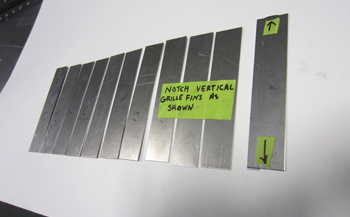
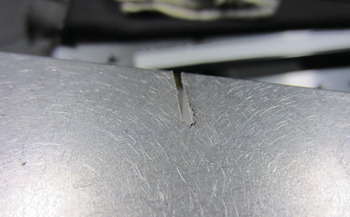
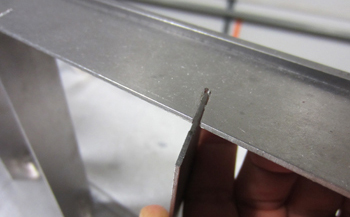
All marked up and a great place to go. As seen at the bottom arrow, a small flange is left on the metal after trimming to allow the vertical pieces to slip fit in to the bottom plate. This same technique is used at the top with the small flange in the center as seen.
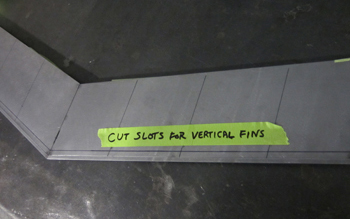
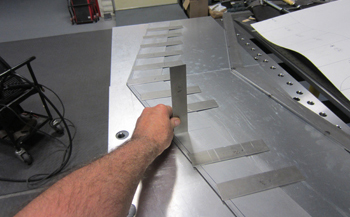
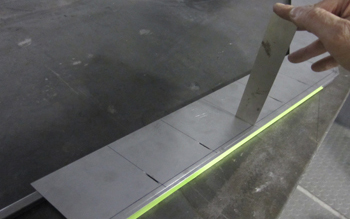
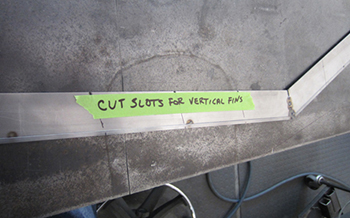
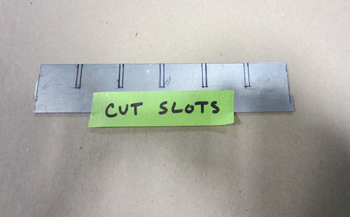
Time to cut slots in the bottom plate / section where the verticals will hook in to.

Carefully slicing small grooves at the precise spot.
Checking fit.
Same goes for the upper section..
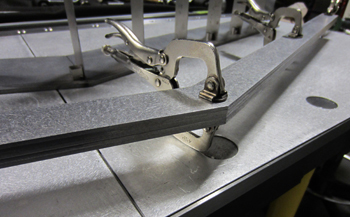
He uses magnets to hold it firmly in place which squares it up at the same time. For now we are just fitting everything as the remainder of the grille has to be assembled before anything permanent takes place.
Close up shows the square earth magnets that keep it all together.
A little template Bob made to quick check His angles to be sure everything stays straight.
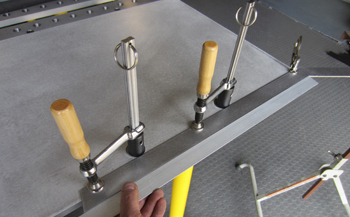
Bob has all the horizontal parts cut out and ready to be filed to an exact match.
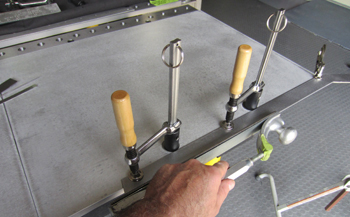
As seen he clamped them in place and files them as a unit so they will all be exact.
Straight edge tells the story.
Both sides.
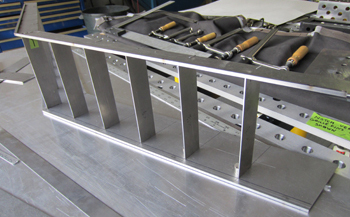
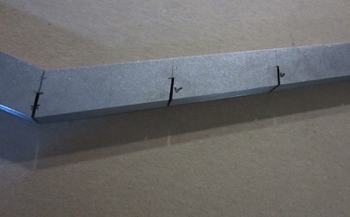
All matched up. In just a bit we will cut the back side grooves that will allow these horizontal pieces to slip in to place. First we will install the verticals in to the upper and lower sections.
On to the upper and lower sections. A close up shows the tiny groove just big enough to insert the flange cut in to the verticals we made.
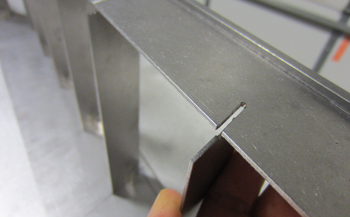
As seen a perfect match.
We simply insert the end in as they some what lock in place. Eventually they will be tack welded then epoxied for permanent attachment to eliminate any kind of warping. Everything fits as planned so on to the Horizontals.
Everything is marked, where to cut areas.
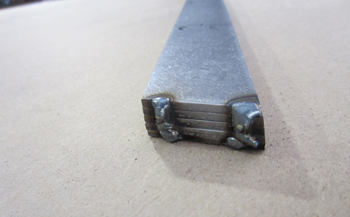
Bob tacked the ends so nothing would move during the cutting stage as they all have to match perfect.
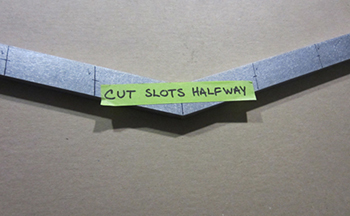
Groovy man . Half way in is where the grooves are cut. The verticals are also cut half way which will allow the two to slip in to one another perfectly. Watch on!
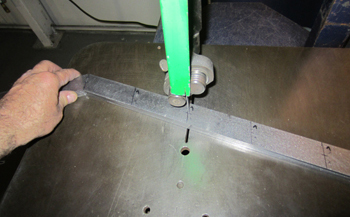
A close up to show one of the verticals marked and ready. Same procedure, he will clamp them all together tack weld the ends and then band saw cut them for an even match.
Horizontals are grooved and ready
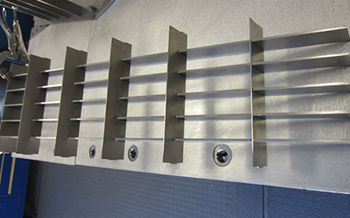
Bob inserts them for a first fitting and they fit perfectly. All that is needed is a quick filing of tiny band saw burrs left on the metal after cutting.
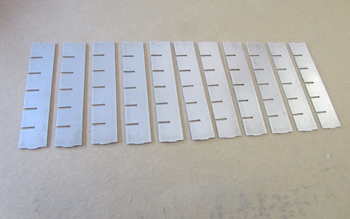
Verticals are prepped, de burred, sanded and finalized for permanent attachment.
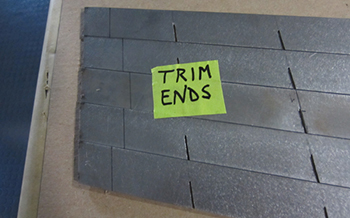
Horizontals will need the ends trimmed for finalization.
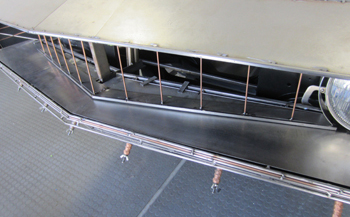
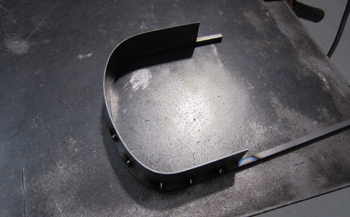
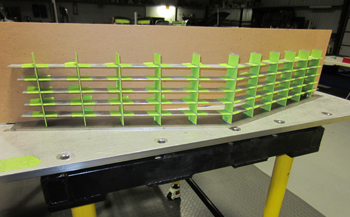
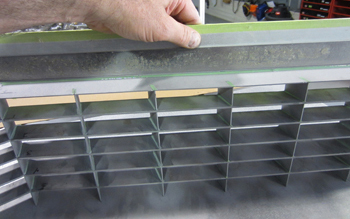
An 18 gauge strip is used to build the surround and complete the outer grille section.
Fitted to the template, then bent, they are ready for fit.
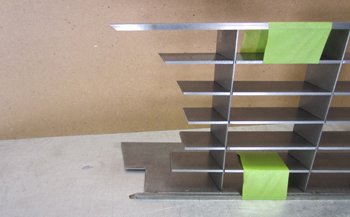
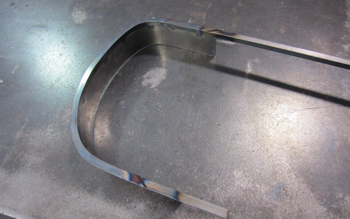
As seen the grille is together and taped to hold it in place for now while we fit the surrounds.
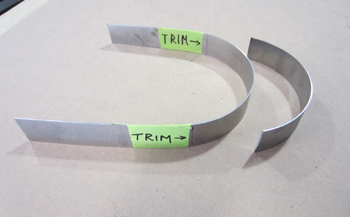
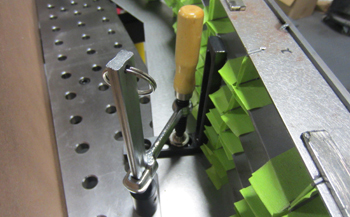
The surround is trimmed quite a bit, we simply held it in place and marked it where we will cut.
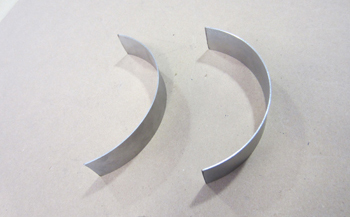
Both sides are ready to go.
Using the dynafile belt sander Bob shaves the edges a tiny bit for exact placement.
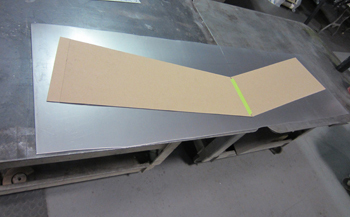
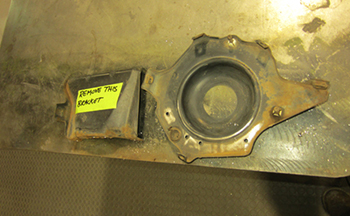
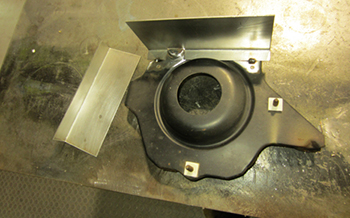
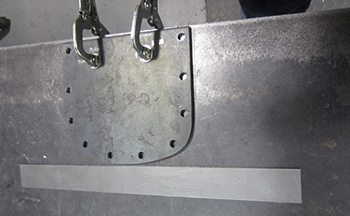
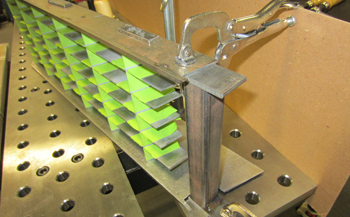
We want to install the grille in to the car for a trial fit before permanent attachment to be sure of everything. He took the Filler panel out as shown in caption #4 at the beginning of this grille build section. He starts out with a small square/ pocket to be cut out for headlight clearance.

Cut and ready to try it out.
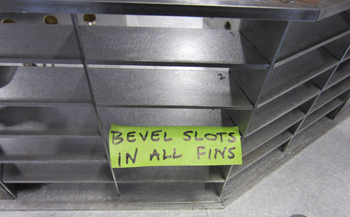
The grille fits great in the car so it is time to prep it for permanent assembly. We will bevel all the flange edges for epoxy to have a ledge. Welding something of this magnitude would be dangerous as it would more then likely warp some. Scotch weld will get the job done and NO warping will take place. No grinding either which saves time.
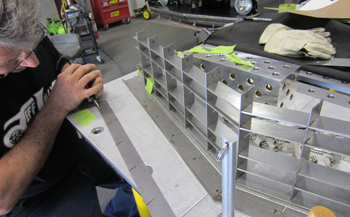
Bob simply uses a pencil grinder and bevels each edge while prepping for epoxy.
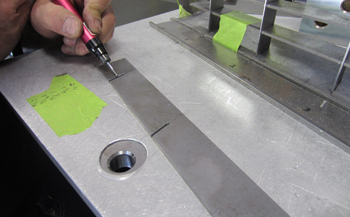
Close up shows him like a dentists with tiny manipulation of the flange for just the right amount of epoxy.
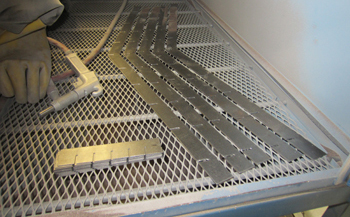
Bob gets ready to blast the slotted areas for max adhesion of the epoxy.
Blasted with 120 grit and ready.
All fitted and squared up, He mask it off to keep the epoxy in the confines it needs to be.
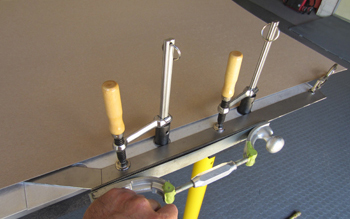
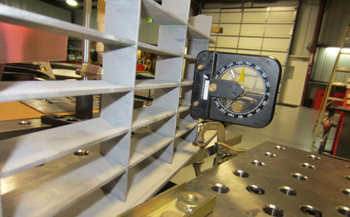
Clamped down on the perfect table for ultra fine tolerance.
He fabbed some tubing just the right size on the ends to stabilize them before epoxy.
Scotch weld mixed up and being applied to each groove. After it sets up He will turn it over, check square and epoxy the underside the exact same way.

. Tape was removed and you can see the epoxy filling the seams just right with only a trace of filing/sanding before priming.
It cured in perfect shape with no movement compared to welding it.
The straight edge shows Dead On.