

Build Tips
Camaro Front Metal #3
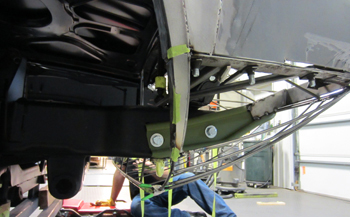
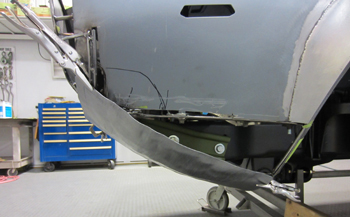
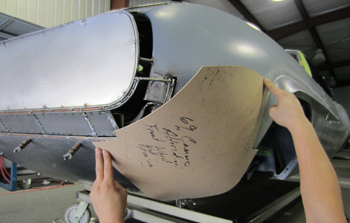
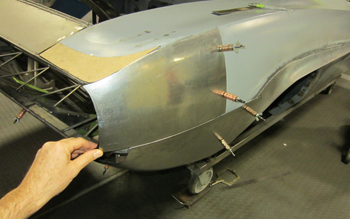
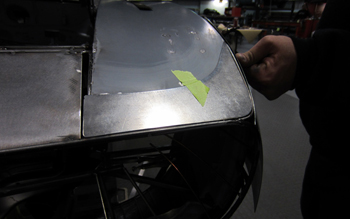
As seen the lower wheel well edge gets the first piece. There is nothing like starting out with the easiest piece to get warmed up.

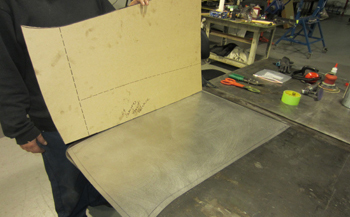
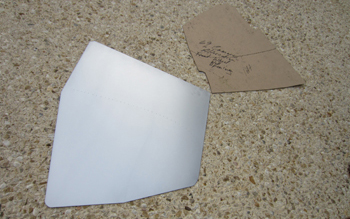
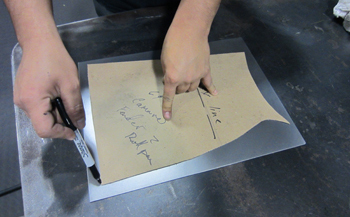
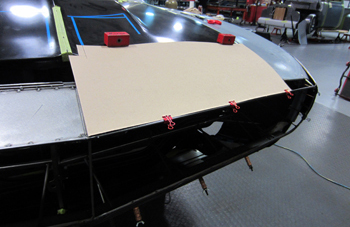
The first step is laying out a template in chip board to fit our lower center section of the valance so we have an idea what we are after on the panel. Measure twice cut once I always say.
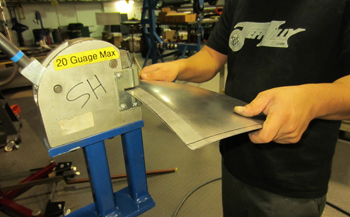
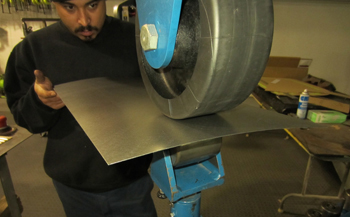
The Mock up is marked and laid out on some 18 gauge. I wanted this a bit thicker because of all the forming and also the location. Once it is wheeled, shrank, tweaked, twacked, bent and hammered it will more then likely end up at 19 to 20 gauge in actual thickness.
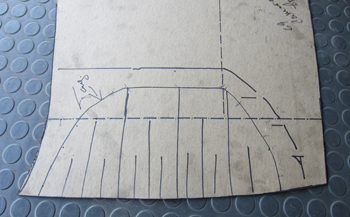
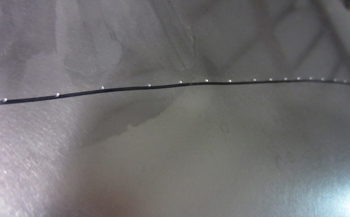
The lines are just a basic rule of thumb on where to start the process, Metal forming is an art and you have to feel the panel in to shape by tweaking and manipulating it in to fitting.
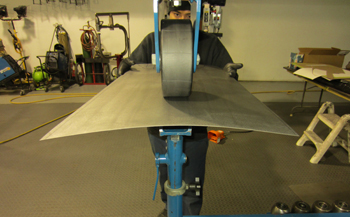
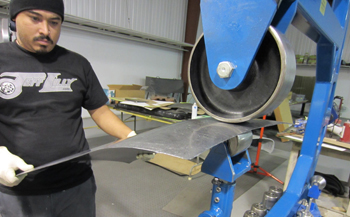
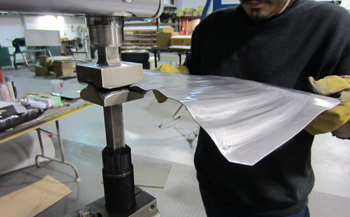
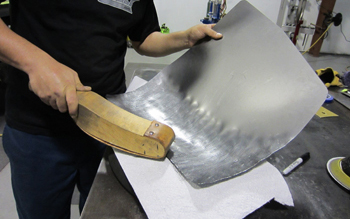
We start the process with the english wheel and as seen a slight radius is taking shape.

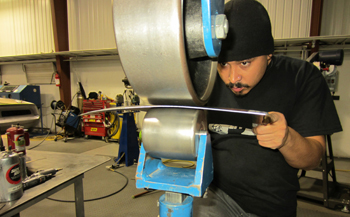
Next stop is on to the mini max for some serious shrinking.
Fitting the panel on a regular basis is pretty important and as seen she is coming along nicely.
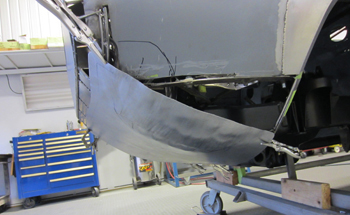
This angle shows how it is coming around like a diamond in the rough.
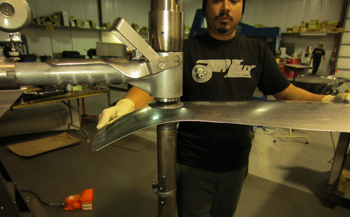
Time for a little smoothing on the planishing hammer for a softer flow.
The lancaster style stretcher - shrinker works in the bottom edge to a subtle convex shape matching our wire form or buck as some would call it.
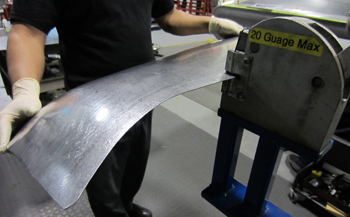
Back to the english wheel we stretch it with a larger bottom wheel to soften the transition from the bottom edge to the top where the bumper is.
As seen she is matching our wire supports pretty good at this point, just like the doctor, Jeff, that's me, ordered.
Both sides are done in equal sections and will be mated in the center.
Now it is time for the corner. Mani uses some transparent masking paper to lay out the curve and then traced some marks where the Metal Meister will work his magic.
At this point He transfers over to chip board and makes a final decision on the way He should go.
Cut out in cold roll steel ready to form.
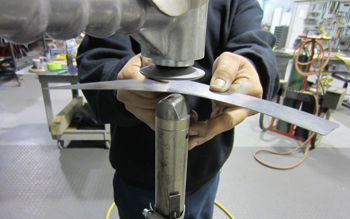
First trip is to the pull max because this piece has an aggressive curve, both side to side and top to bottom. Serious transitional part for sure.
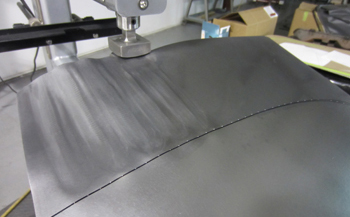
You can see the aggressive runs He is making, as noted on the rear end fab work you can see his pre punch dots where he wants to stop at the black marker.
Close up shows the spring loaded punch marks. Unlike the black sharpie reference line that will fade away as he works the panel in the machines, the punch marks will fade out slightly but remain during all the work so he never loses sight of his position on the panel.
The leather covered mallets shape it in a way no other tool can do. It really takes all the tools you see us using in order to make time. Sure we could form these panels with a shot bag and one hammer but it would take forever and our clients deserve efficient hours so you have to have the machinery to knock it out and be cost effective.
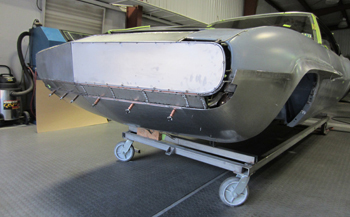
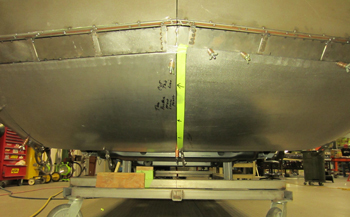
First pass she is looking good. We installed some metal in the head light opening that will be used to stabilize the whole kit and ka-boodle during welding.
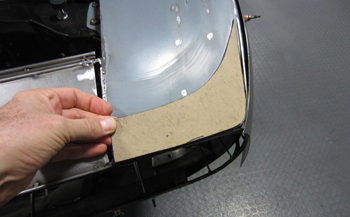
Upper section next, although this is an easier part to make it has its idiosyncrasies. We look it over to decide on what the final outcome will be.
Chip board to metal next.
Run it through the shrinker first to grab the edge and start the tweaking process.

As seen it is starting to roll over and take shape so on to the next phase.
The english wheel gets back in to the action as a large radius lower wheel is used.
Oh yea she is coming around. Once we get the first bend on her she does what she is told. Submission is what I like.
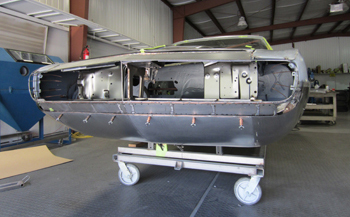
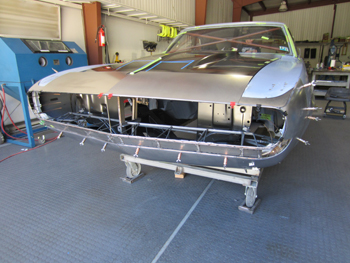
Clecoed in to place she looks like a Franken-maro with the clecos sticking out all over the place.
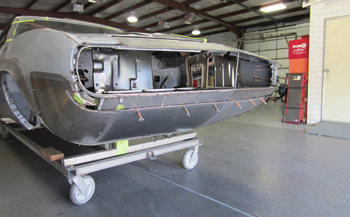
Pass side looks sweet too.
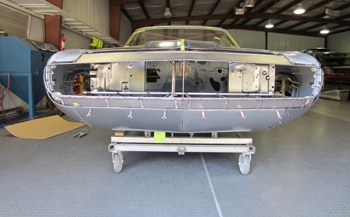
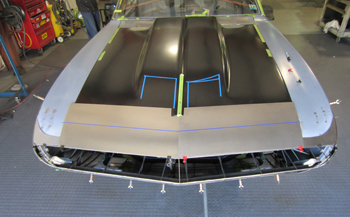
Front view shows a sweet transition of exact comparison !
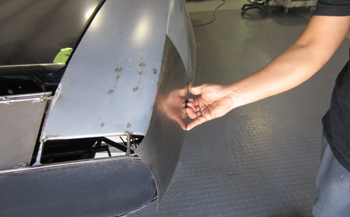
You can see the modified fender flares well from this angle flowing in to the lower valance like a sweet song of bliss.
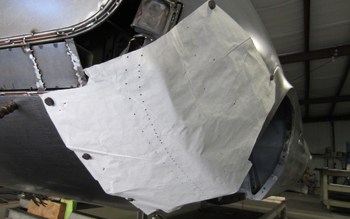
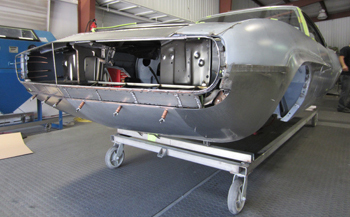
Top piece looks great and after a bit of trimming she will be exact.
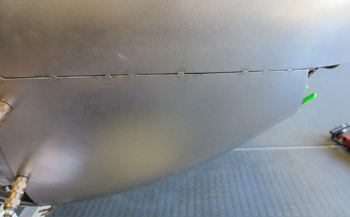
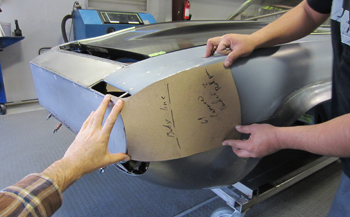
All panels fit with a razor 3/32 gap then tack welded.
Top transition piece must be curved at the top a bit more as we tweak the mock up till it looks just right.
Small strip of metal tweaked in the planishing hammer and she will be Dead-On.
As with any panel you need to determine two things. How you want the overall shape and where is the best place to piece them together.
The upper header is pretty much a no - brainer, so we chip board it then a bit of rolling at a slight angle and "viola" she's done.
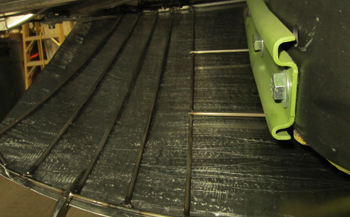
Mani rolls it out with ease. Notice the rubber tube stretched around the upper wheel, you get fast moving metal with this olde swede technique.
Seriously, you must admit Dead On is coming around. As mentioned the hood will be 4 inches longer so the header panel will not look this big when done.
I taped off where the hood will end and the header begins to show how nice it will be sized when done. As seen I have been taping off some cowl hood scoop designs just to get a look at what could be.
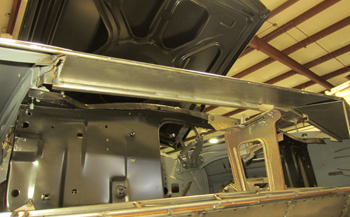
We added some bracing under the header along with some 18 gauge to strengthen the area.