

Build Tips
Camaro Windshield #2
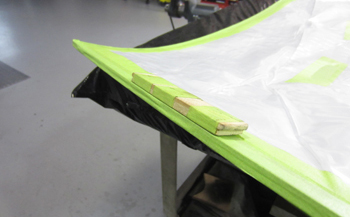
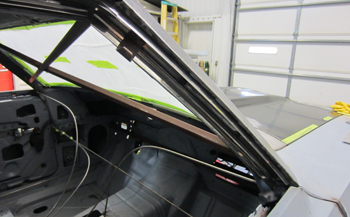
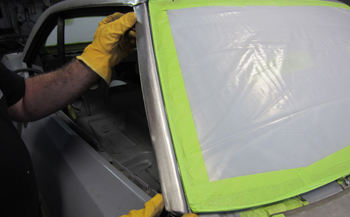
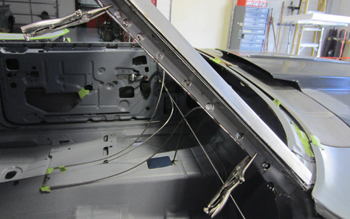
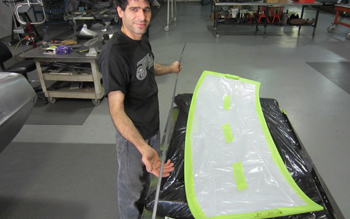
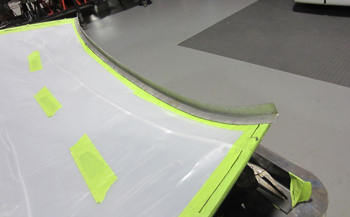
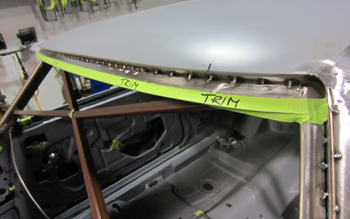
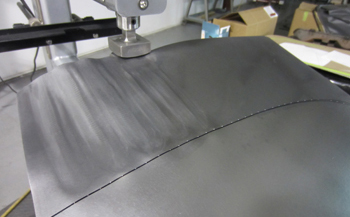
We start off by shimming the glass so it sits level with the outside body panels. We simply used two paint sticks 1/8th thick times 2 is 1/4 overall. These are taped in place on the sides and to the top and bottom for easy repeated install and removal of windshield.
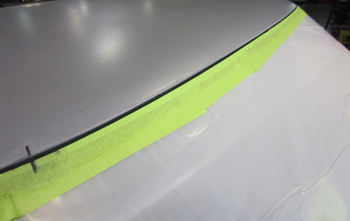
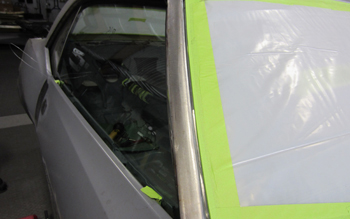
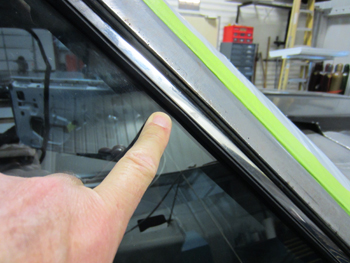
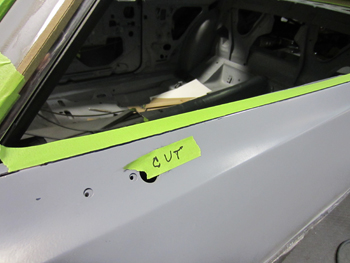
Bob taped off the new wind shield and installed it into the confines to see what we have. As seen we have the gap 3/16th at the top and we sharpie marked it so that it will go back in to the same spot every time.
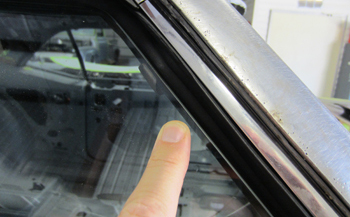
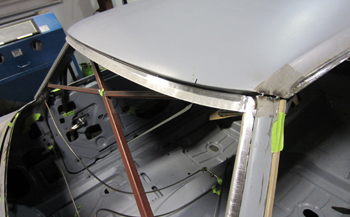
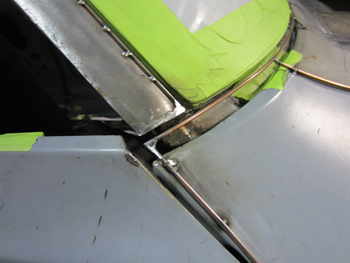
The original roof post and glass are 5/8th of an inch away in distance. The factory left a lot of room because they installed a stainless trim/molding to cover up all their inconsistencies.
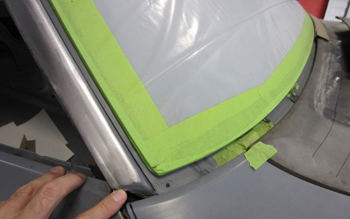
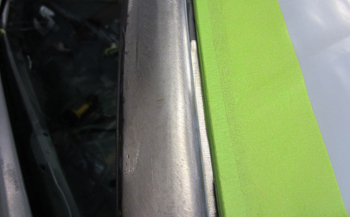
The bottom section shows a large gap at the fender also. This will need to be addressed. Unless we want to frame up for a new custom windshield which is VERY expensive it is cheaper to move the body panels and go with an original windshield as long as it looks proportionate to the car. Another advantage to using the stock sized glass is that if breakage ever occurs another glass can be procured easily.
The roof rail retainer molding needs to come off as we have to make some major cuts.
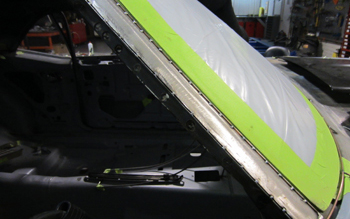
A temporary stopper was installed at the bottom to keep the gap at the top where we wanted.
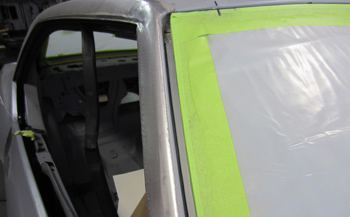
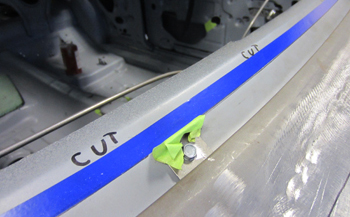
Now that the glass has been fitted we drew a line on the inside channel of the post " cap " and on the outside where we will cut to remove it, so it is time to cut it off.
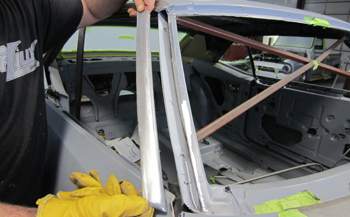
The post is off and free so we will move it around to see the best place to fit it to our liking.
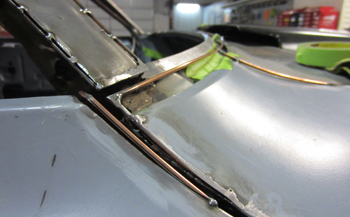
Bob places it up against the glass for a 3/16th gap and studies what needs to be done.
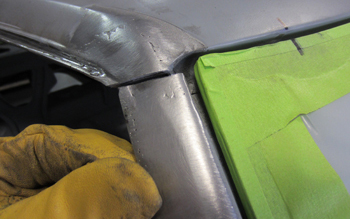
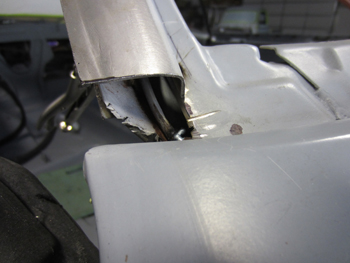
A close up shows the post and roof will no longer match up so some tweaking is needed.
It will also need some channeling at the bottom.
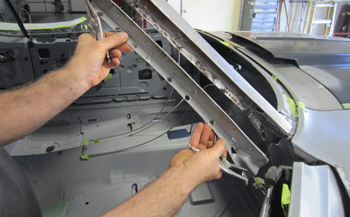
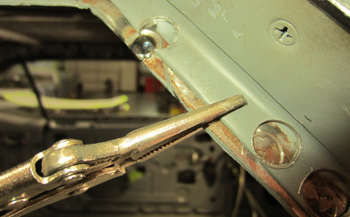
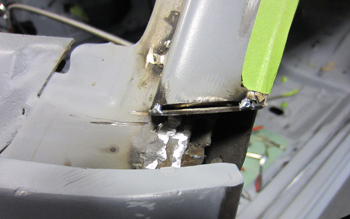
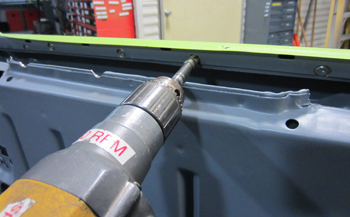
The inner structure where the roof seal retainer goes is removed to re-position also. The spot welds were simply drilled out to allow the inside roof rail retainer to move forward in order to meet the newly re-positioned post. You may be asking? Why did they slice the two sections apart on the front and then on this side separately? That is because the angle of how each edge was shaped originally will now be different so they have to be done separate.
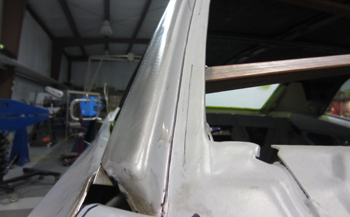
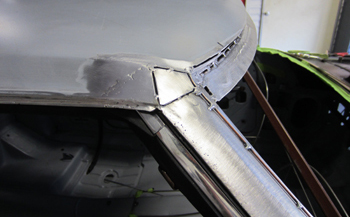
Bob re-positions it so it will coincide with the outer channel to make our gap to the glass come out at our chosen 3/16th. As seen the inner meets the outer post " cap" but now the angle of how they meet is slightly different and just enough to get it to fit the glass the way we want. It is sort of " by the hair of our chinny chin chin" if you know what I mean .
As you can see he moved it in about 3/8th of an inch.
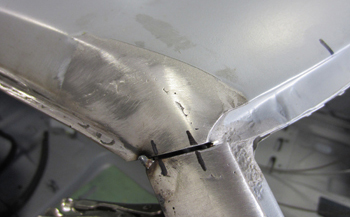
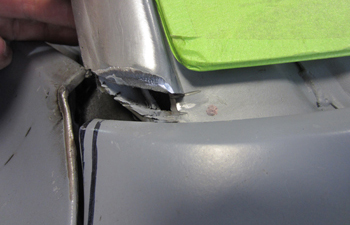
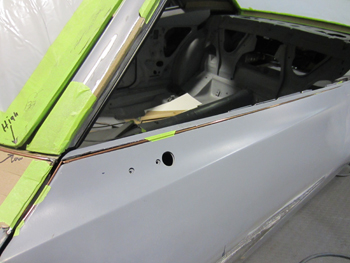
Being careful to keep His out side line fitments he tacked it in place. As seen he pre sharpie marked it to give himself a reference. Note how the very inside corner is off. This has to be reshaped to fit our glass as you will see in a few pictures.
The bottom will need some extensive work also.
Issues that come up when flush fitting windshields are problems like this. As seen the glass barely touches the rubber so we need to move/slide it all forward. This will entail slotting all the channels to move forward so the rubber makes adequate contact for no wind noise.
OK we have it out 3/16th and it is also flush as far as spacing.
This close up shows it is pretty much where we want it.
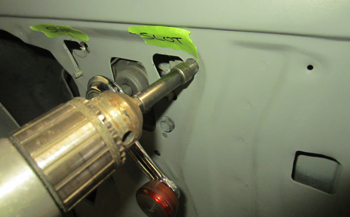
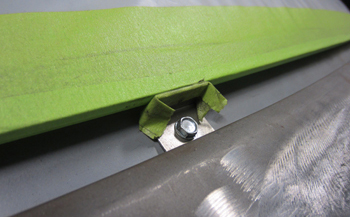
Bob drills a hole to the far right of the existing mounting hole to change the location for adjustment.
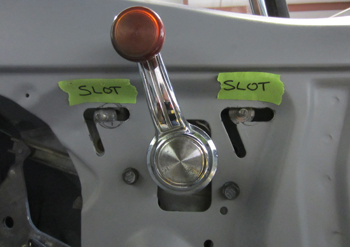
As seen where the markings are he is moving it forward quite a bit.
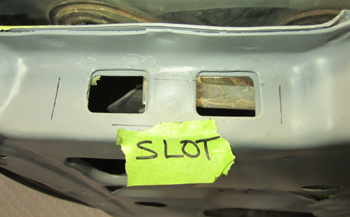
At the top of the channel there is some slotting that needs done also.
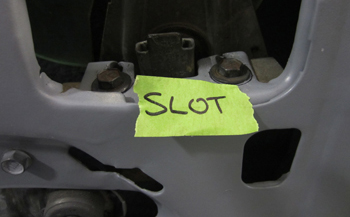
In addition the inside front track, they all get done.
A bit of trimming on the stop to keep the glass from traveling too far.
As seen we now have a total seal on the roof rail rubber.
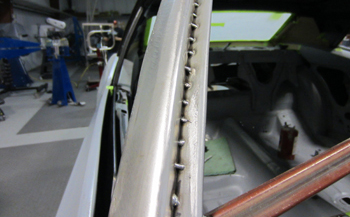
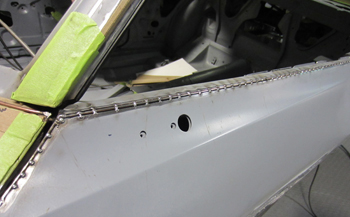
Every thing looks good so Bob tack welds the inside seam to keep it all stable.
Below the windshield where the dash meets we need to have a different channel to support the glass. So we will remove this extra material first.
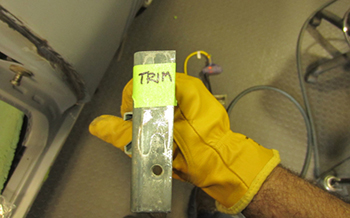
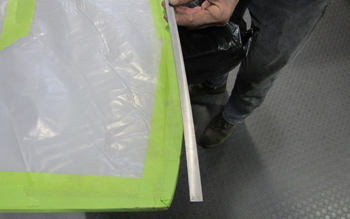
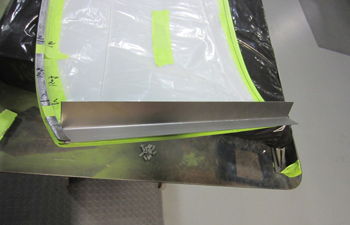
We have had the wind shield in and out checking fit and we know the distance needed. We will bend a 1/8th thick flat bar to shim and support the bottom.
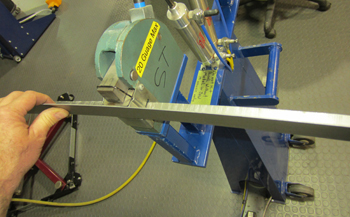
Sam the Metal Bully comes on the job. As seen he is holding a 1/2 flat bar stock section and is ready to tweak it in to submission.
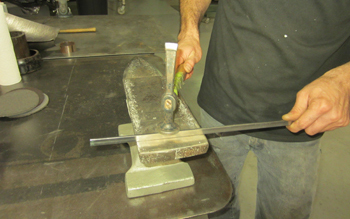
It's all in the way you tap it. Using an anvil he taps the metal until it submits.
Getting close.
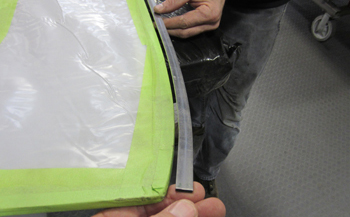
Close enough. We have to match the glass then attach the channel to the body.
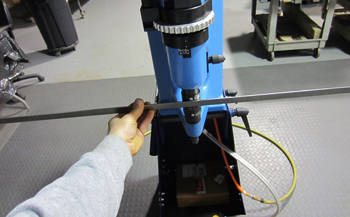
Sam has it laying down against the glass and is also making a side channel which requires less rigidity so 20 gauge will work.
Lancaster stetcher makes short work of it.
Fits nice.

The same for the top, so he bent a full length 90 degree piece on the brake and will shrink it to make it wrap around.
This time the Echold big boy comes out.
Sweet, a little stretch and a little shrink and you have a nice piece.
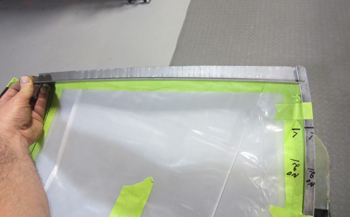
All the support channels to bring our height where we need it when using a bead of 3/16th butyl sealant are in place.
Back to the roof corner He made a simple multi shaped section then inserted it in place to make it happen. Along with a small 1/8th wire that will be welded to the very edge. The wire will then be ground to allow a sharper edge instead of the dull edge that the factory had.
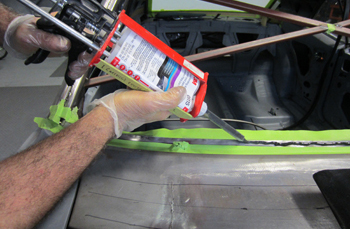
Using 3M panel bond we attach the bottom channel. This will allow it to fit flush to the glass and fill in the small spaces the factory edge has.
Taped at the top and ready to trim the old factory channel away.
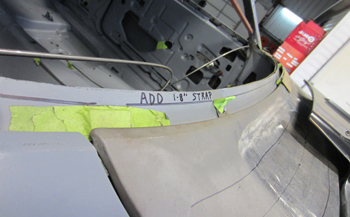
A wire was formed to meet the bottom of our windshield and post to give us a reference to build our new cowl panel. This will finish out the bottom for a flush fit.
Nice angle showing the glass fitting like an isotoner glove.
The door also needs material to get the gap right now.
We installed some spark paper to get an idea what extending the fender and cowl will look like up against the glass.
We capped off the bottom of the post in keeping with the bottom edge of the windshield and the top of our door edge.
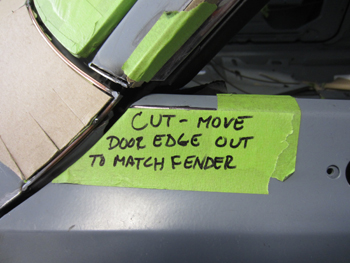
The wire on the fender/gap and posts line up so we have to bring the door edge up to meet them for our 3/16th gap.
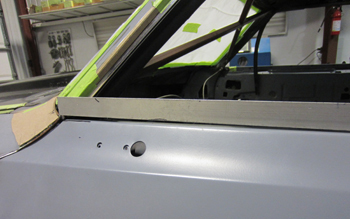
This shows the problem a bit better. As seen with our straight edge G.M. had a drop in the door from one end to the front so we need to raise this.
Bob has it marked to slice it down the line.
Drill out the spot welds where it flaps around the inside
Raise it up to meet and then fit it with a wire so we can weld it in solid.
Tacked in and ready.