

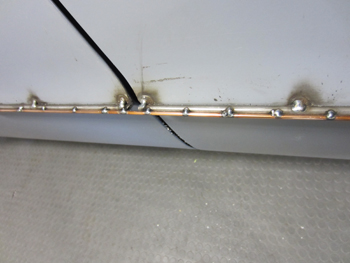
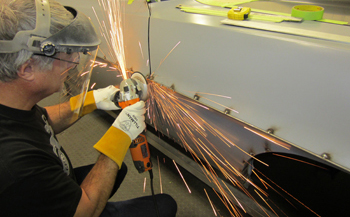
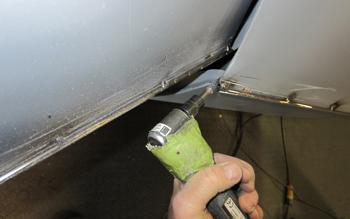
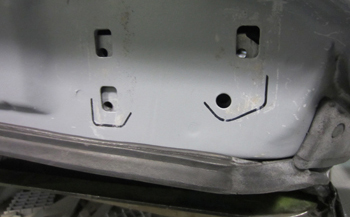
Build Tips
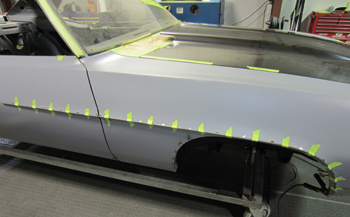
Camaro Fender Flares

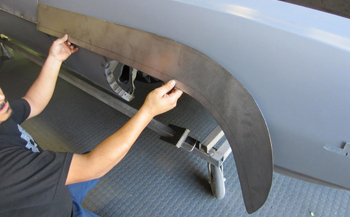
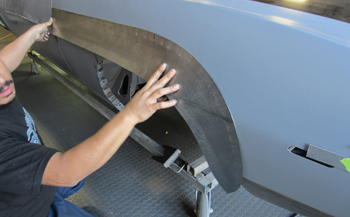
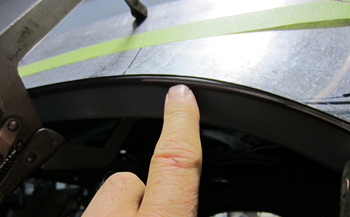
Most will agree that the fender flares on a 69 Camaro are some of the prettiest ever put on a car but in my opinion they are a bit too subtle. I want the car to look like its been pumping iron for nine straight months and it put on some real Muscle, so they have to be tweaked. It's nearly impossible to visually show the finished product or the actual " look " of this modification using a camera. Only the human eye can see three dimension. Until the paint is polished and you walk around the car you will not get the real effect.
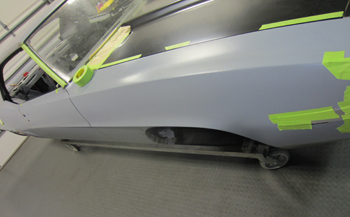
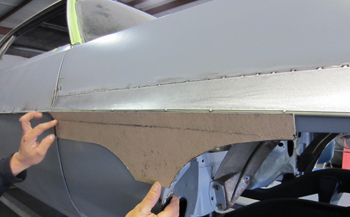
This angle shows a long and lean radius that tapers in to the door midway. Beautiful and admired for 40 plus years.
The first step is to lay out wire for our desired accentuation. Using 1/4 inch wire is not a massive change but will produce an aggressive difference.
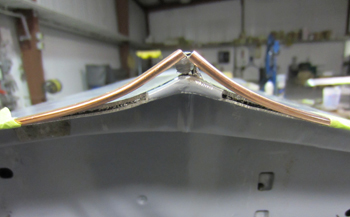
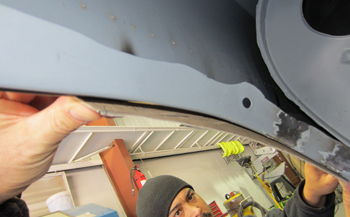
As seen Bob has the 1/4 wire formed to match the original flares and has them taped in place to check fit. I looked it over and gave him the thumbs up so the BOBSTER is ready to rock on.
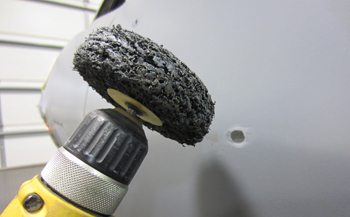
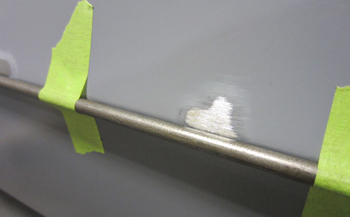
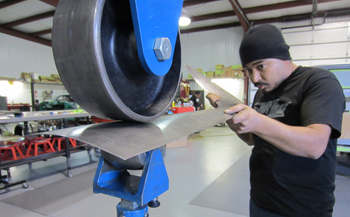
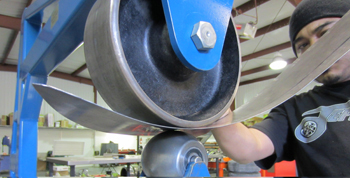
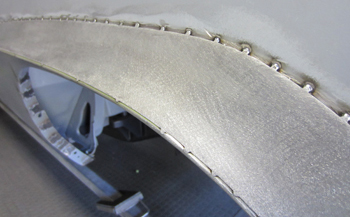
He marked the panel and removed the wire. it is now time to remove some of the Dp 50 epoxy primer so he can start tack welding the wire in place. Using a scotch brite / 3M wheel he removes the epoxy with out removing and metal.
Bob laid the wire back in place and we are ready for some tack welding.
Laid out and ready to go.
Small holding tacks are all that is needed at this stage of the game.
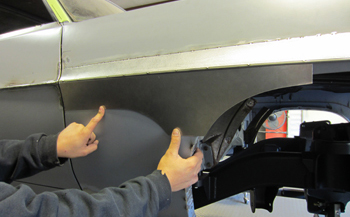
As seen it is only a subtle 1/4 of an inch change, but it will be more aggressive looking once done.
In the center where the door and fender meet we added an additional 1/8th wire on top of the 1/4 wire. This will be shaved down to add 1/6th more. The panels actually have a small bow from the factory in this area that I want to eliminate so it will be " Dead On " straight once it is body worked and painted.
Bob AKA the Bobster carefully grinds the wire to the height needed to achieve the look I want.
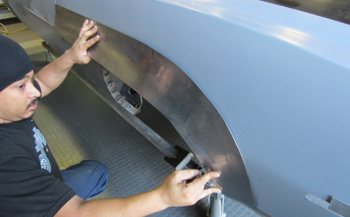
The trick of this alteration is the back side of the fender. Using a carbide burr he gets the clearance needed for the door peak to clear the fender when opening and closing. When you make a change like this and still require a 3/16th gap between the door and fender you may only have a match book of clearance when opening and closing the door. The more refined you want it the more you walk on the wire. You can only push the envelope so far before it tears.
Bob marked the placement of the door hinges so he could reinstall the door on and off several times quickly. Being sure the panels all line up first before any wire is added is a must !
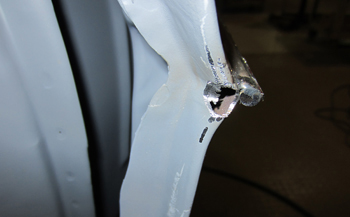
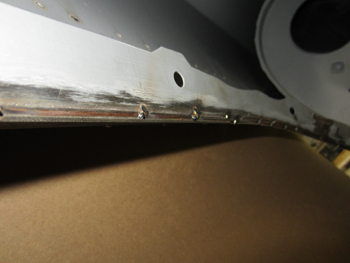
A close up shows how the material has been ground away on the fender opening to clear the door peak.
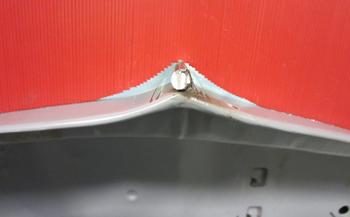
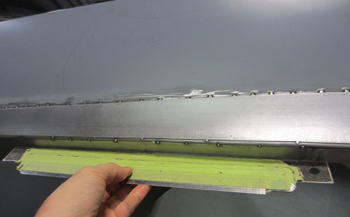
. Using a profile gauge we show what we are after.

Bob sliced away a groove to place his transition wire into so it would match the profile gauge just shown. Once the fender is wired we go on to the door for a matching set.
Our matched set on the door is ready to be tack welded.
You can see from this angle how it matches the height of the center wire we first tacked in place.
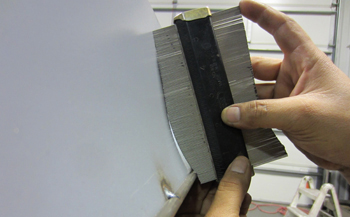
Using the wire profile gauge he locks it in to use for reference while the metal is being formed.
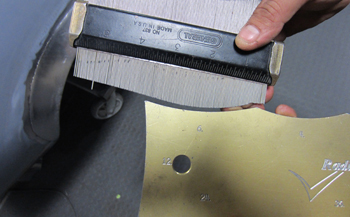
Comparing the wire form against the profile gauge we see it is a # 6
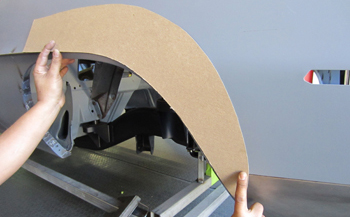
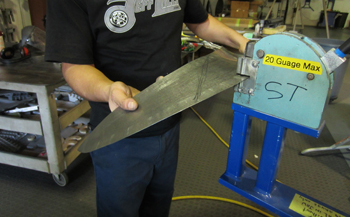
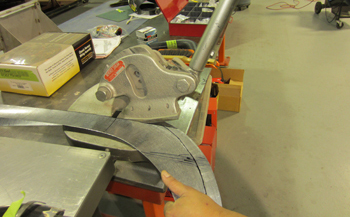
Next step he cuts some chip board and starts the lay out.
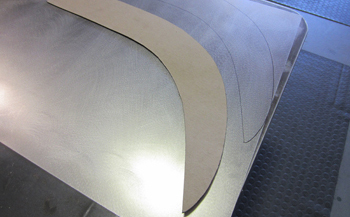
Marked on 20 gauge cold roll steel it is time to cut some metal.
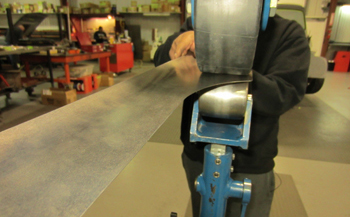
It looks like a hockey stick now but once the Mani the Meister of Metal forms it she will come along to our desired shape.
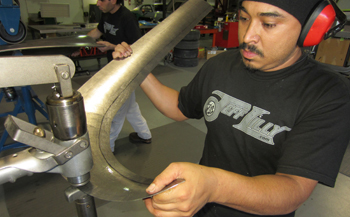
Using a rounded die on the planishing hammer he is ready to form it.

You can see it start to take shape.

It matches the profile gauge so lets take a look.
Mani checks fit and likes what he sees.
Time for a bit of stretching to curve it around the perimeter of the fender.
Check fit again, its taking on a better shape every time.
This time it is off to the wheeling machine to refine a bit further. Notice the rubber inner tube on the upper wheel. Aggressive shapes take aggressive measures.
Oh yea, she is submitting to the meisters techniques.
More planishing takes place to curve it in to the fenders existing metal smoothly.
Fitted up she lays down nice and just needs a bit of trimming. Although it is not pretty you
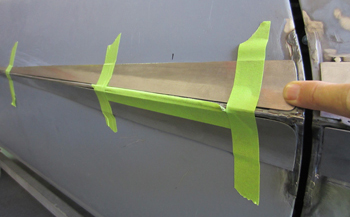
Clamped in place so we can get it scribed on the wheel well edge.
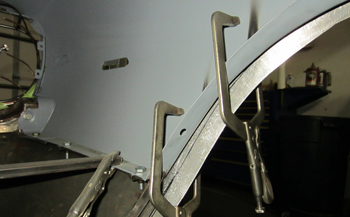
The back side shows the over hang that needs trimmed. Time to mark it, remove it, trim it and then on to the next phase.

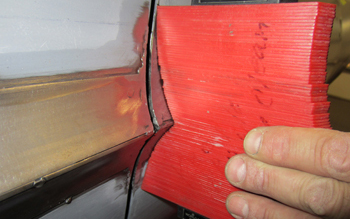
Carefully mark on an angle with a fine tipped sharpie!
Clamp again mark and more trimming.
As seen our desired goal is to get it trimmed to fit on the top edge of the wire of which it will then be welded.
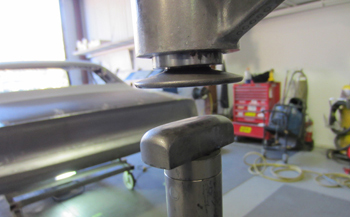
Off to the beverly shear to do some fine trimming, This tool allows tight radius trimming and is very accurate.
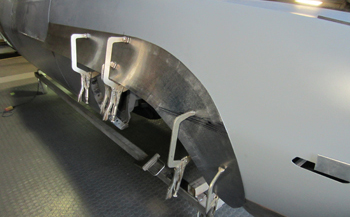
As seen she fits good and is tacked in place.
Notice how the metal sits on the outer top edge of the wire. Once all is fitted we will final weld.
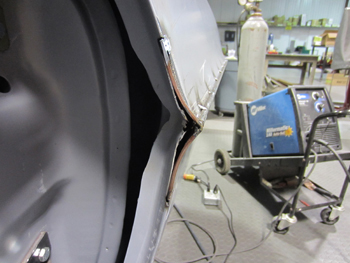
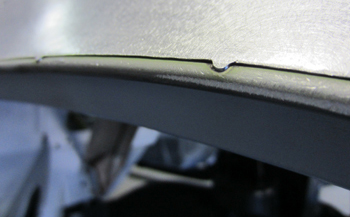
The lower section was a tricky part. The mock up allows a smooth transition from the fender edge to wire with no dips.
As seen there is a gap that we will need to fill. We ran a straight edge on the outer panel and it shows that G.M had a slight dip in the fender.
New metal cut out and needing a bit of tweaking.
Rubber wheel allows a nice bend in the metal.
A bit of flaring on the lower section to get it to fit also.
The door gets two simple pieces to transition from the 1/4 peak to flow in to the existing body.
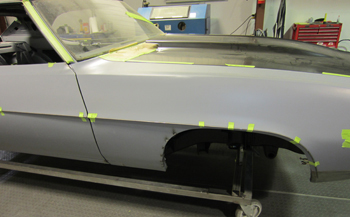
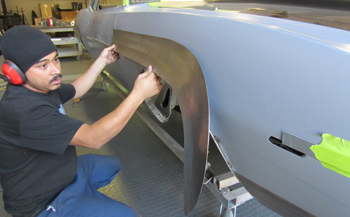
Tacked and fitting she is nice. As mentioned when we first started this particular modification, it is hard to show with a camera. You have to visualize the original Camaro fender flares and simply add a slightly aggressive higher pitch. Once the body is painted and polished it will become evident of the change. I will then photograph it in our in house ZSTUDIO to show the modification in its finished state.
The straight edge is true in every section.
As seen our profile gauge fits exact.
Wheel edge gap was filled with 1/8th wire. Time to weld it up solid.
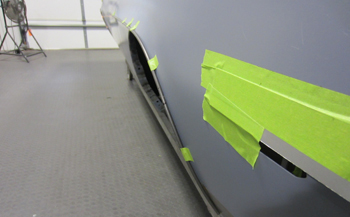
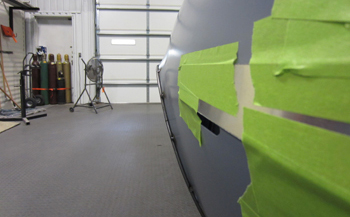
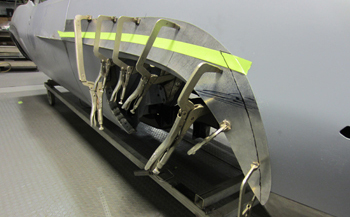
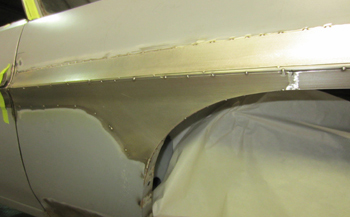
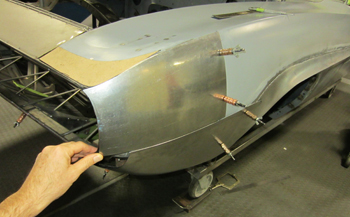
You can see the modified fender flares well from this angle flowing in to the lower valance like a sweet song of bliss.
Top piece looks great and after a bit of trimming she will be exact