

Build Tips
Camaro Exhaust #3
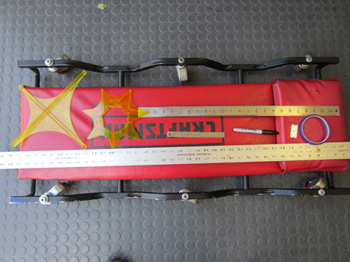
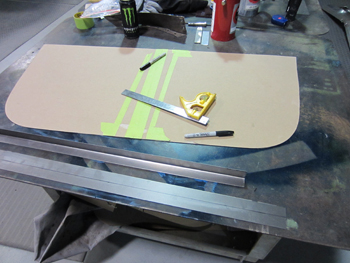
A man is only as good as his tools, the old saying goes and there is always the best one for the job. As seen straight edges, sharpie marker, transition profile gauges and a creeper of course to work the underside of " Dead On "
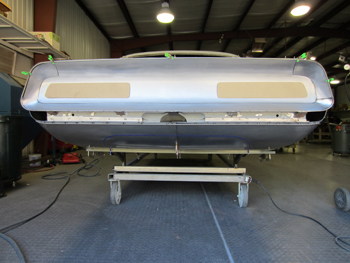
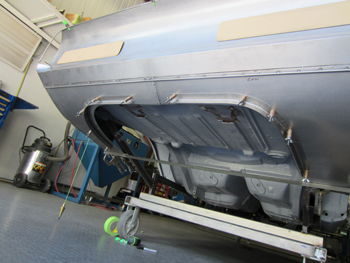
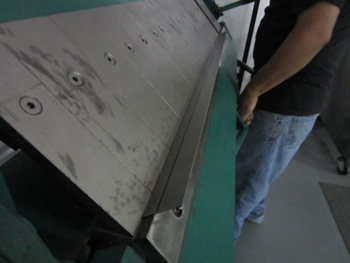
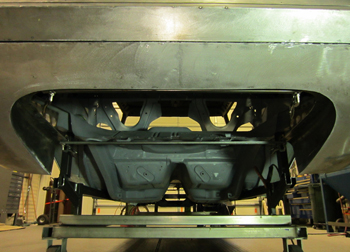
We have the car mounted on a body cart for easy access because height is important when fabricating on the underside of a project. As seen I have the proposed exhaust panel taped off to the size and shape I want. 3M blue vinyl tape works great for mockup and laying out ideas. It has great adhesion to bare metal surfaces.
The first step is making a template to match the taped area, Using thin white masking paper and small magnets Mani held the paper in place for a clean trace. He then turned it over and placed it on to the passenger side to be sure we had an exact duplicate.
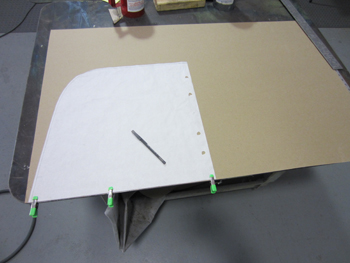
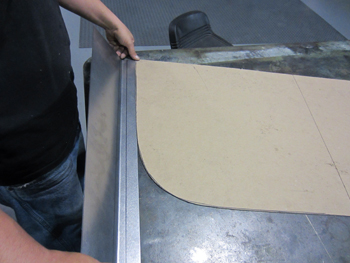
Time to transfer the template to chip board for a sturdy border.
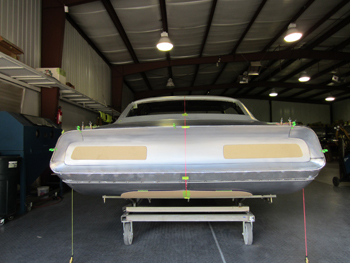
Hanging plumb bobs enables us to get the centerline and outside dimensions " Dead On " to be sure everything is correctly placed on the body.
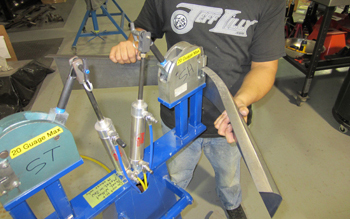
We like the way everything fits and measures out so we bent two pieces in 20 gauge in the sheet metal brake to 90 degree angles. These will be used to form our outer channel supports.
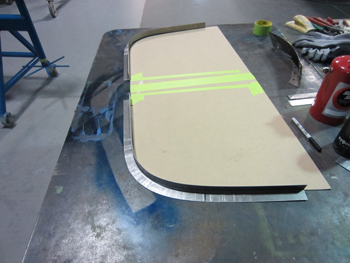
After a bit of time in the stretcher-shrinker we have them tweaked to match our templates to the exact outer dimensions.
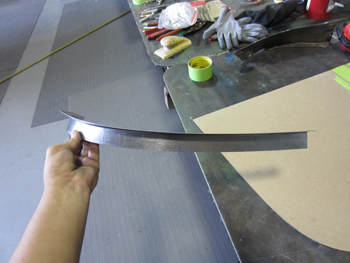
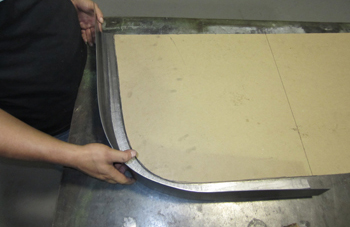
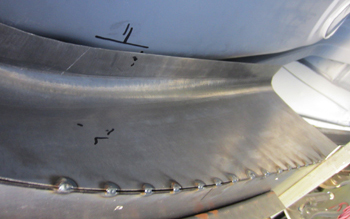
Smooth curves and subtle transitions with no kinks is what you are after.
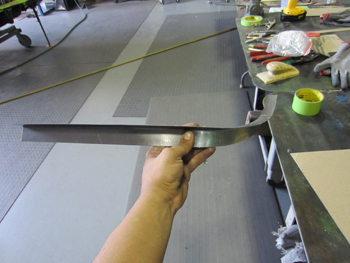
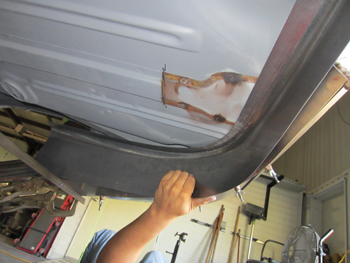
This shows how it not only curves but it turns upward as it gets to the rear of the vehicle. The outer shape on this panel features multiple angles and radiuses that we have to deal with so we have to pay attention to the slightest movement when using metal shaping power tools.

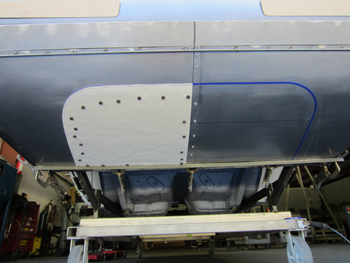
As seen it had to match the shape of our panel with no forced pressure. Clecoed in place she is coming together.
We cut out the steel in the center and off we go to the next step.
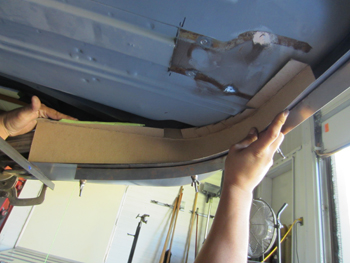
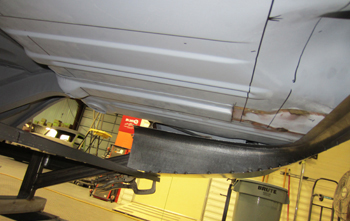
The original trunk floor has part of the old gas tank bracing removed. Eventually the old trunk floor will be removed but not just yet as we will use the existing floor to support the new exhaust panel we are building. Mani mocked up a passenger side curved wall that will give us the 3D look I am after.

Relief cuts are seen on the chip board as He gets ready to cut it out in 20 gauge.
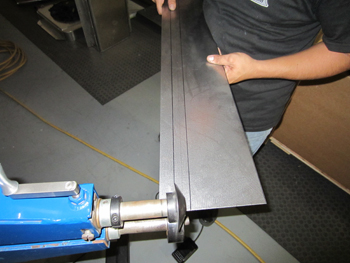
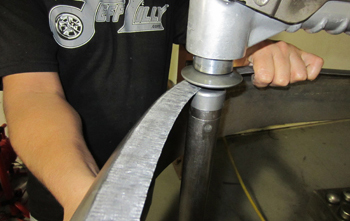
The first step is to run it in the bead roller on the first line to start turning up the panel so it will have a tight radius. Note the edging dies we are using as these allow a very tight radius.
Over to the sheet brake as He tweaks it on the second line to get it just where he wants it to be.
He studies it a bit to see where his bend needs to take place.
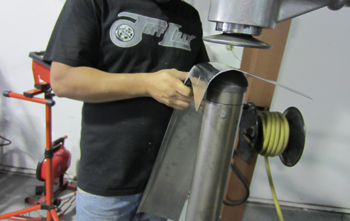
Back to the shrinker to form a curve it it.
Coming along and taking shape.
We run it through the planisher to smooth the edges and tweak it a bit more. This starts the process of curving the inside edge. I want it to have a nice transition with no hard curve line.
The domed die takes it to the round corner look I desire.
Fit it up and looking good. Sweet and of course she is " Dead On "
We are being sure to place it at the correct height as we will match the other side to it.
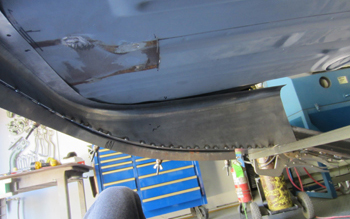
He trims the metal and tack welds it to the existing tail panel.
This close up shows tack welds to hold
it all in place. Going slow and precise makes all the difference
Bob sets up a level to get the floor brace supports exact. Much like a classic Corvette this will eventually support a gas tank that fits from the underside up in to the old trunk area so it has to be strong.
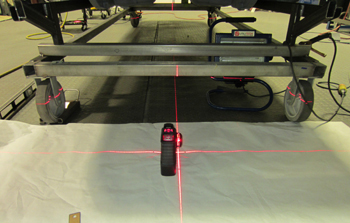
To be sure everything is square I pulled out the Bosch lazar and set it up for a level cross. I sharpie marked right on the lazar line on both sides just behind the rear tires for an exact duplicate. Time to slice it down to size.

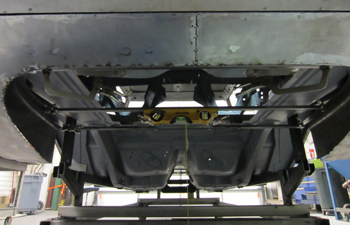
Mani final welds it up and she is ready to grind smooth. Note the measurements Bob wrote on the inside wall to assure the exhaust panel will have correct placement-spacing of the fasteners once installed.
Pretty Cool and ready for the exhaust panel to be fabbed. Once we get phase 1 of the body work smoothing done we will install the Aluminum base panel up inside the opening against our flanges. We will then attach foam to the base panel and hot wire the same shape as the outer sections to have templates to form the aluminum Fins we will be installing. Check back soon for more on this section of the build.