

Build Tips
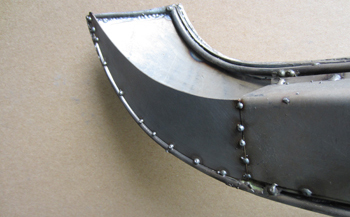
Camaro Bumper #7
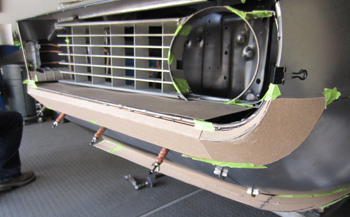
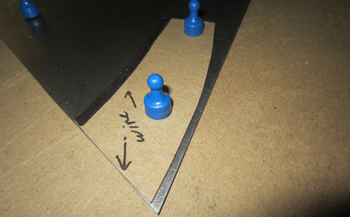
As seen I started off with a chip board mock up to convey to Sam what I have envisioned. I also had him mock up a baby chin strap spoiler / air dam at the very bottom to start looking at what will look best "symmetrically" to compliment the rest of the build.
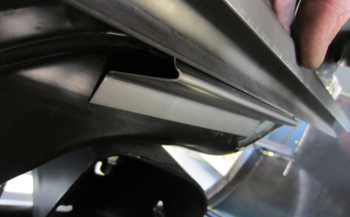
We start by installing some inner bracing so that once the bumper is actually fabbed we have a way of removing it on and off the car for fitting during body work and paint.
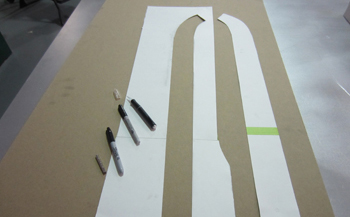
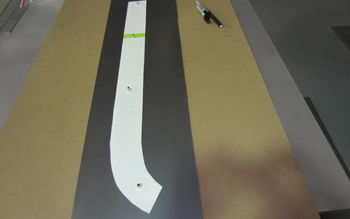
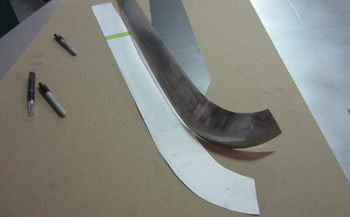
Sam placed some poster board over the outside wires and traced out a pattern to form the outer cover/shape of the bumper. He then cut it and is now ready to check fit.
All is well and he can now cut it in metal to begin the shaping process.
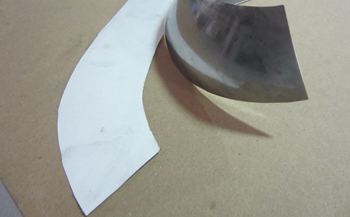
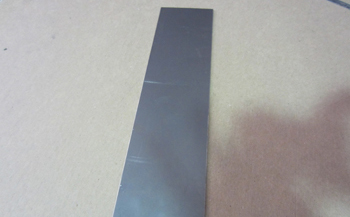
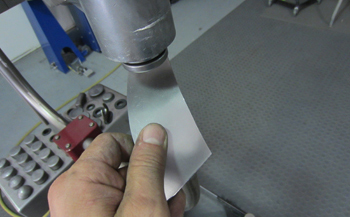
He placed the template on some 16 gauge metal, held it in place with magnets then traced the outer perimeter and it is ready to cut out.
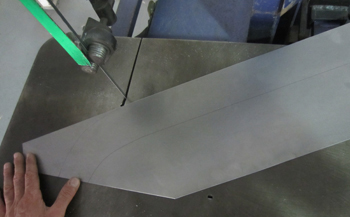
Using the band saw he cuts just outside the line to allow for final trimming.
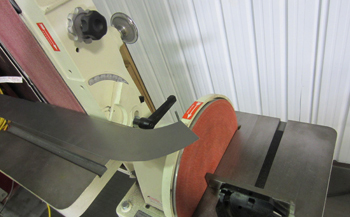
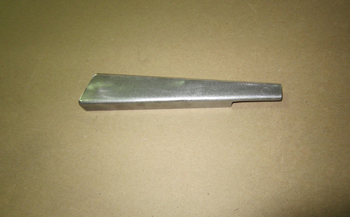
Over to the grind station he trims it up on his line and is ready to start the forming process.
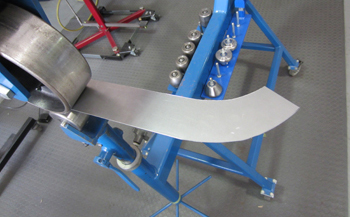
The English wheel comes in to play first, by using a small crown die Sam starts working the panel.
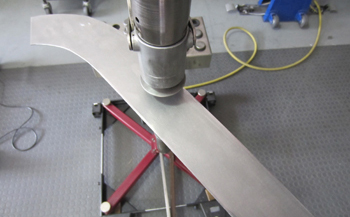
Then off to the planishing hammer to tweak it in to submission.

As seen from this angle it is taking on a slight domed shape.
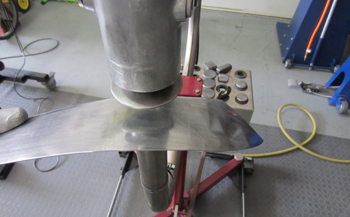
On the ends it is bending over as the bumper flows to the side.
It is starting to take on a personality of its own.
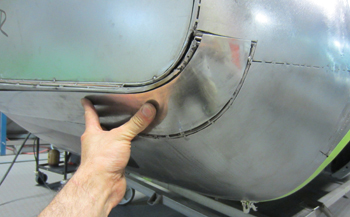
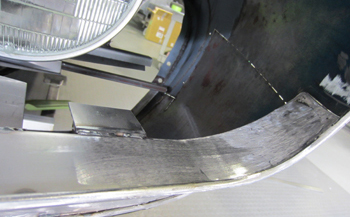
This close up shows how gradual it turns in to the fender.
He fits it up and it is looking good. Trim it a bit and start to tack weld.
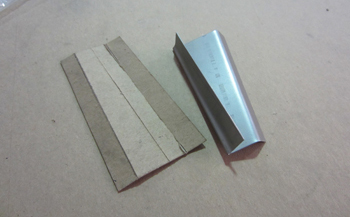
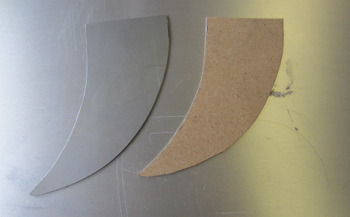
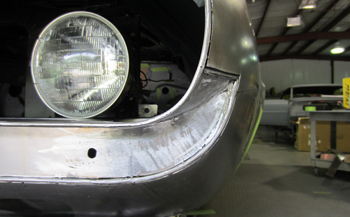
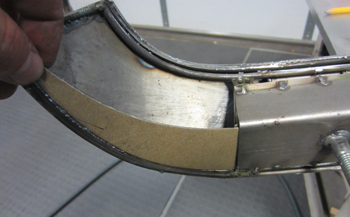
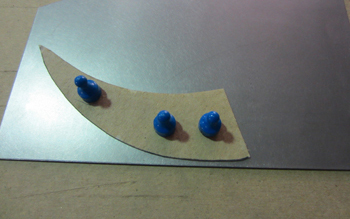
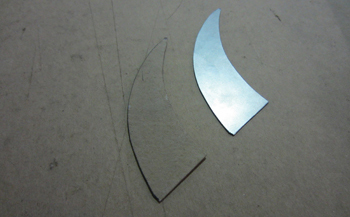
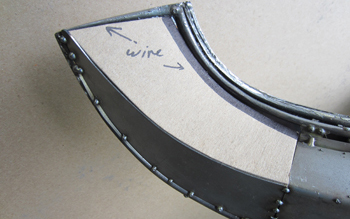
The very top of our bumper has a really small ledge. This is because we want a very smooth non obtrusive body line/panel. We have to angle it some to give it just the right amount of depth perspective. Sam cut a thin poster board for the material mock up.
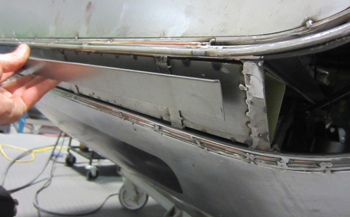
The head light opening has a panel tacked in place to keep everything aligned during the bumper fab and welding process.
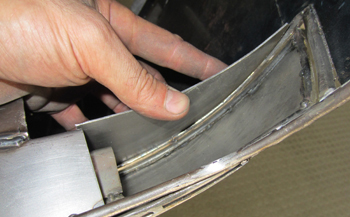
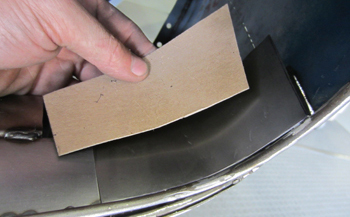
He then transferred the top ledge on to metal and tacked it in place.
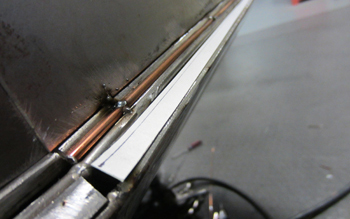
Next we need to support the back side of the bumper with a frame system so he decided to bend two sections and form a Vee.
Simply bend it on the brake.

As seen a simple angle wedge. Time to make the other side to form a V.

Second side is ready.
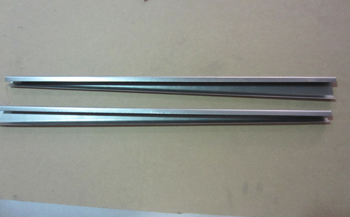
Lets put them together.
Using a piece of metal we welded it in the center to form a Vee Frame.
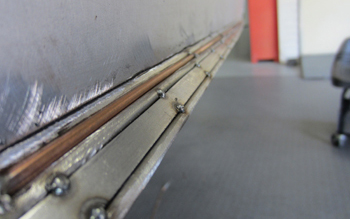
Now we need a brace to horizontally reinforce the bumper for support.
This will support the Vee..
In place and tack welded
Another support for the sides
As seen supporting the middle section on both sides.
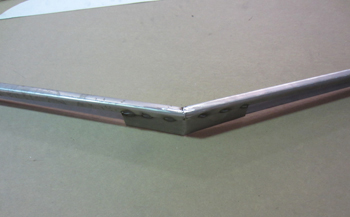
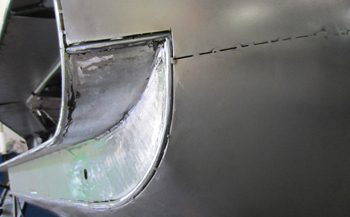
We also want to fill in the inner support at the corners to strengthen the ends and have a place to mount the stud that will attach the bumper firmly.
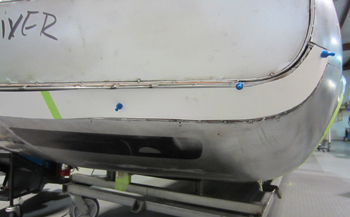
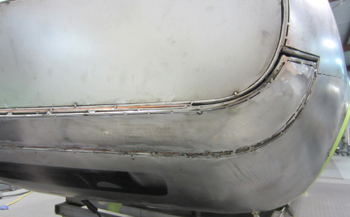
Sam checks the overall fit and it is looking good.
He finishes it off with a cap.
As seen at the ends at the top it will serve as the support system and will be covered by the inside lower head lite panel once finished.
This view shows the multi angle system.
Another view shows the full pocket. It is reinforced with all the room needed for the backside of the bumper reinforcement to fit in to it.
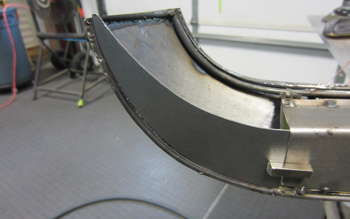
Both sides are finished, now we can proceed on to the inner supports.
Small brackets were made to stabilize the walls.
Welded in place it is now very rigid. This way when the big motor is idling no Bumper vibration and / or shake will take place.
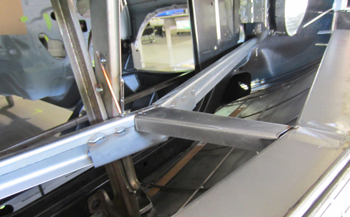
Now that it is all formed we can cut away our mock up wires from the backside.
As seen it is fully gusseted.
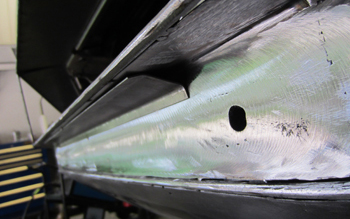
Over to the back side of the bumper the same thing needs to be done to keep the tight fitting bumper from twisting and to retain its shape. Keep in mind that when you are building a bumper to fit with a 1/16th gap it has to be very rigid and supported as there can be no slack in tolerances or the gap will disappear and possible contact would occur which means paint chipping. So "Dead On" as the cars name implies is the only way to build metal panels with seriously tight gaps.
Sam placed it on to some 18 gauge and away we go.
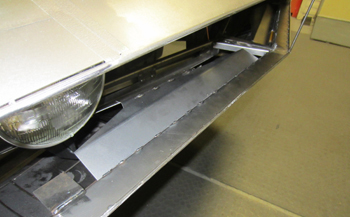
Ready to be fitted.
Ready to be fitted.
Tacked in place, it is time to check the fit then make any adjustments before welding in solid.
The outer section. This is where the actual stud will end up being placed to hold it firmly to the inner section shown earlier.
Mock up to metal.
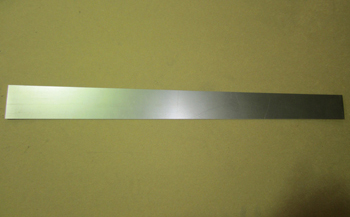
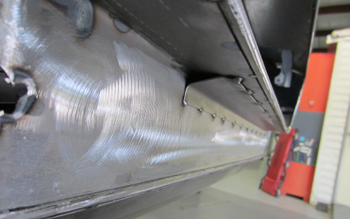
A bit of planishing and voila its Magic in the hands of Sammy from Miami.
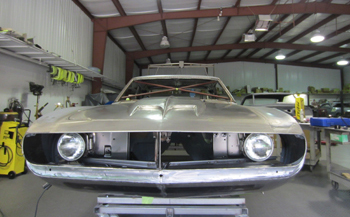
Tight and right. like no other Camaro in existence.