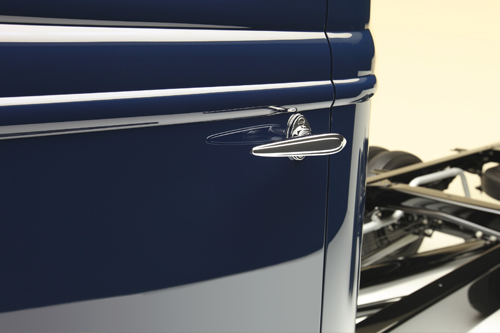
36 Door Fit
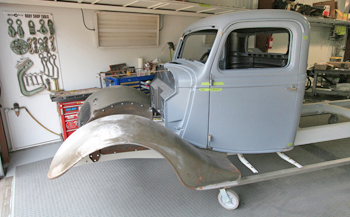
Fat Fendered 30s Street Rods have always been in vogue and are built in many unique ways including Custom to bone Stock body lines. This particular project will retain its stock Ford lines along with the original door hinges. We will show you how to beef up the hinge area, align the panels and get the gaps in shape. Our example is a 36 Ford Truck but the Chevy, Dodge etc are all pretty much the same design and would require identical techniques.
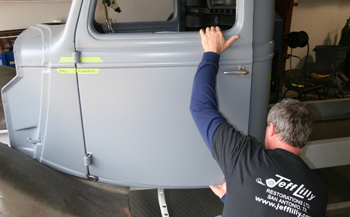
The First step is to align the body as good as the factory tolerances will allow. Bob loosens up all the hinge bolts and striker areas to see what he can get. The usual problems are evident as he was only able to get it so close. The factory assembly line did not have a very close tolerances in the 30's
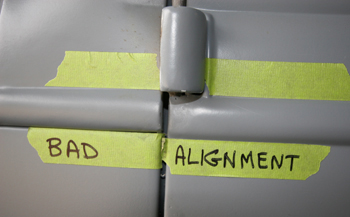
A close up shows the door to cowl alignment is way off as seen by the tape edges. She needs a lot of work for sure. Although this area is very important we have to work other sections of the body first to be the most efficient. We will come back later to deal with this once we see the big picture.
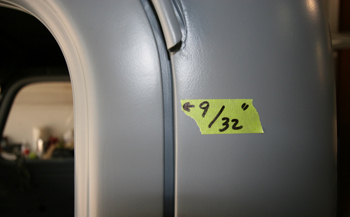
The gap at the top outside door to cab is 9/32, this is large enough to throw a cat through the door, so much attention is needed.
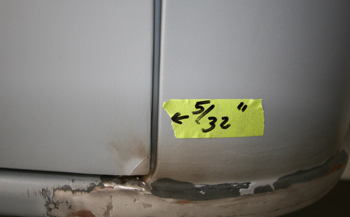
Typical inconsistent gaps with a 5/32 at the bottom. One of the main problems in keeping a gap once you achieve it is where the hinges are attached. Regardless if you are going to build your project stock or mount the hinges inside the interior of the cab during a custom build, the hinge plates/post must be strong enough to keep the door from sliding back and closing up the gap once the rubber seal is installed. This is a common occurrence, when the rubber is installed the gap on the hinge side ends up being larger as the hinge pocket flexes from the rubber tension, which then pushes the door away.
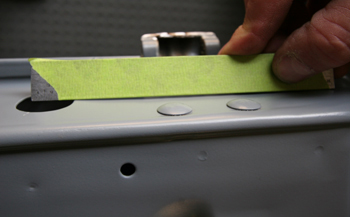
We remove the door to take a look at the guilty party! In the thirties they did not beef this area up much. It usually has a dip, as seen under the straight edge. The rivets are also part of the problem as they weaken over the years from general use.
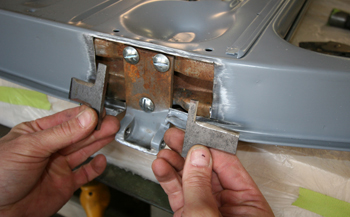
We started by cutting off the old outer sheet metal. We bolted the hinge back in place with grade 5 carriage bolts and nuts after drilling out the rivets. This inside structure is not strong enough to support the hinge by itself so we will beef it up a bit. The metal we cut off was not touching the hinge, just bumping against it which allowed the hinge to flex even more. We will add these T- braces in to stiffen up the door post structure.
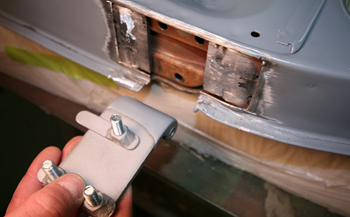
We welded in the t-plates and ground every thing level. We removed the hinge to show you the nut retainers we made to enable removal of the door while working on it including any future need to remove the door. It is very tight up inside the door so this aides in starting the bolt/nuts with your fingers when re-attaching or removing the door.
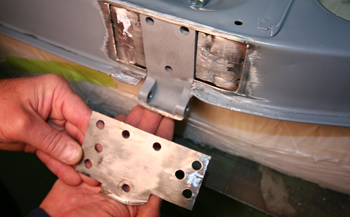
We made a new outer cover for the body of the door but this time out of 16 gauge instead of the 20 gauge used by the factory. This allowed us to close up the space between the hinge and the original metal we removed thus making it very tight with just enough clearance to slide the hinge in and out between the body metal and inner door post.
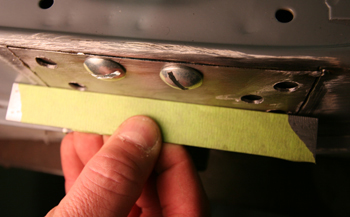
As seen we have re-attached the outer metal with the new door bolts and it is all level with correct contact to the straight edge. Time to weld her up and re-attach the door.
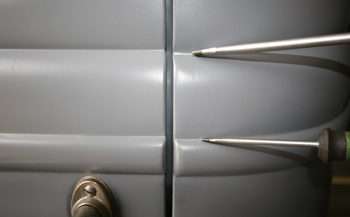
We now have a sturdy door with no flex problems but we still have to align all the panels as the inside lines are off. Unlike a 50,60 or 70s vehicle with the ability to adjust up and down at the rear by loosening the hinges. The only way is to adjust this is the striker/guide system if you do not want unsightly shims that can be seen under the hinges. Our guide plate is raising the door 1/16th higher then need be and we can't adjust it any more which is often the case. The remedy, cut and raise up the striker a little bit to allow the dove tail striker to align properly.
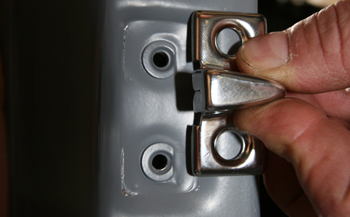
As seen the dove tail striker needs to be moved up so lets get after it. Raising just the nuts would not let it clear the factory pocket so the complete assembly must be moved up.
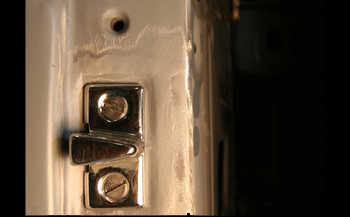
We sliced around the perimiter then moved it up about 1/4 inch. We then ground the welds down and reinstalled. Be sure and check it while you have it tacked in first before fully welding.
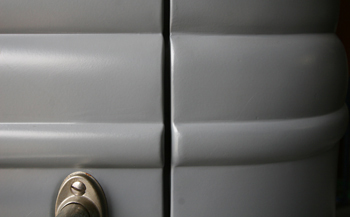
As seen we now have the inside lines matching up.
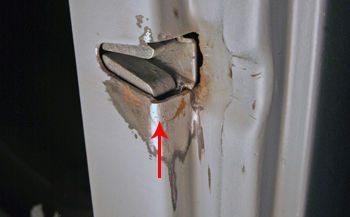
The door posts guide pins are in place and the dove tails shown in caption 11 and 12 slide precisely into place. We did however have to touch up the edge of the door post! " See Red Arrow " as it was so miss aligned that it was hitting the edge and bending it over.
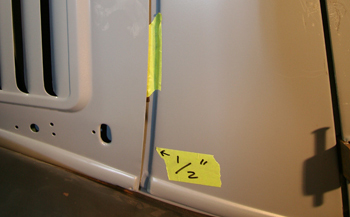
The hood to cowl gap is way off. We will start by adding a larger body mount to close up this gap. Raising the cowl will change the angle that the radiator shell aligns to the cowl thereby closing up the hood side panels to the body cowl.
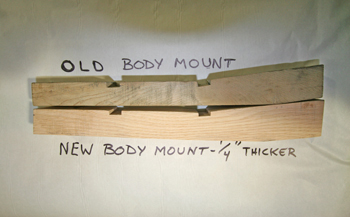
1/4 inch more will do the trick from the math we came up with. We fabricated mounts from new chunks of red oak.
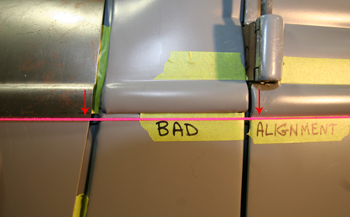
We have the hood, cowl and door gaps getting as close as nature will allow. We ran a string to see how all the lines matched up. As discussed in Caption #2 we can now make the proper assessment now that all the other problems have been worked out. The door and hood lines as seen "red arrows" are dead on but the factory welded the cowl belt line up too high. We will use a fine line cut off wheel and lower this section to match.
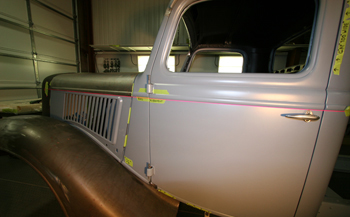
We step back to take a look and the string now matches the length of the hood and door pretty nice except for the belt line at the cowl which we will move down.
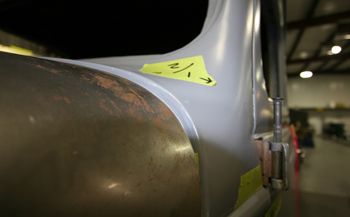
We have done all the necessary steps in the proper order but we still have a hood to cowl height problem. The 30's were some rough years the factory built cars which really takes some time to overcome.
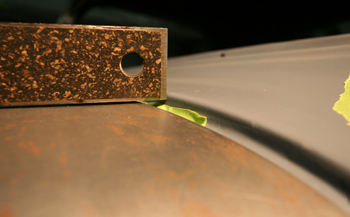
Even toward the center of the hood the straight edge shows over 1/8th lower to the cowl. The hood is flat from front to back so the adjustments have to take place on the cowl. Be sure the welt cord or rubber seal where the hood lays down against the cowl is installed before checking, marking or any procedures take place.
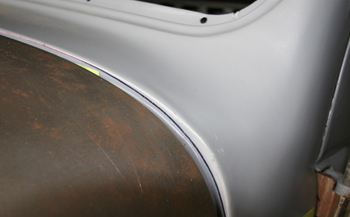
We marked the cowl on both sides where we need to slice for a flush fit. So lets get it on.
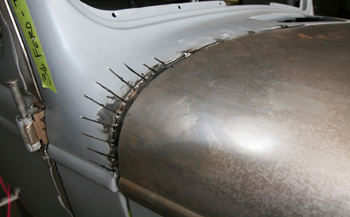
As seen on the passenger side we sliced the edge and also had to slice several pie cuts in order to lower the cowl to match the hood. We did the same work on both sides.
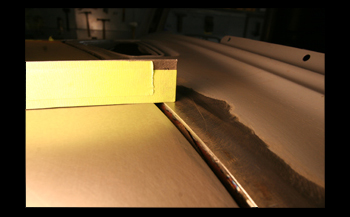
We go back with the straight edge and as seen the cowl and hood line up precisely!
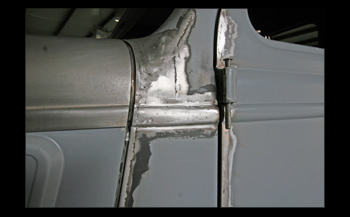
A close up shows the belt line moved into position and ready for body work and paint.
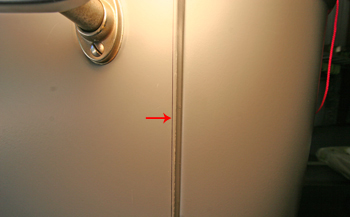
We go on to the door gaps and mark back 7/32 matching the gap to the body shell. This is larger then the 3/16ths we want to end up with. We have to cut back enough to allow welding and after we grind back to our desired 3/16th we want enough metal thickness still on the edge. As in this case the middle of the door is to tight.
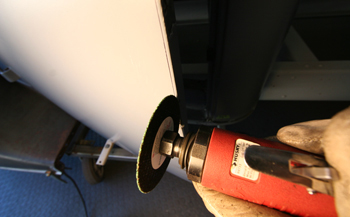
Bob uses a cut off tool but only cuts 1 to 2 inches at a time. He then tack welds it to keep the panel from splitting and separating. This keeps the panel from getting wider and retains the original thickness.
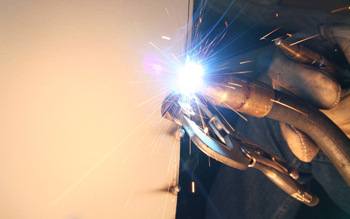
He tack welds every inch. Notice the clamp with light pressure to keep the panels from separating.
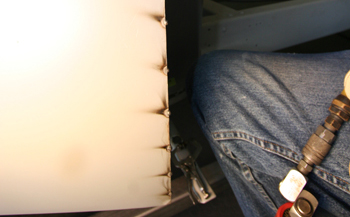
As seen just a few penetrating tacks. Do not weld any more then this or you can warp the panel.
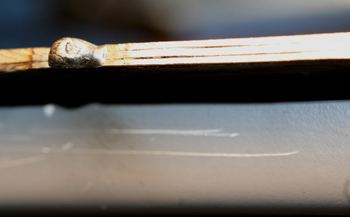
This close up shows the outer panel sheet, inner panel and the third panel which is the wrap around section the original door skin made. Keep them tight as mentioned in Caption 24 with no space in between.
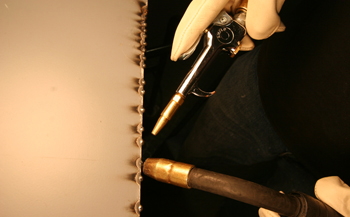
Tack weld then air cool, tack, air cool again and again. Slow and smooth gets the prize.
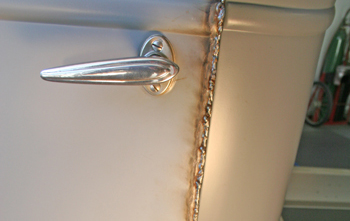
Welding up door edges and cutting them back to the correct gaps takes much time when no warping is allowed. Notice how small the weld beads are. 1/4 inch then air cool, move around up and down etc. No Tig welders! A Tig takes too long to heat up the base metal around the area before you can place the rod in and melt it which tends to warp a panel. A Mig welder allows instant tack welds then cool with the air to avoid warping.
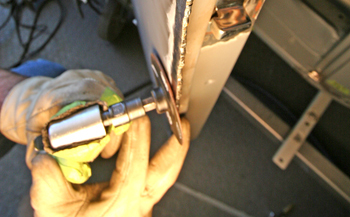
Bob grinds the surface smooth then closes the door and marks the gap exactly where he wants it to be. Again, move around some to eliminate heat build up.
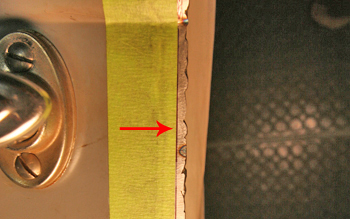
As seen he has sharpie marked the edge of the tape. The tape was used to lay out the desired gap against the cab but will now be removed.
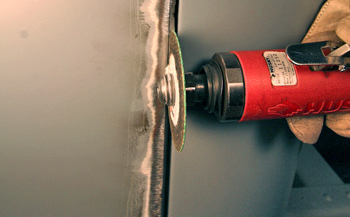
Now slice right on the outside edge of the line to allow a bit of metal for fine tuning.
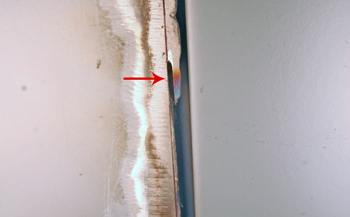
You can see the slice line on this close up. Leave just a bit of remnant on the outside of the line for final fit.
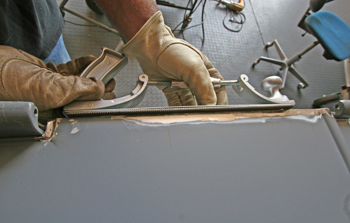
Bob likes to finish off the gaps by metal filing for a perfect edge.
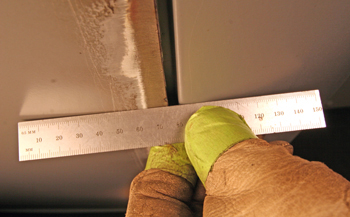
He installed the door and checks it with a straight edge to show no warping, just a gradual taper that the original door was made with.
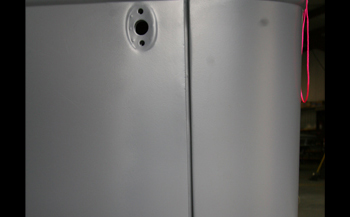
We cleaned it up prepped and primed. As seen 3/16 dead on gap is ready for bodywork and paint.
