Build Tips
36 Dent Removal

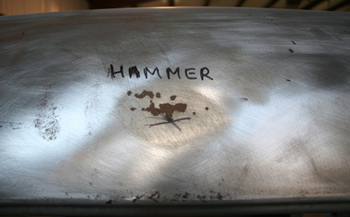
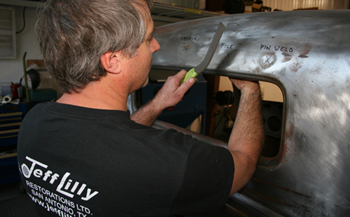
We picked out three dents with different depths on this 36 Ford Truck Cab. We will use the top three methods to repair each one.
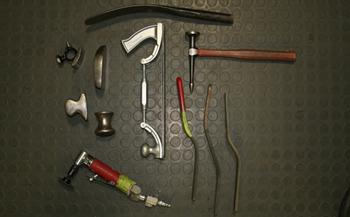
Tools of the trade are as follows, Hammer, Dollies, Slap files, angle grinder, metal file.
We will start with the deepest dent. In general any dent that is 1/8th of an inch in depth or more should be worked out to around 80 percent using a hammer with the correct face and a matched dolly.

This particular hammer has a slight crown or dome which keeps it from making contact on the outside edge thus a smoother finish. As seen the dolly has the same slight crown.

A spiral is the key. More often then not a dent is not perfectly round but we will use this for demonstration purposes. You start on the outside and work the dolly and hammer in a circular motion until you meet in the center, thus gathering up the metal bit by bit.
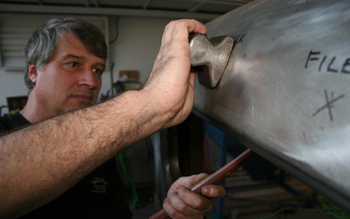
Bob, a soft-paw holds the hammer in his left hand and the dolly in his right, a right handed person would switch. Notice how he holds the dolly so the center makes most of the contact. If you do not have the vehicle apart you cannot gain access to the back side. This is important, but at the end of this article we will show you another technique that will allow you to remove smaller dents without having any rear access.
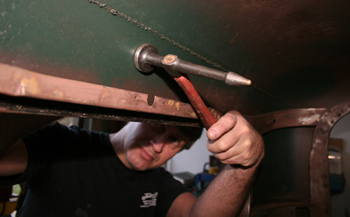
Get comfortable so you can get a nice swing and make even contact with the panel. How you hold the dolly is important. Just 1/8th to 1/4 qter of an inch inside the dent away from where the hammer strikes on the outside of the dent is best. This will allow easy dent removal with out having to strike the panel so hard.
Bob works his magic and the dent is disappearing. After he removes it 80 percent or so he goes on to slap filing for final removal. In the next captions we will show you how to use this slap file method and that will be the same way we finish this dent.
This 2nd dent is 1/8 th deep and we chose it to demonstrate removal of the dent using a slap file and dolly but no hammer.
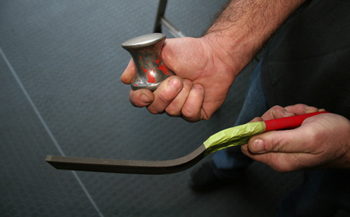
This dolly is smaller then what we previously used, it has an hour glass configuration which allows you to hold it with your fingers and get closer to the panel. We will remove this entire dent using this technique. As noted in caption 8. this second technique is what we will finish out the first dent to completion, but for efficient use of photos we are going on to the second dent to show this technique.
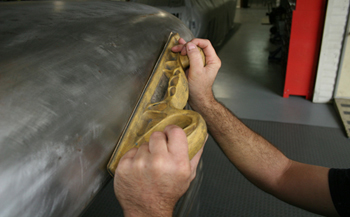
A close up shows the serrated teeth of a slap file. This method of dent repair actually is reverse of the hammer and dolly method. You still use the spiral technique but instead of pounding out the dent the opposite way it was put in, you actually slap the panel the same way the dent was put in to the panel. The dolly is placed on the back side and with a bit "2 lbs" of force you place it on the outer edge of the dent and when you use the slap file it needs to touch directly on the same spot where the dolly is placed on the opposite side. In other words, they should meet. The teeth on the file allows the metal being pushed from the dolly to work it's self in to the teeth allowing the dent to come back to the surface.
The same spiral method is used.
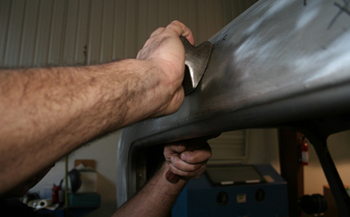
Bob uses a vinyl reinforce slap file but gloves should be worn if it is a bare file because it can tend to abuse your hands.
Bob places the dolly on the outside perimeter of the dent and slaps the same spot and bit by bit the serrated teeth fill with metal which pulls the steel to a level surface.
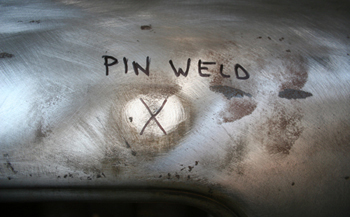
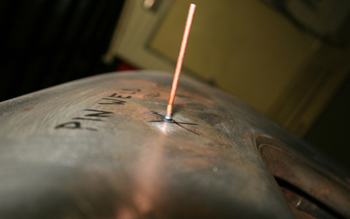
PHOTO OF SERRATION SPOTS. In this section we take 1/8th or less depth dents and use a pin spot welder.
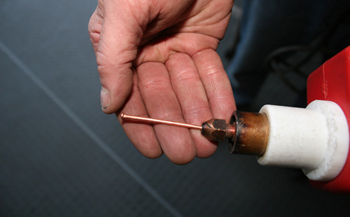
The pins come in different sizes 7/64 1/8 etc.
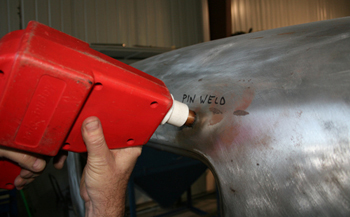
Most pin spotters are set to weld the pin to the metal with out burning. We place it in the designated center of the dent and pull the trigger.
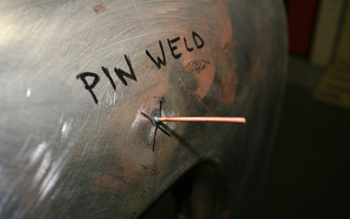
As seen it is welded on and ready for a pull
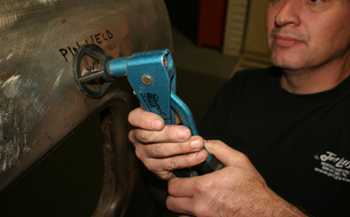
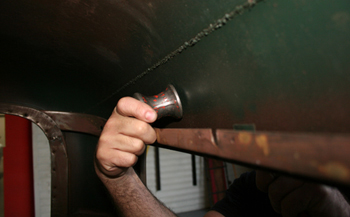
Bob now uses the " Ding Near Perfect tool . See the circular basket. It is very similar to a rivet gun with a circular basket on the end.
As seen it pulls the dent right out!
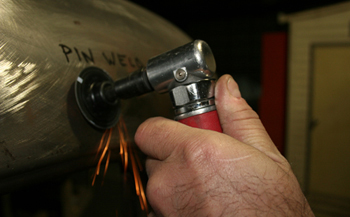
He grinds the pin weld down to nothing and it is now time to run the metal file over it to see what we have.
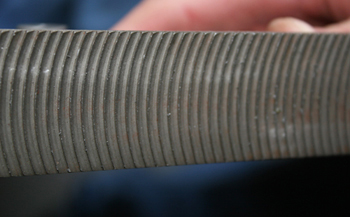
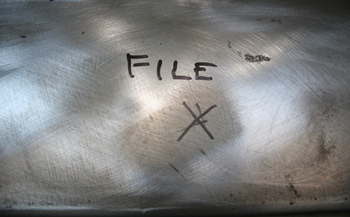
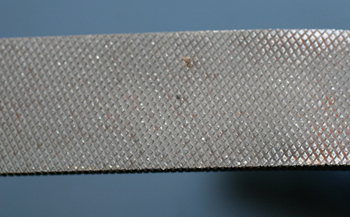
This metal file has 8 teeth per inch, it works well and cuts metal nicely. We will demonstrate in the next caption
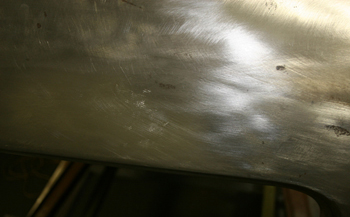
Slide the file in an x pattern across the panel and it will shave a thin layer off the top. This shows the highs and lows and gives you a gauge to where you are with the straitening process. If you need to slap some more now is the time. Bob likes what he sees so he will go on to the final step
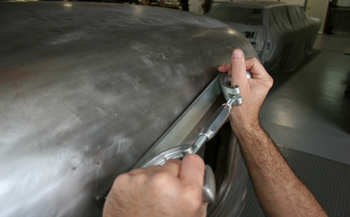
Bob likes to work his metal to the inth degree so he uses a 17 inch block with 80 grit to give it a final check and he feels satisfied when total contact is made on the panel denoting a finished repair.
The finished product! A few coats of high build primer and you are ready to paint.