
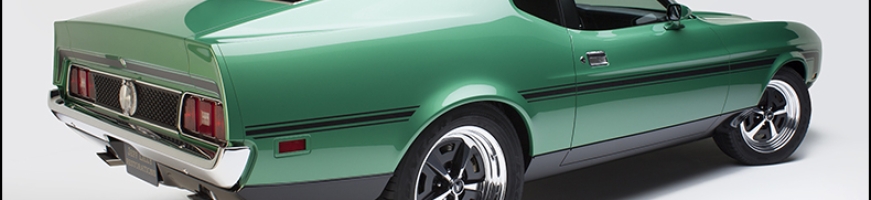
1971 Mustang “Wild Horse”
1971 Mustang - Pot Metal Fit
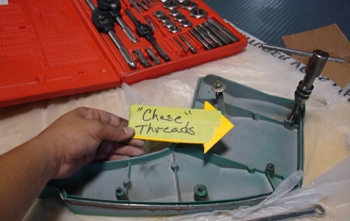
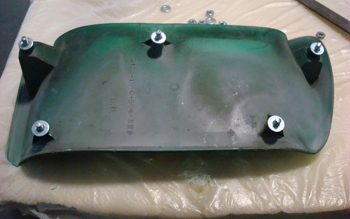
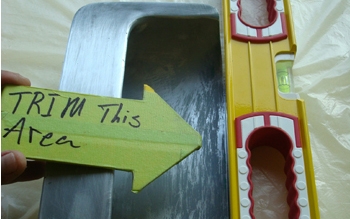
Tapping out all the threads in the pot metal fender extentions assures a solid fit.
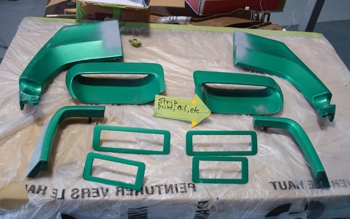
Ready to be fitted.
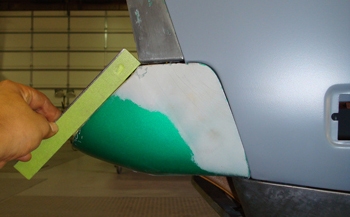
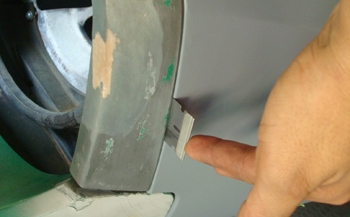
As seen the fit is not very pretty.
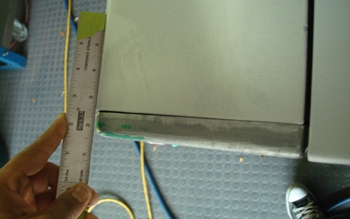
The extension sits inward 1/8th of an inch compared to the qter panel.
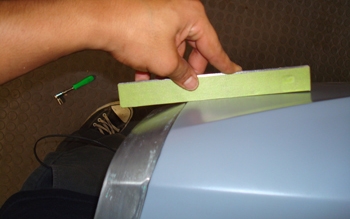
The front fender extension drops off quickly from the fender. This affects how smooth the sides of the Mustang will flow.
The rubber bumper has a dip where it meets the fender.
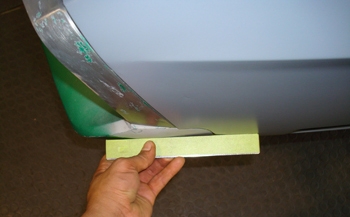
A large gap under the pot metal extension.
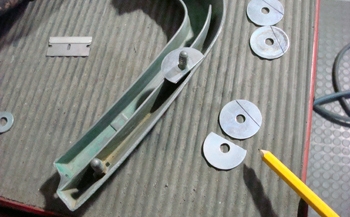
In order to get the fender extensions to fit exact we made custom shims in different thicknesses.

Using a metal file we can trim some of the pot metal to help the fit for this Mustang restoration project. The extensions vary in thickness but average 1/8 so this allows a bit of " tweaking" .
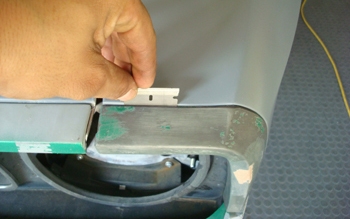
Once Bob figured out the correct thickness for an exact fit he tack welded the washer shims together. It is time to epoxy them on to the extension permanently.
This small gap will allow some filing and primer build up on the fenders edge. This is what it takes to end up with a razor blade gap once done.
Coming around she is looking tight.
Same on the sides.
Once we filed the side we got a better transition. More stream lined.
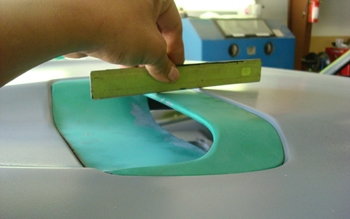
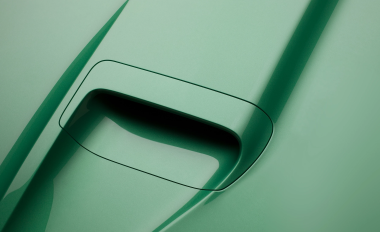
The same goes for the scoop fit, much work is needed to get it exact.
Different thickness to achieve the ultimate Mustang hood scoop fit.
Looks much better.
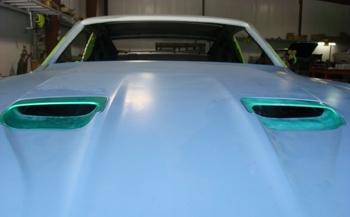
Even side to side also.
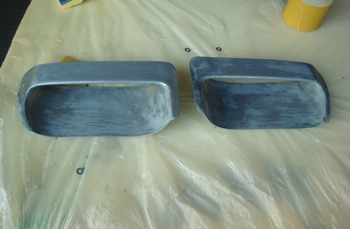
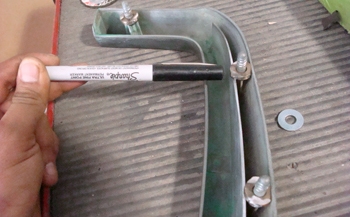
Strip the paint and now we can get down to business.
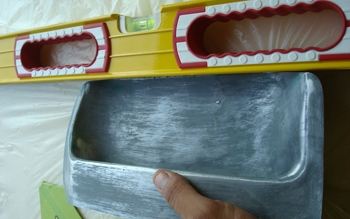
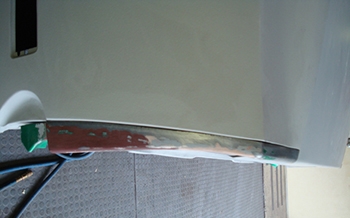
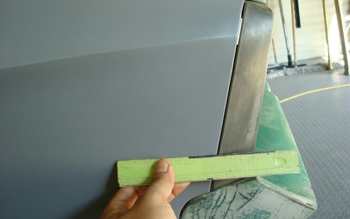
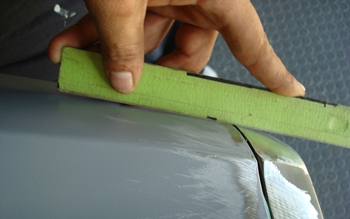
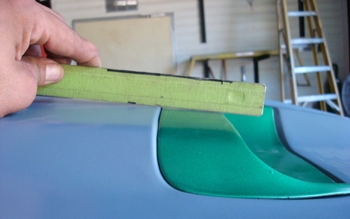
They need some filing to make all the lines straight, the straight edge tells the truth.
As seen the far end is way off the straight edge but it makes contact in the center so the center will get trimmed to get it all the same.
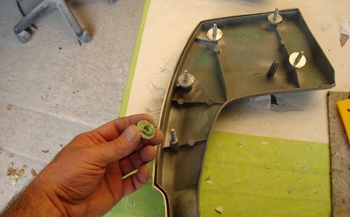
A little media blasting before the washers are epoxied gives us the adhesion needed and we are ready for the next steps in the restoration process.
The finished work speaks for itself!