1971 Wagon - Assembly
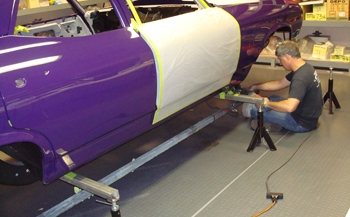
Now that the body is polished it is time to assemble the Wagon. Bob supported the body with tubing and stands to remove the body cart.
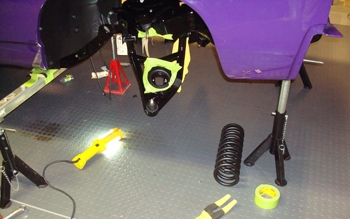
Suspension including springs and control arms get installed first.
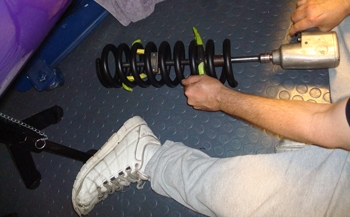
Every thing gets taped off to keep from chipping etc.
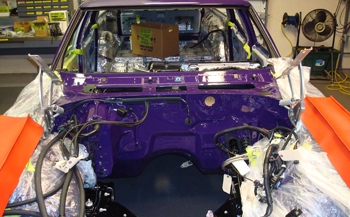
Lines are run including electrical and hoses.
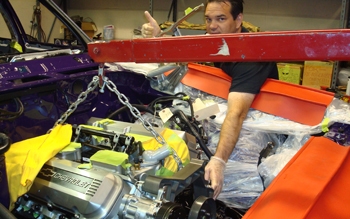
Jeff steadies the Big 502 to keep from scratching.
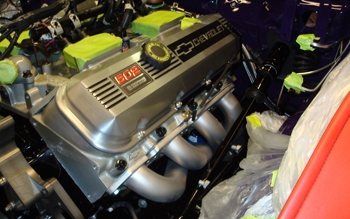
Fits good and ever thing clears.
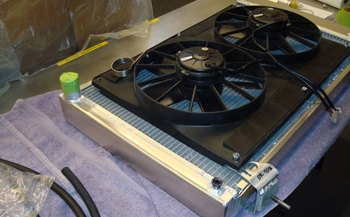
Fans radiator etc.
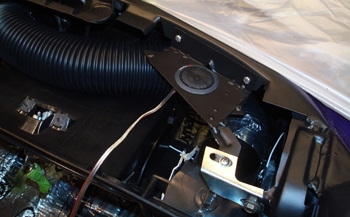
Front dash speakers before the dash goes on are installed.
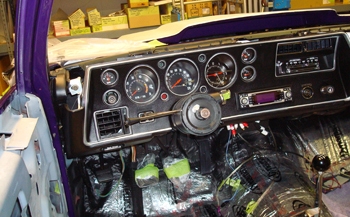
Gauge pack in dash and ready for start up.
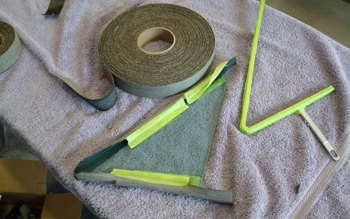
Vent windows using Go-Jo slide in nice.
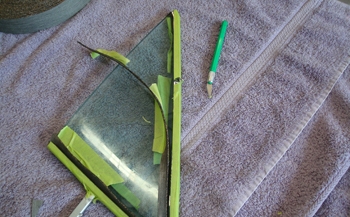
We trim off the excess welting and you have a nice job. Note protective tape on all chrome during assembly.
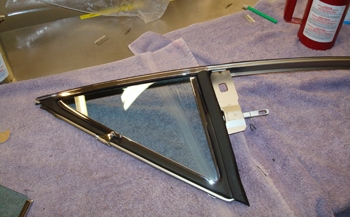
The rubber is installed and we are ready to fit it inside the door.
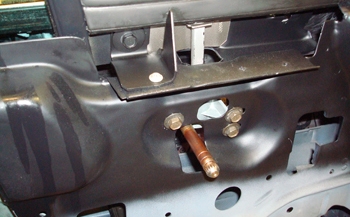
Vent windows were installed and aligned.
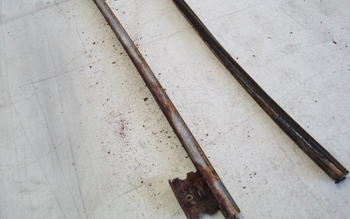
Window tracks are a common problem on 40 year old vehicles. Due to gravity the water and dirt get together and rot them out. If we can save them we clean and blast then reassemble. Often we cut new sections and weld them to the factory brackets.
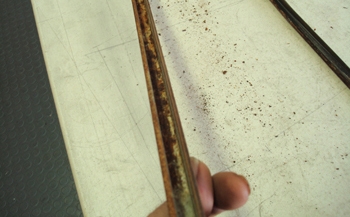
As seen the grooves are full of exfoliated metal.
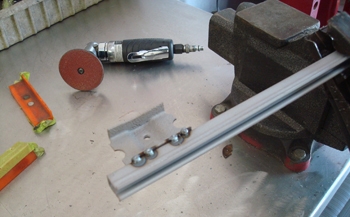
New tracks were cut and the brackets were welded on in the correct locations.
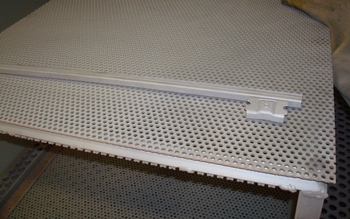
We blast them up and paint before reassembly.
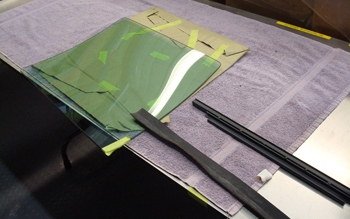
New masticated rubber and NOS glass is waiting, Talk about hard to find glass especially tinted for a 71 wagon.
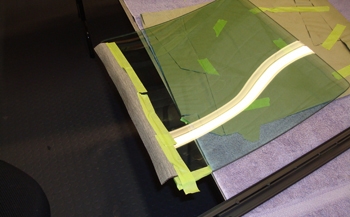
Laid in position she is ready. Note the clean paper and towel under the glass to keep from scratching.
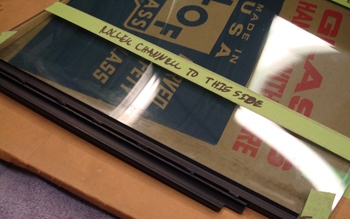
Marked for location as per orig we use Go Jo hand cleaner and they slide right in place. Once dry it dissipates to nothing leaving a firm grip.
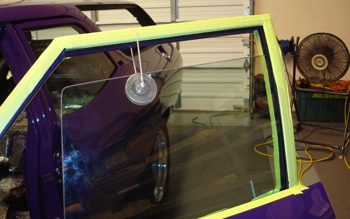
Suction cups for extra hands as he adjust the window track assembly. Jack has his final assembly techniques down to a science! 7 more pieces of glass to go.
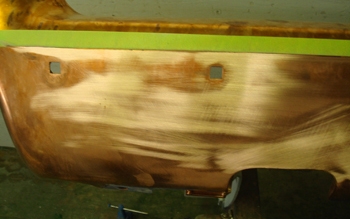
Bumpers are getting block sanded on the copper to remove waves.
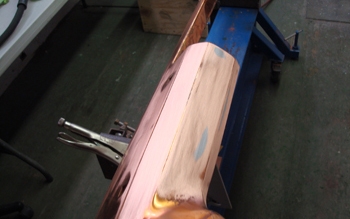
Cut through took place while removing the ripples so more copper is needed.
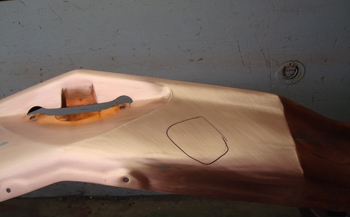
Marking each spot to perfect. For more details on these techniques go to our Build Tips section and click on Bumper Prep.
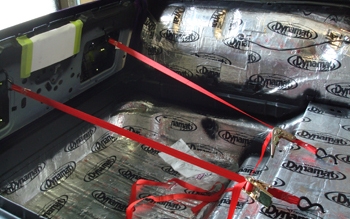
Breaking in the tail gate seals slowly with ratchet straps. Each day one more click slowly does the job and keeps the panels from tweaking outside.
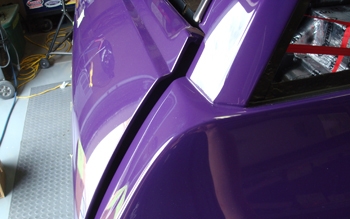
As seen we start slowly as the rubber compresses we click a bit more.
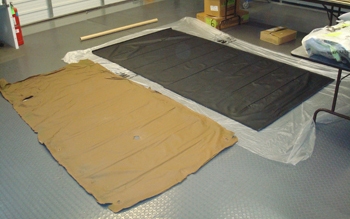
Headliner laid out and ready for installation. Mammoth beast she is, it will take two men to install it.
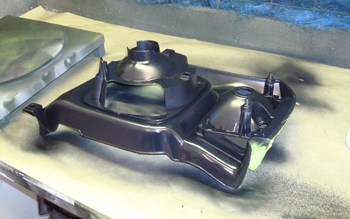
The head light buckets also double as the outer fender extentions. Black on the back side bases and body color on the front side. Here Jack details the back side with a fresh coat of satin black.
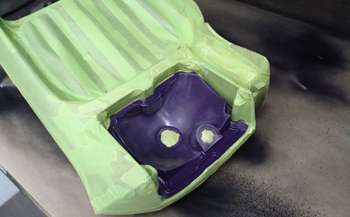
Turn signal area gets aluminum reflective paint so we scuff then mask off.
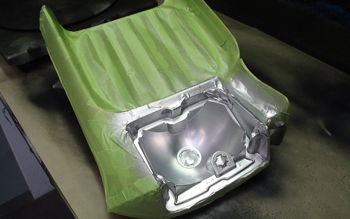
Ready to go.
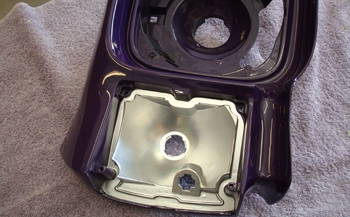
Finished and assembly time.
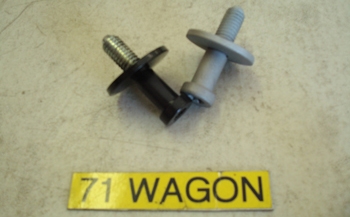
New strikers usually come painted black but we we will CAD plate them for looks and durability. They will be stripped, glass bead blasted then plated.
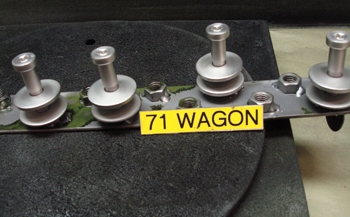
Once they are done they look sharp with a satin silver sheen.
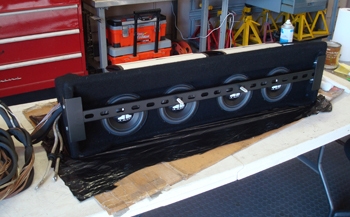
The Sub Woofer and Amp rack is ready to mount in to the back . Check out the 4 drivers that face down ward when mounted
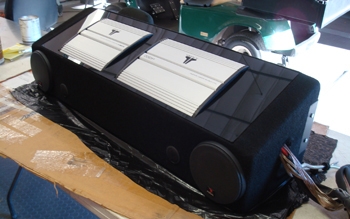
Top and front side shows the inset amps and mid range speakers with tweeters.
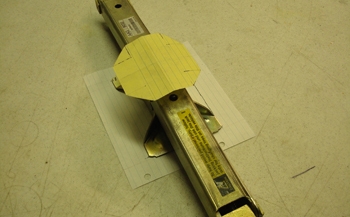
Just in case a road side tire change is ever needed we purchased a scissor jack and mocked up a larger base for support on soft ground. In addition we mocked a larger contact pad for the frame to keep any thing from bending.
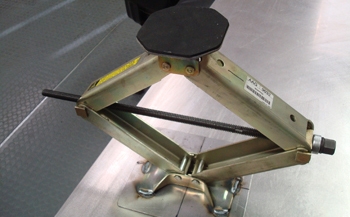
Fabbed and ready to work if ever needed. Note the rubber we installed on the frame contact pad.
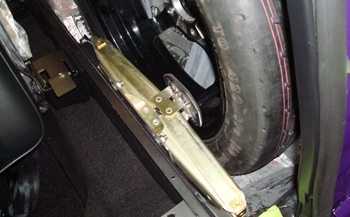
It stores nicely in to the confines with the space saver tire and wheel.
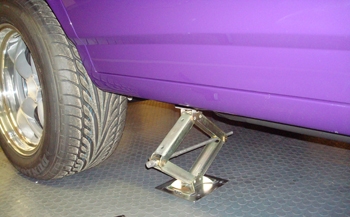
Works great.
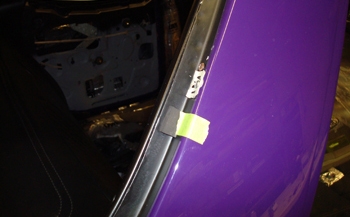
Time to fit the side glass we shim with rubber to hold it in the proper position as far as distance from the channel and side to side clearance to allow the glass and moldings to sit tight against each other.
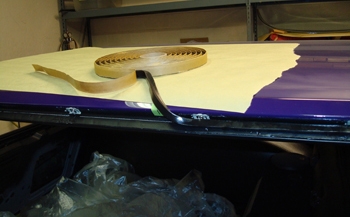
Applying the butyl rubber to and from each rubber spacer pad is a sticky situation. After the glass is set we then touch up around the rubber contact pads with urethane sealant.
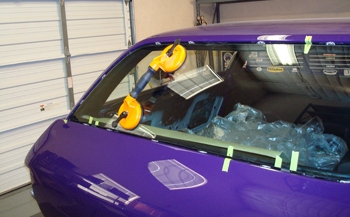
Suction cups allow handling it safely.
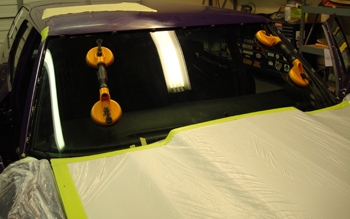
Same goes for the wind shield.
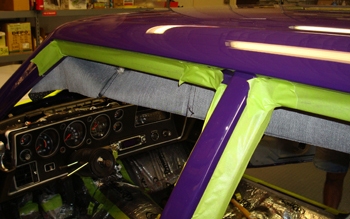
Waygone is ready for its headliner. This is the longest headliner we have ever installed. We start by installing the bows and letting it stretch out a bit naturally.
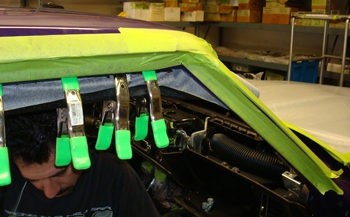
Pulling, stretching clamping a little at a time to get it installed.
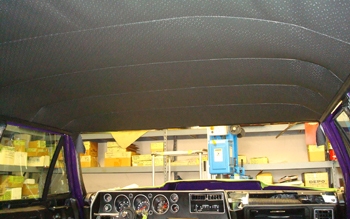
She is basically installed but needs an overall stretching to remove all wrinkles.
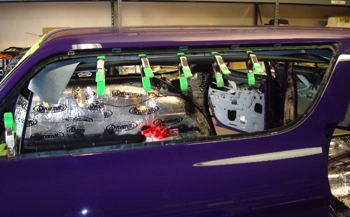
Mega clamps hold it in place.
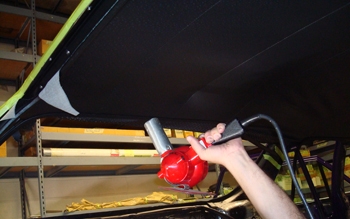
Eric puts the heat gun to it and a little steaming also to get her tight and taunt. Trimming the edges then gluing in place is last.
