
1969 Cougar “Hidden Agenda”
1969 Cougar Wiring / Stereo
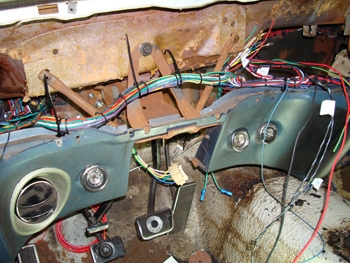
The new wiring harness we built on this 1969 Cougar restoration project was run behind the dash as was typical, to hide it.
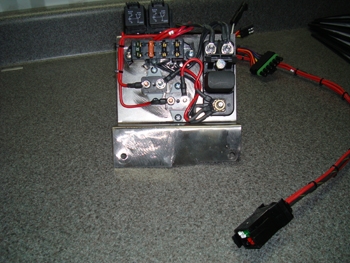
A fuse block with relays was fabricated to protect and separate the fuel injection computer and other components.
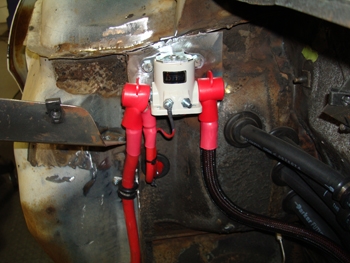
The starter solenoid was hidden behind the fender to clean up the engine bay.

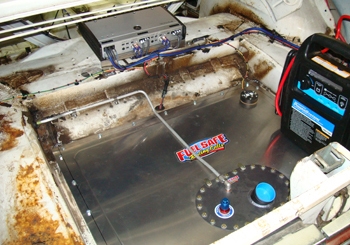
The rear amp and speaker wire was run down the center of the cars trans tunnel.
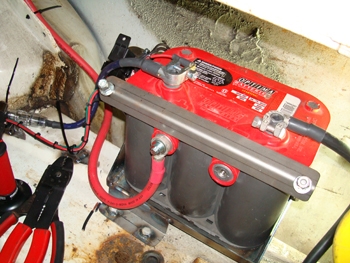
Separate batteries, one on the right for starting and running the drive train with components and one on the left for the stereo by itself.
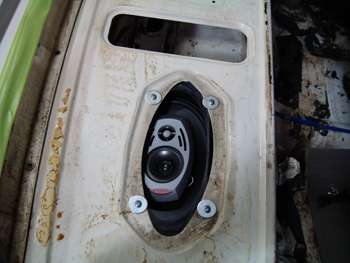
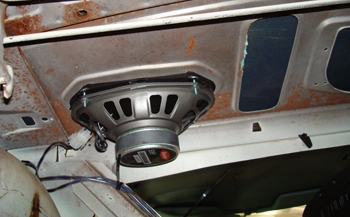
6/9s that can take some power were installed in the rear deck. Factory locations were used to hide the speakers with way better sound then 69 Mercury's offered.
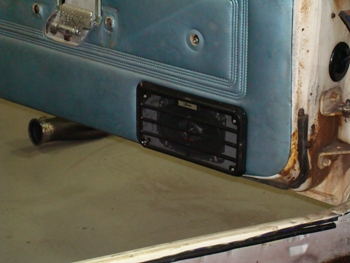
Same with the doors 4/6 hi end speakers were installed in stock locations per the customer.
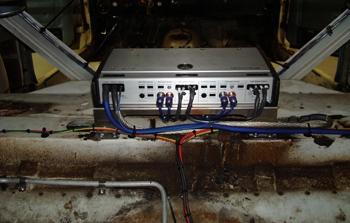
The Amp was located below the rear deck to hide it out of the way but still retain easy access in case of service.
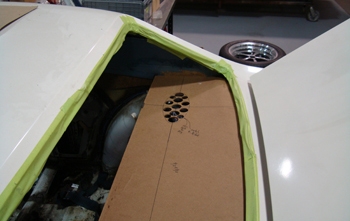
Covered by a new deck board you can not notice the speakers "only hear them".
They are huge compared to what originally came with the car but technical advancement is what this Cats all about.
Time to test all electrical circuits. A-OK All is well.
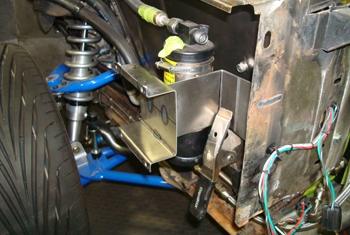
During the fabrication phase of this build we planned a hi-intensity headlight conversion. We fabbed some brackets that fit the unit up inside the passenger front fender.
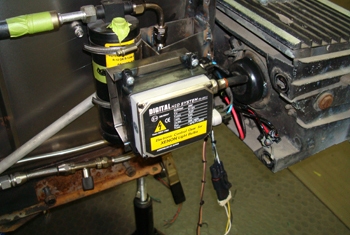
The unit is mounted and ready for testing.
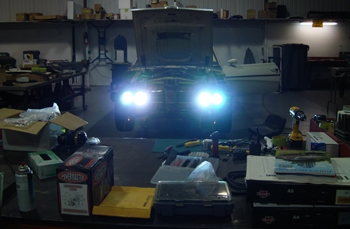
Blue lites and intense they are. No problem for this Muscle Car Cat to see at night.
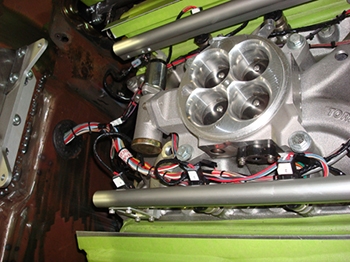
Wiring harness for fuel injection system is finished.
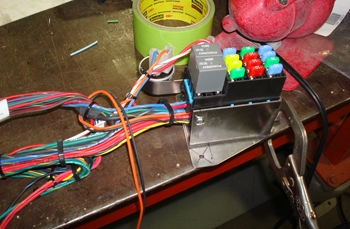
Fuse box wired for all accessories.
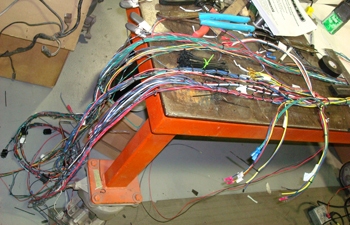
Muscle Car restoration = Mega wiring.