
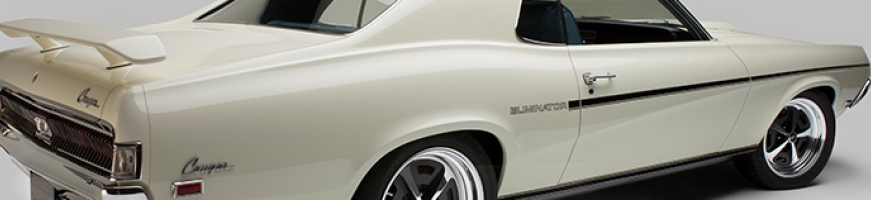
1969 Cougar “Hidden Agenda”
1969 Cougar Suspension
The "Big Cat" starts out with stock suspension. We are going to make this 1969 Cougar claw her way around turns and dig in big time for A real G-Machine when we finish the restoration.
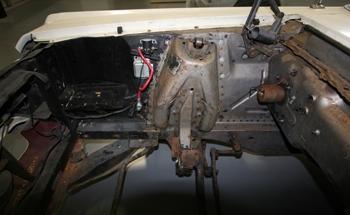
Stock engine bay awaits some custom Mods to take over the mind of this Cougar. When we get done she will live her life on High Octane Cat-Nip.

Stock Ford hoses clutter up the engine bay, as this will also be eliminated.
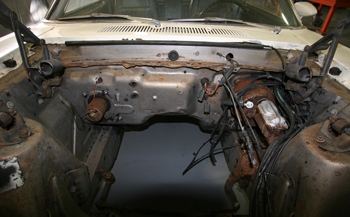
Fire wall is un-smooth and awkward looking, another area of changes coming.
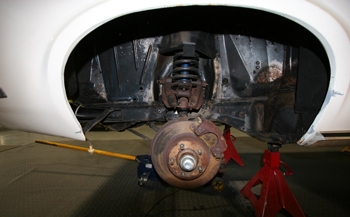
Stock brakes got the job done in the 70s but this is now and that was then.
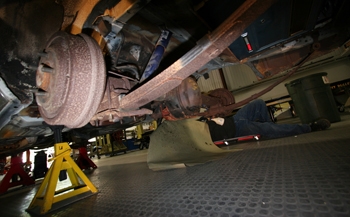
Leaf spring suspension rides nice but no cornering ability.
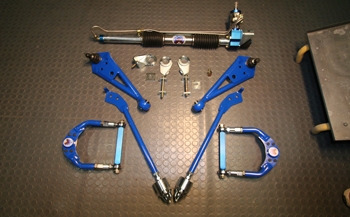
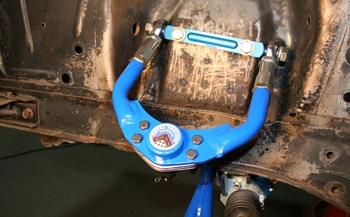
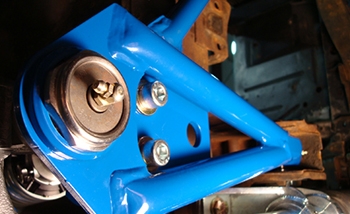
Upper and lower control arms with rack and pinion upgrades will start off this build.
This concentric system will allow a myriad of possible settings which will enable us to fine tune the front end for Max cornering.
Louie installs the plate and off we go.
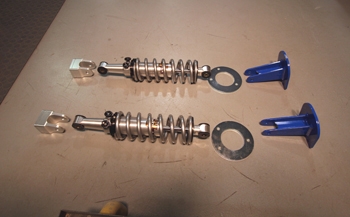
Adjustable shocks and tower supports are ready to install.
We fit the rack and a few tweaks are needed to get her in.
A few shims and she will line up to our liking, standard for our muscle car restorations.
Next we drilled the holes to accept our new control arms and we are ready to get this Cat up and running.
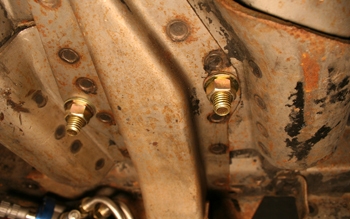
Grade 8 bolts to attach the control arms for strength.
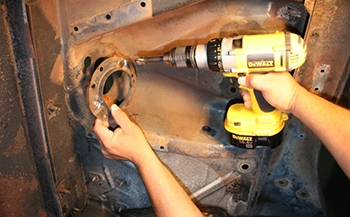
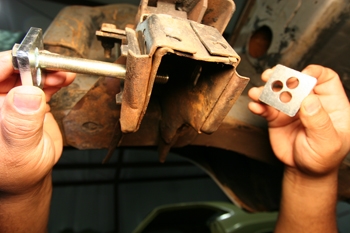
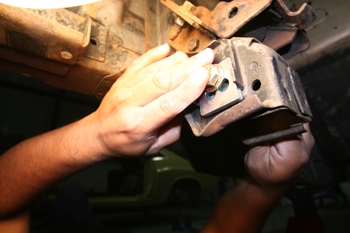
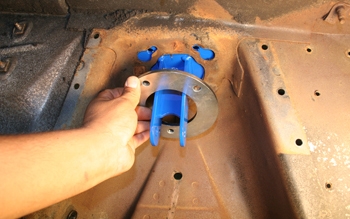
We drilled out the spot welds on the upper coil spring retainer and removed it forever more.
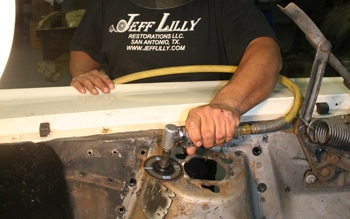
Louie tapped down some high spots the factory had left and ground down all the burrs on the welds from the Mercury assembly line.

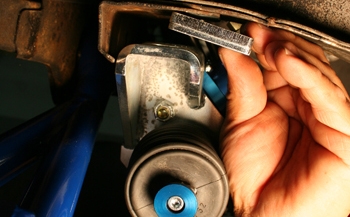
Plates are in place and ready to bolt in.
Retainer ring goes on next then the bolts are inserted.
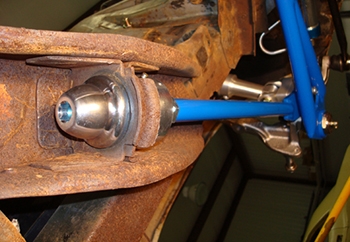
Rods are installed to continue getting this Cat up to par.
Fully adjustable nuts. We will put her in the neutral zone to start with.
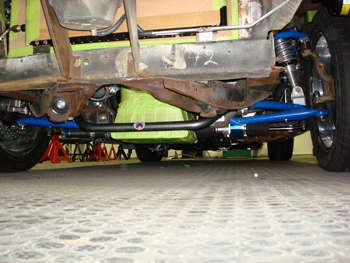
Lower control arms are now installed
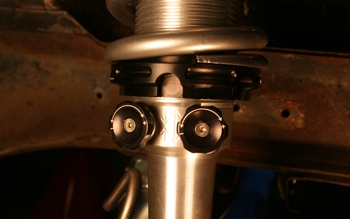
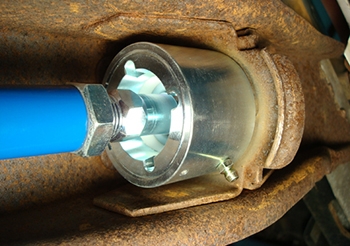
As seen the lower section of the shock has adjustable bleeders to change the shocks dampening behavior.
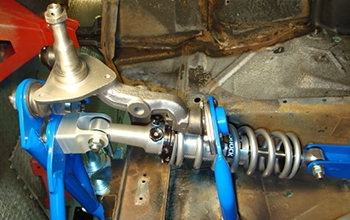
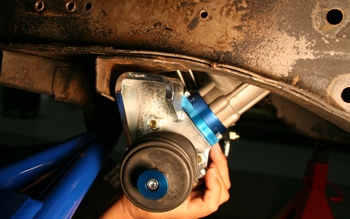
Shocks installed and spindles too.
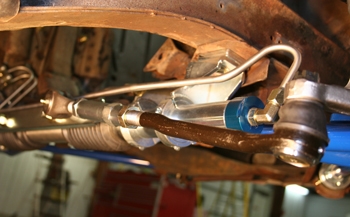
Tie rods installed and checking for clearance.
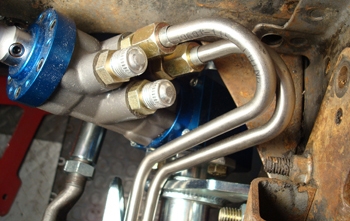
Power rack and pinion lines installed.
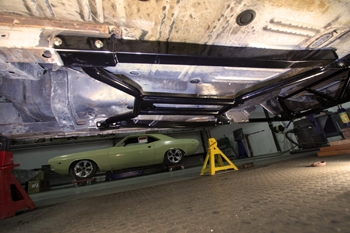
We work our way back to the center of the car and install a frame connector to stiffen the car up during hard cornering and acceleration romps. Check out the Dodge Challenger in the back ground waiting to be built.
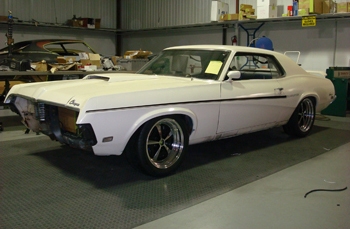
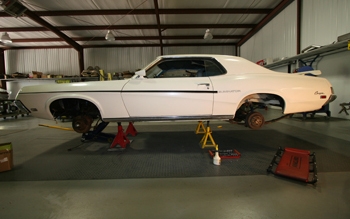
Setting it down for the first time she is taking on an attitude.
Many upgrades with full out suspension and sway bars ready for some action.
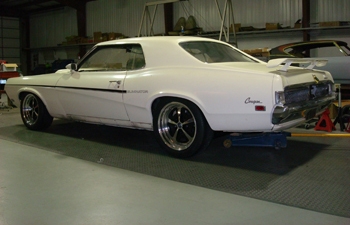
Big Cat likes her upgrades and wants to claw around a race track.
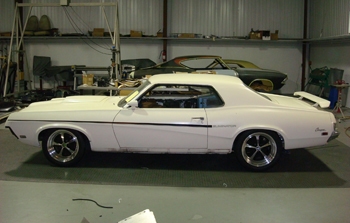
Looking good and about as low as we can have her set with out air bags.