69 Cougar - Body Prep
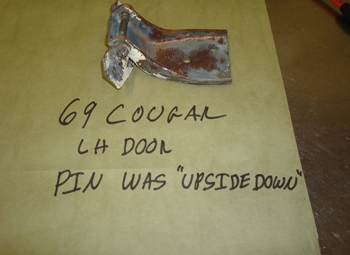
First things first we like to build the original hinges on all of our projects. No repros here as we need the doors, hood and trunk lid to fit as best as possible.
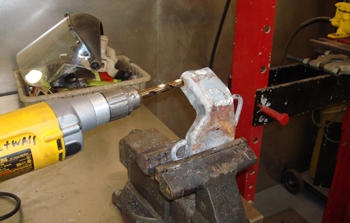
Drilling out the old bushings and custom fitting new brass bushings and hardened pins for a precise fit is the key to support the doors and allow a smooth operation.
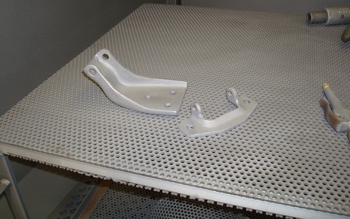
Standard procedures are to blast the hinges white metal clean.
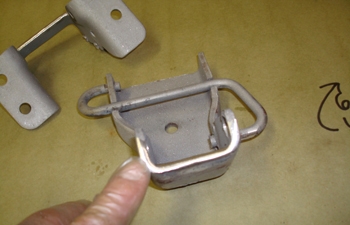
De burring the edges makes a nicer looking piece and it also keeps you from slicing your hands while working on them.
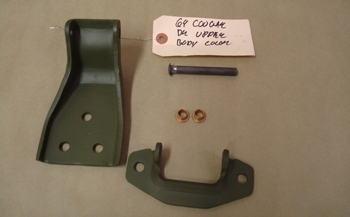
Fitted, final blasted, zinc chromate primed and ready to assemble.
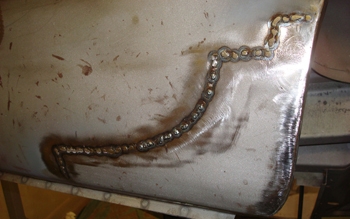
Final metal worked and fully welded. Look at the tiny flat welds which promote easy grinding. A small heat chain on the outer edge proves a low heat weld. This is what it takes to weld the panels with out warping.
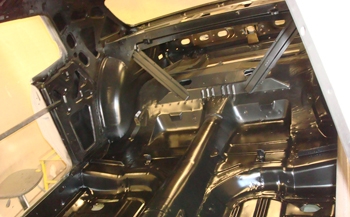
We then Epoxy primed every square inch.
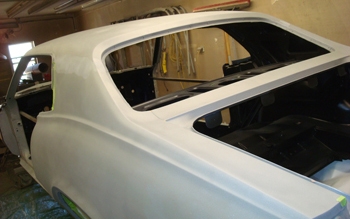
The outer body is white metal clean and ready for gray epoxy.
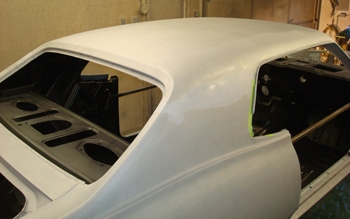
Seams all prepped and ready.
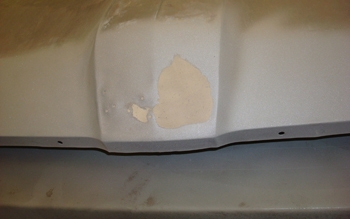
Hood nose had previous damage so we need to remove the filler and see what we have.
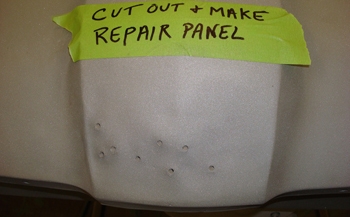
The production shop pull holes are bogus to the Max. The metal was ruined and too distorted to save. It will be best to cut out the section and make a new nose cap.
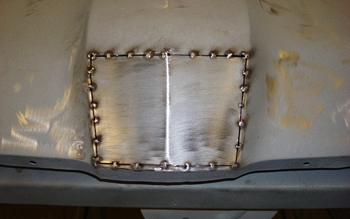
Bob built a new nose and has it tack welded in.
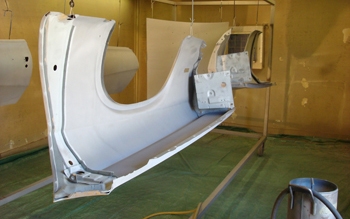
We also prepped the back side of the fender. You can not beat the adhesion of 80 grit aluminum oxide. No submersion process using acid can duplicate the adhesion you achieve with this method. When you are looking for 40 plus years of paint holding up this is the only way you will achieve that type of longevity.
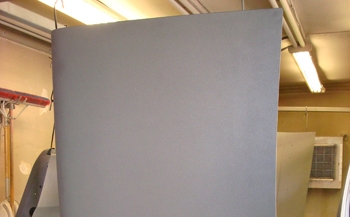
Trunk lid also ready to go. The original one with the spoiler mounting holes was very rotted so this new one from a salvage yard was obtained.
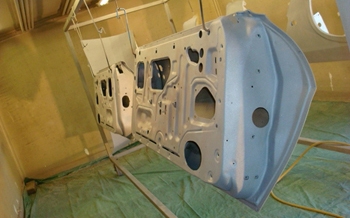
The doors get the same treatment inside and out.
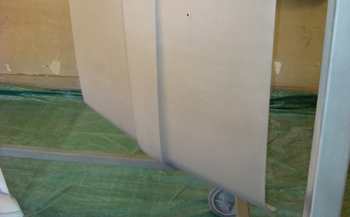
Hood is ready so time for epoxy.
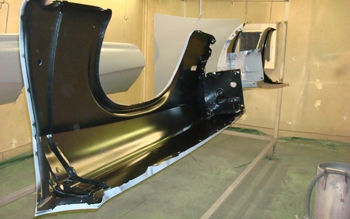
Fenders back side. 2 coats of DP -90
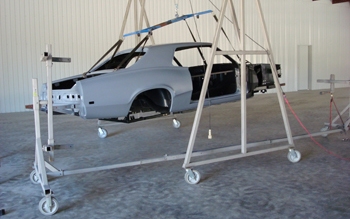
The body picker has the big Cat suspended in position and ready to mount to a rotator
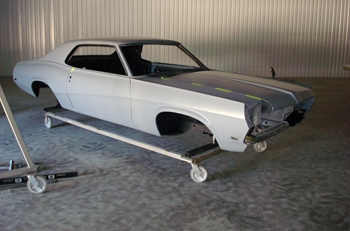
We finished the metal work, epoxy primed all the panels and it is time to align. This is the best the factory tolerances will allow us to get. Now we have to tweak, slice, push, pull and weld for that primo fit and finish we are nationally known for.
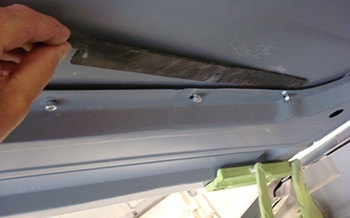
The hood scoop is attached to the hood from the bottom side. When tightened it pulls down on the hood and makes it wavy. We built special shims from abs plastic to take up the slack between the hood and bracing which stabilizes the two panels and removes the waves in the outer hood skin when all is tightened up.
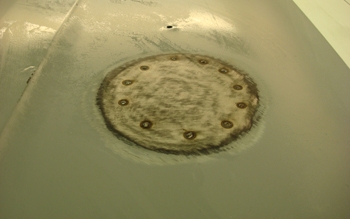
A bit of shrinking was needed on the hood so we made some tacks with the mig welder in a few spots to tighten up the panel and get rid of the tin canning affect.
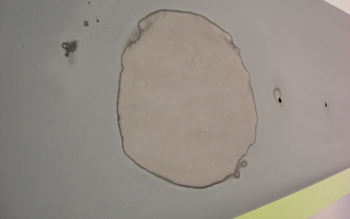
Once the tacks are ground smooth and blasted she is ready to prime.
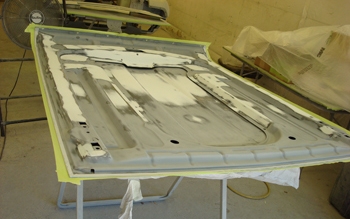
Back side of the hood receives a bit of cosmetic smoothing .
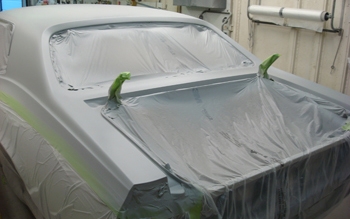
Roof qters etc in high build.
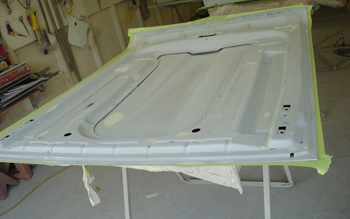
The hood was primer blocked and is now ready for a final two coats.
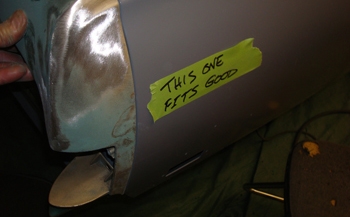
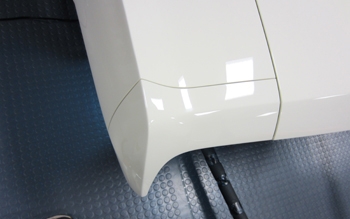
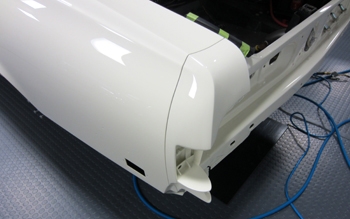
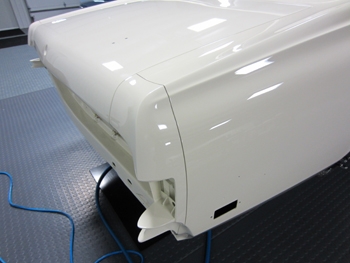
We often find that another part will actually fit better then the original one that came with the car. Ford, Chevy, Mopars etc have always had different MFG's that made parts for them. Their molds and specs were only within certain tolerances so they can fit differently. In the case of this right side tail light extension the original one stuck way over the edge of the qter panel. This one fits much better which keeps us from having to do work to the qter panel to make it fit.
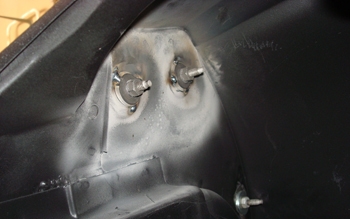
We tack welded washers on the back side to keep the body extension studs aligned for a perfect fit every time the extension goes on and off.
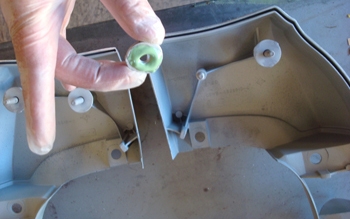
Shims were added to the back side to get our correct gap. As seen they were epoxied on.
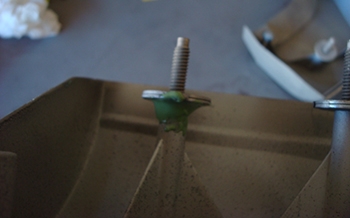
Two washers were needed on this one. These time saving tricks take extra time in the beginning but they save much more time during all the fitting, priming and sanding stages and they keep it a dead on fit all the way through final assembly .
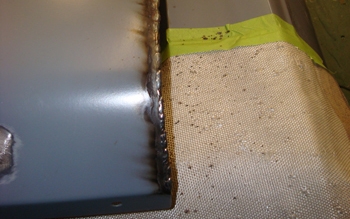
In the case of body panels they all usually fit bad all the way around so unless it is too rusty to use we tweak, cut, slice, dice and weld them to fit to our liking. We moved the trunk lid over toward the driver side to get our desired gap and have proceeded to add to the passenger side to get our 3/16ths.
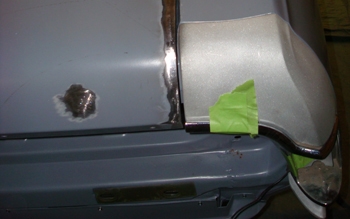
Once we grind it back and shave it to perfection we have what we were after.
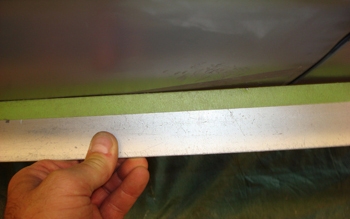
Most body panels have a bow or high spot on one or more panels. We use a shrinking disc to bring them down which allows the body to flow beautifully when all is finished.
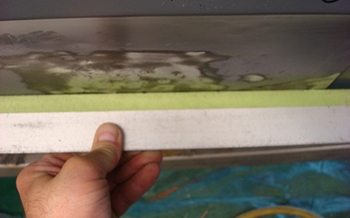
After some shrinking you can see how nice the panel flows.
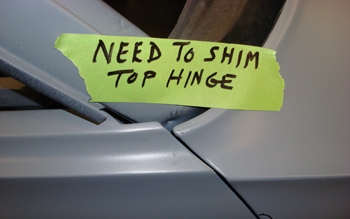
As seen this fender to door gap was the best fit the factory tolerances would allow. It will need massaging to fix the problem.
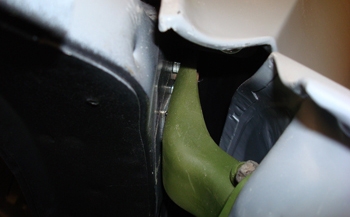
We added shims to the top hinge to bring out the door.
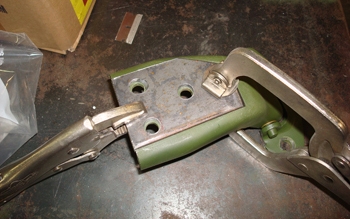
Once we figured out the shim thickness to get the door to align properly we fabbed a one piece shim to fit the entire hinge area. Now we will weld them on permanently. This way the hinge will look natural with out the detection of small individual shims being used.
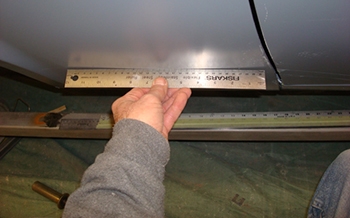
The bottom of the driver fender has a belly which will affect how nice the car looks when sighting it down the side. Shrinking will be needed.
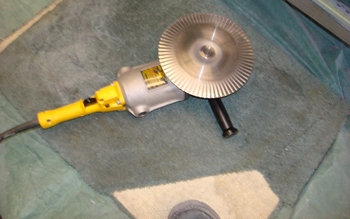
Our grinder with a shrinking disc installed. This is an old time method developed in the 1940's. The principle is that the serrations on the disc heat up the panel and as soon as the metal starts to turn blue you apply cold damp towels promptly and the panel will shrink slowly but surely.
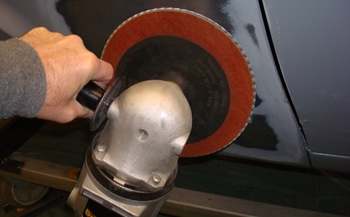
All the primer must be removed in order to work the metal.
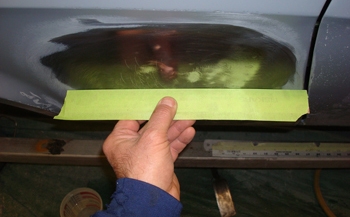
The dishes are done and we got what we wanted, a nice panel to match the door and qter panel.
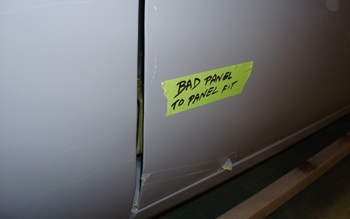
The door on the driver side sticks out past the fender.
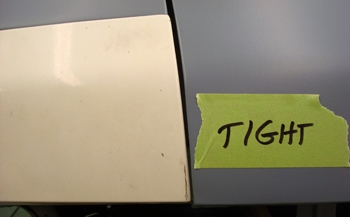
The hood to fender extension gap is too tight.
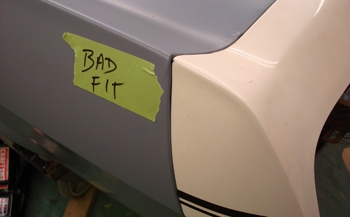
The fender extension sits below the fender at the peak, yet it is to high where it meets the hood.
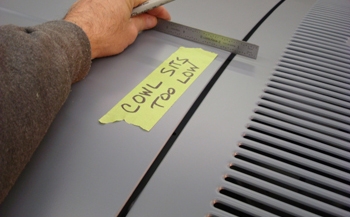
The cowl sits below the hood and will need shimmed.
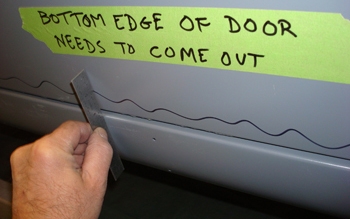
As seen some massaging is in order.
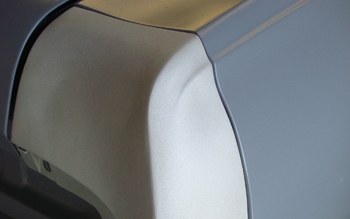
The passenger rear qter extension sits inside the qter panel edge so we are going to purchase another part in hopes of a better fit. The MFG's or Ford Lincoln Mercury in this case usually commissioned several sources to make parts but they were not always to spec thereby bad fit from one supplier to another.
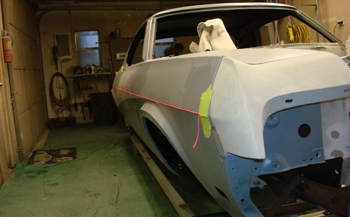
The string line test does the job and shows how each panel fits in correlation to one another.
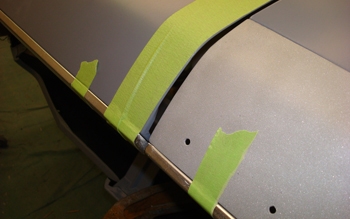
The hood is high on the end next to the fender extension on driver side as seen.
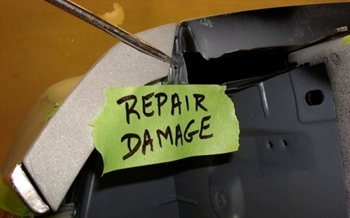
The CAT sustained a small collision" tap " on the front end some time back so we need to massage her a bit.
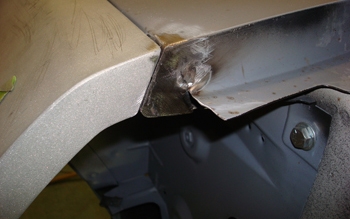
Metal finished with no detection.
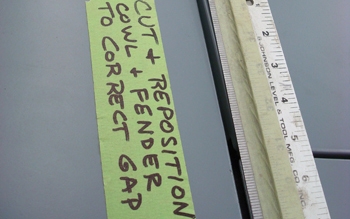
We need to cut back many panels and weld back to make them perfect.
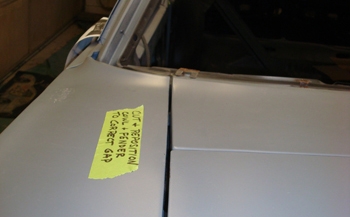
Another view shows the fender and cowl gap are not flowing or matched correctly.
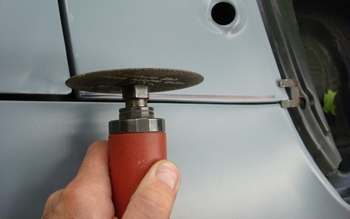
Bob is ready to slice some metal out in order to widen the gap and match the fender to the hood.
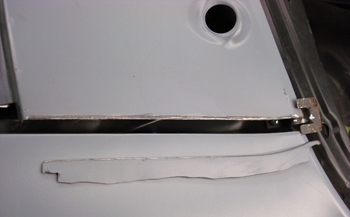
As seen the steel edging has been removed.
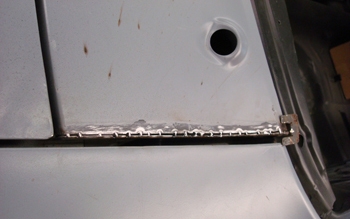
We shaved it down then reinserted it to get our gap the way we liked and then tack welded. Time to finish welding.
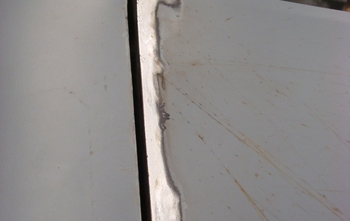
Passenger side is done. The fender needs a tiny bit of work as it is a little wider at the end.
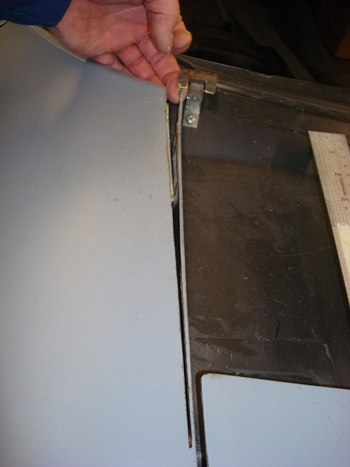
A small slice to tweak the edge before welding in the proper position.
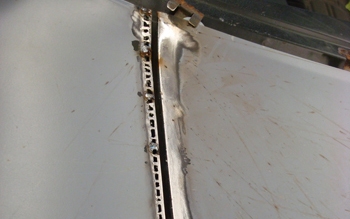
Tacked in and about ready to finish welding.
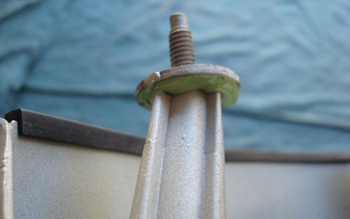
Note the washer epoxied to the mounting stem. This spaces the fender and qter extension a tad away from each other to create a perfectly gapped part.
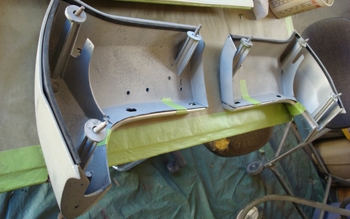
The front extensions are waiting for the epoxy to dry for reattachment.
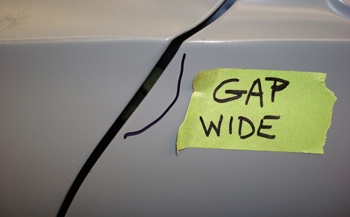
The door gap needs metal added to it for it to be exact.
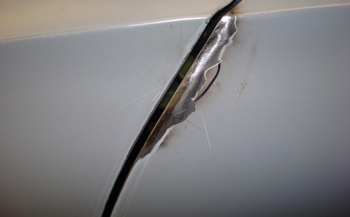
A bit of welding then grinding back and we have a nice gap.
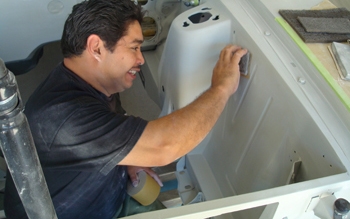
69 Cougar - Body Prep Primer Blocking
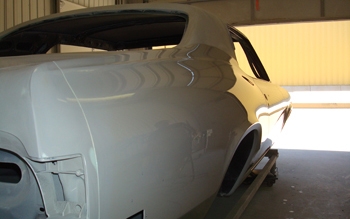
69 Cougar - Body Prep Primer Blocking
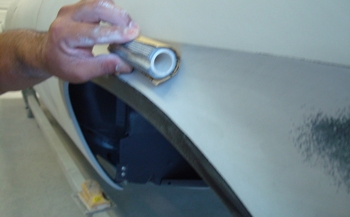
69 Cougar - Body Prep Primer Blocking
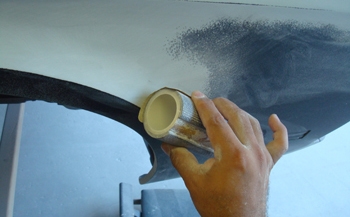
69 Cougar - Body Prep Primer Blocking
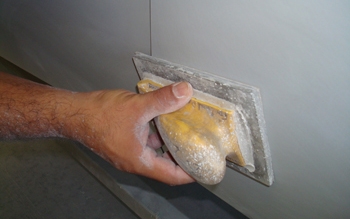
69 Cougar - Body Prep Primer Blocking
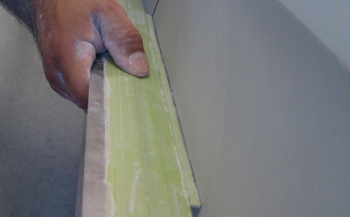
69 Cougar - Body Prep Primer Blocking
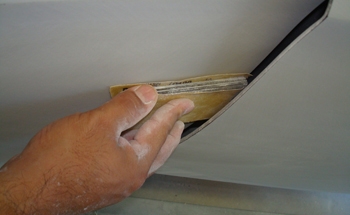
69 Cougar - Body Prep Primer Blocking
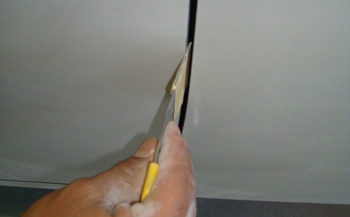
69 Cougar - Body Prep Primer Blocking
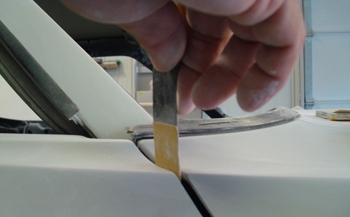
69 Cougar - Body Prep Primer Blocking
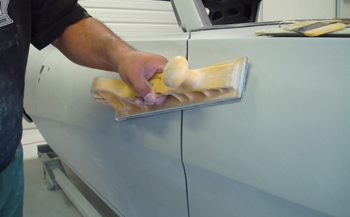
69 Cougar - Body Prep Primer Blocking
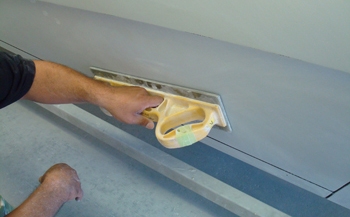
69 Cougar - Body Prep Primer Blocking
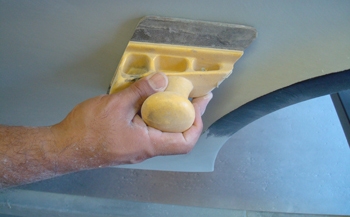
69 Cougar - Body Prep Primer Blocking
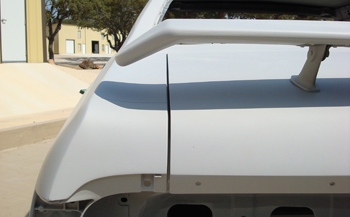
69 Cougar - Body Prep Body Final Block
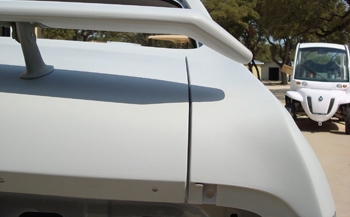
69 Cougar - Body Prep Body Final Block
69 Cougar - Body Prep Body Final Block
69 Cougar - Body Prep Body Final Block
69 Cougar - Body Prep Body Final Block
69 Cougar - Body Prep Body Final Block
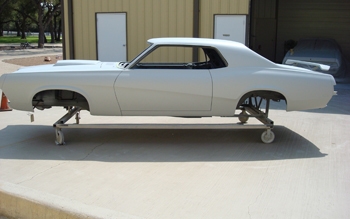
69 Cougar - Body Prep Body Final Block
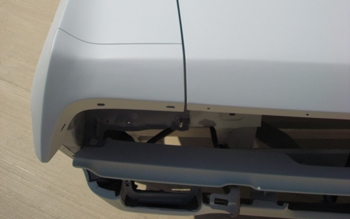
69 Cougar - Body Prep Body Final Block
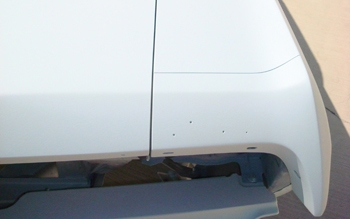
69 Cougar - Body Prep Body Final Block
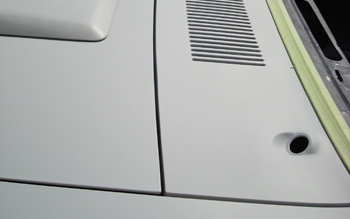
69 Cougar - Body Prep Body Final Block
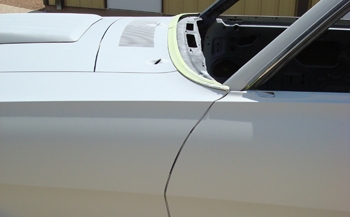
69 Cougar - Body Prep Body Final Block
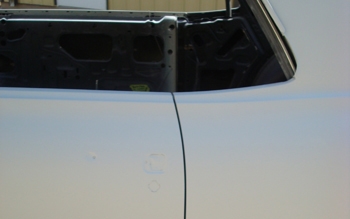
69 Cougar - Body Prep Body Final Block
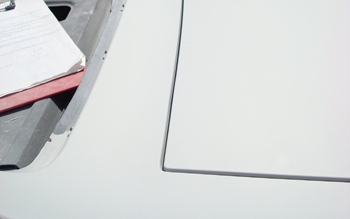
69 Cougar - Body Prep Body Final Block
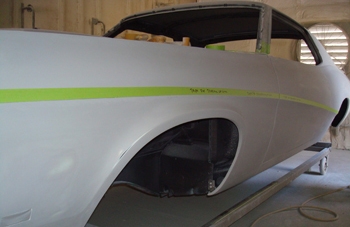
69 Cougar - Body Prep Body Final Block
69 Cougar - Body Prep Body Final Block
69 Cougar - Body Prep Body Final Block
69 Cougar - Body Prep Body Final Block
69 Cougar - Body Prep Body Final Block
69 Cougar - Body Prep Body Final Block
69 Cougar - Body Prep Body Final Block
69 Cougar - Body Prep Body Final Block
69 Cougar - Body Prep Body Final Block
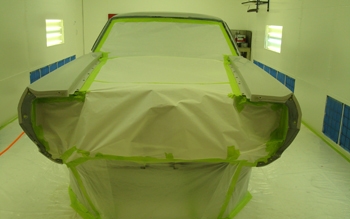
69 Cougar - Body Prep Paint
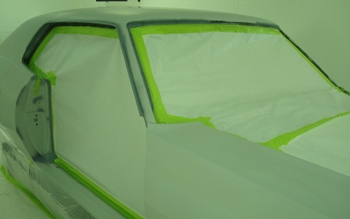
69 Cougar - Body Prep Paint
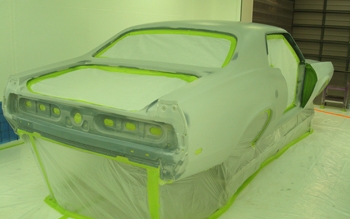
69 Cougar - Body Prep Paint
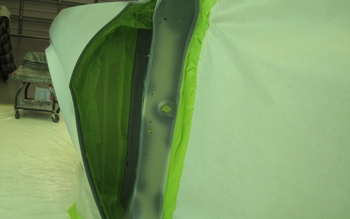
69 Cougar - Body Prep Paint
69 Cougar - Body Prep Paint

69 Cougar - Body Prep Paint
69 Cougar - Body Prep Paint
69 Cougar - Body Prep Paint
69 Cougar - Body Prep Paint
69 Cougar - Body Prep Paint
69 Cougar - Body Prep Paint
69 Cougar - Body Prep Paint
69 Cougar - Body Prep Paint
69 Cougar - Body Prep Paint
69 Cougar - Body Prep Black Trim Paint
69 Cougar - Body Prep Black Trim Paint

69 Cougar - Body Prep Black Trim Paint
69 Cougar - Body Prep Black Trim Paint
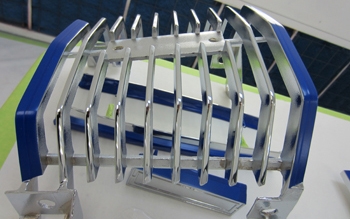
69 Cougar - Body Prep Black Trim Paint
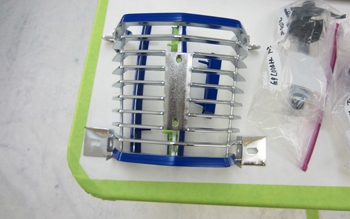
69 Cougar - Body Prep Black Trim Paint
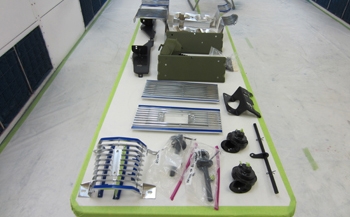
69 Cougar - Body Prep Black Trim Paint
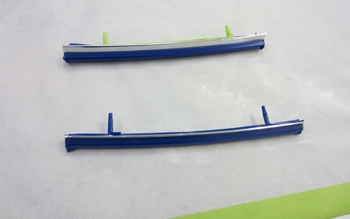
69 Cougar - Body Prep Black Trim Paint
69 Cougar - Body Prep Black Trim Paint
69 Cougar - Body Prep Black Trim Paint
69 Cougar - Body Prep Color Sand
69 Cougar - Body Prep Color Sand
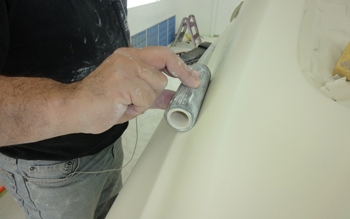
69 Cougar - Body Prep Color Sand
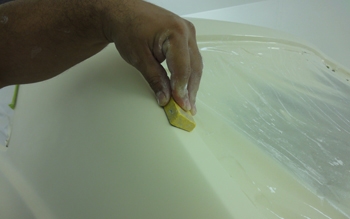
69 Cougar - Body Prep Color Sand
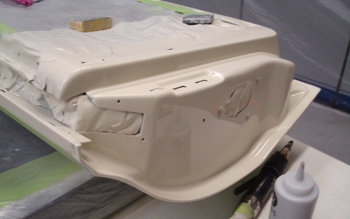
69 Cougar - Body Prep Color Sand
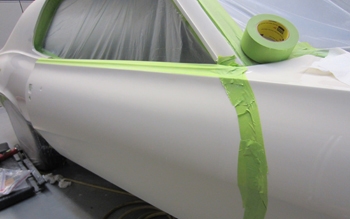
69 Cougar - Body Prep Color Sand
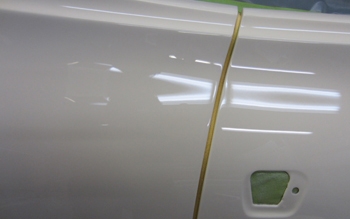
69 Cougar - Body Prep Color Sand
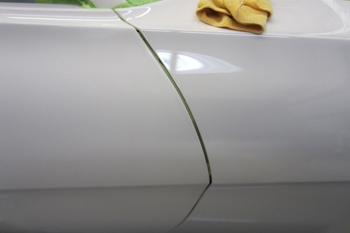
69 Cougar - Body Prep Color Sand
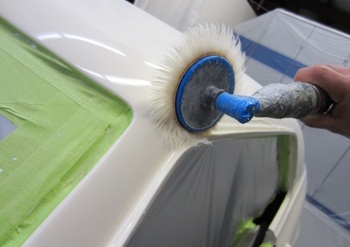
69 Cougar - Body Prep Color Sand
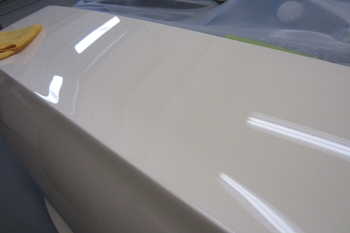
69 Cougar - Body Prep Color Sand
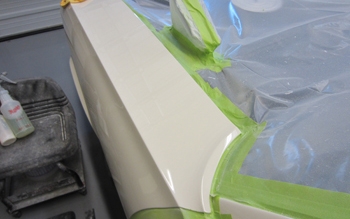
69 Cougar - Body Prep Color Sand
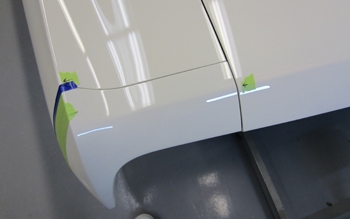
69 Cougar - Body Prep Color Sand
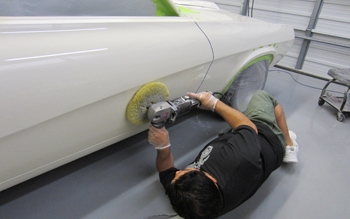
69 Cougar - Body Prep Color Sand
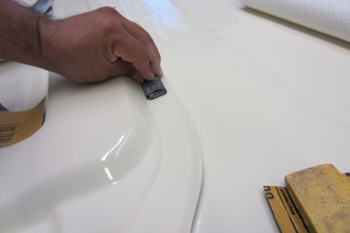
69 Cougar - Body Prep Hood Color Sand
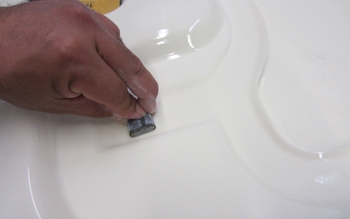
69 Cougar - Body Prep Hood Color Sand
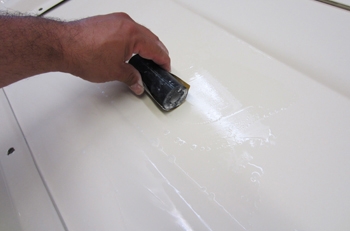
69 Cougar - Body Prep Hood Color Sand
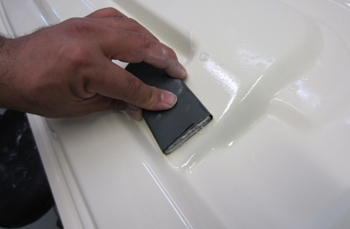
69 Cougar - Body Prep Hood Color Sand
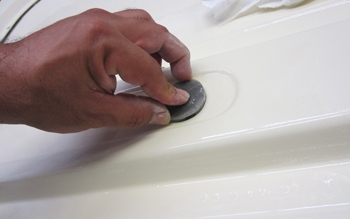
69 Cougar - Body Prep Hood Color Sand
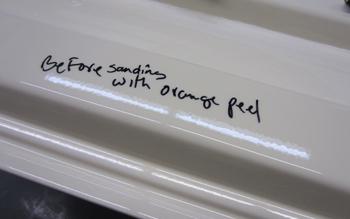
69 Cougar - Body Prep Hood Color Sand
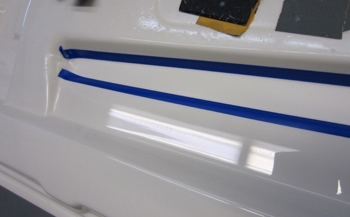
69 Cougar - Body Prep Hood Color Sand
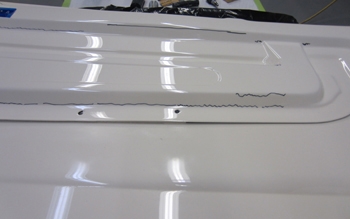
69 Cougar - Body Prep Hood Color Sand
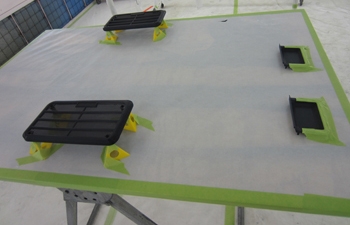
69 Cougar - Body Prep Paint Interior
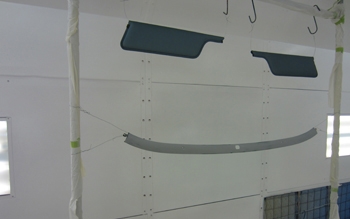
69 Cougar - Body Prep Paint Interior
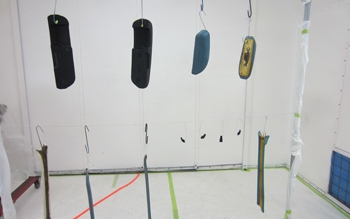
69 Cougar - Body Prep Paint Interior
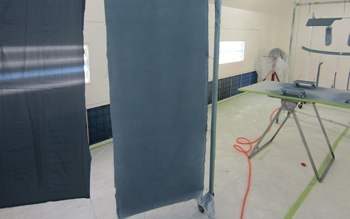
69 Cougar - Body Prep Paint Interior
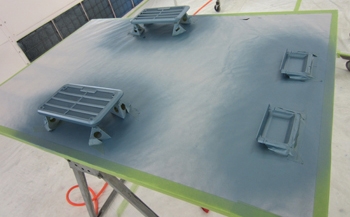
69 Cougar - Body Prep Paint Interior
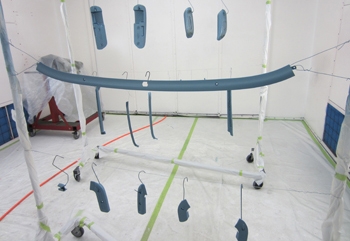
69 Cougar - Body Prep Paint Interior
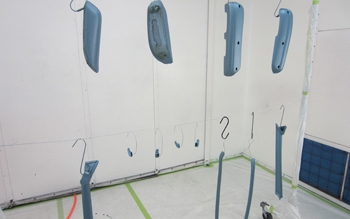
69 Cougar - Body Prep Paint Interior
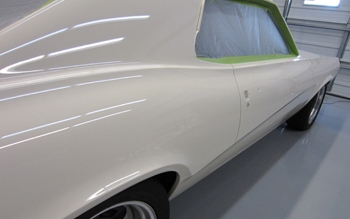
69 Cougar - Body Prep Polish Paint
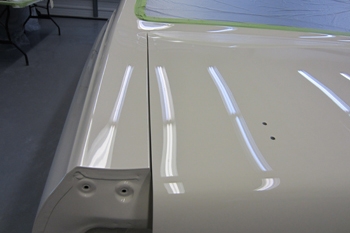
69 Cougar - Body Prep Polish Paint
69 Cougar - Body Prep Body Fit
69 Cougar - Body Prep Body Fit
69 Cougar - Body Prep Body Fit

