
1966 Mustang - Roof
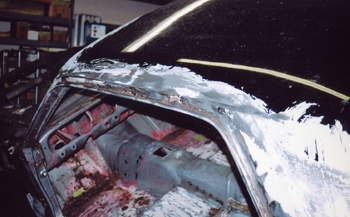
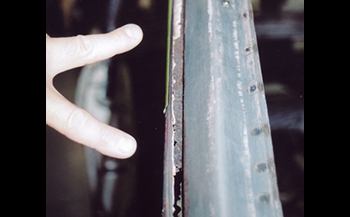
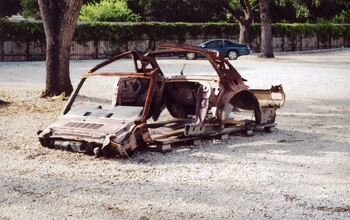
The roof edges by the drip rail were wasted, more then likely it spent some time around a Coastal area or a Northern states car in the salt.
Now you know why we call it "Rust Stang"
Holy holy holy .
Even the lead was popped out.
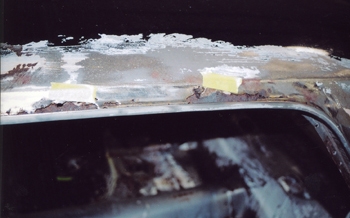
Front windshield drip rail edge was also rotted through.
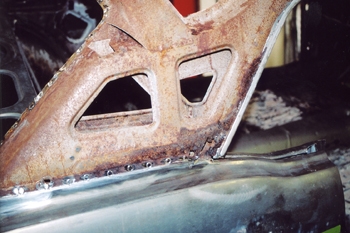
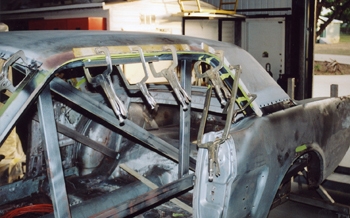
Once we got the roof skin off we could see thin spots on the structure also.
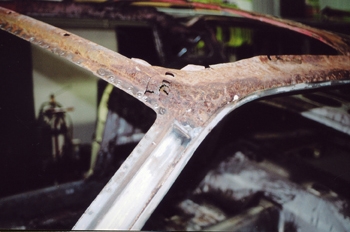
Heavily pitted under structure will need some work also.
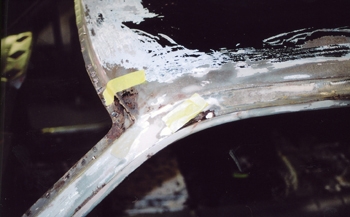
Every section either replace or blasted. All were treated with Zinc Chromate before installation of the new top. But
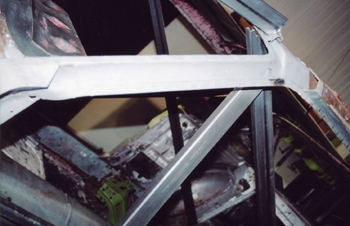
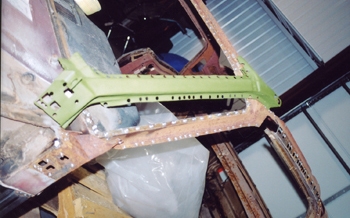
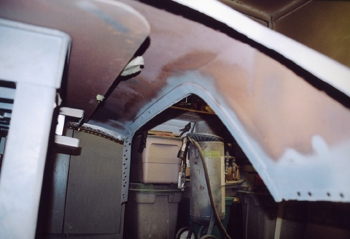
It has been media blasted/ prepped and ready to prime. Now we can install the new wind shield pillar cap.
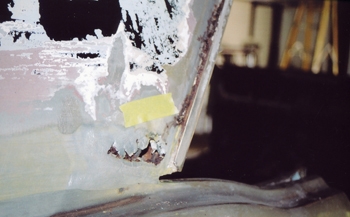
Welded on and ready to go.
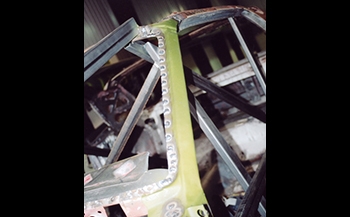
The roof sides were media blasted.
Epoxy prime all the blasted areas.
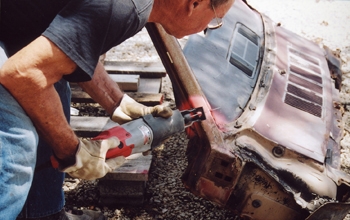
Bill cuts another section from our rust free donor roof out of southern California.
Once we got all we wanted it was time to cut up the remaining sections to dispose of. Metal Cannibalizing is a thrill.

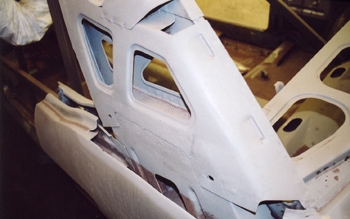
The new roof skin is ready to prep so we can install.
All the edges are blasted for clean strong welds to the cars structure.
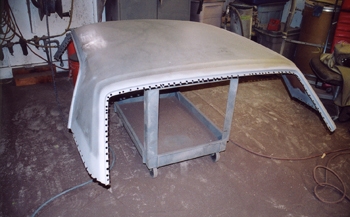
She is ready to attach. Note the spot weld holes that will be used to reweld it to the car.
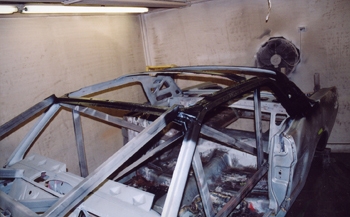
Clamped and fitting where we like it, time to weld it up solid.