
1966 Mustang - Quarter Panel
1
Click to enlarge
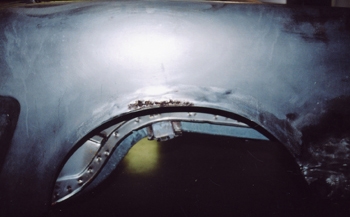
After weighing all the facts with the customer we decided to change out the qter panel because the inner structure " wheel house" needed work also.
2
Click to enlarge
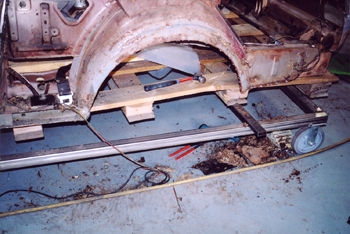
Once removed you can see how rusty every thing is with thin spots and holes every where in the Mustang's quarter panel.
3
Click to enlarge
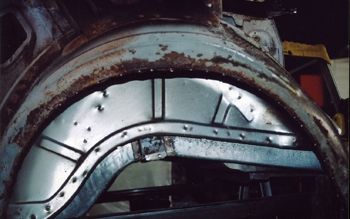
Wheel house edge is really thin.
4
Click to enlarge
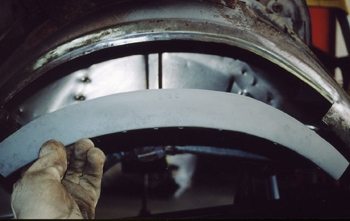
We decided to piece it in as it is faster then changing out the complete outer wheel house.
5
Click to enlarge
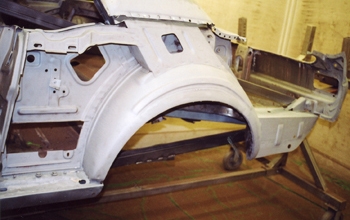
Once repaired we media blasted to remove all traces of surface rust and we are ready to prime.

6
Click to enlarge
Epoxy primed and ready for a new qter. Another step completed in the meticulous process of Mustang Restoration