
1966 Mustang - Initial Metal Assessment
1
Click to enlarge
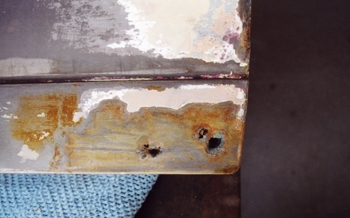
The bottom of all the doors on the Mustang had rust holes.
2
Click to enlarge
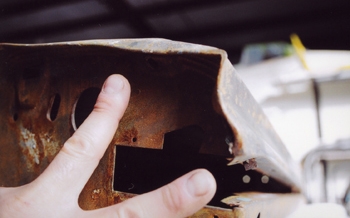
Edges of doors were bent over.
3
Click to enlarge
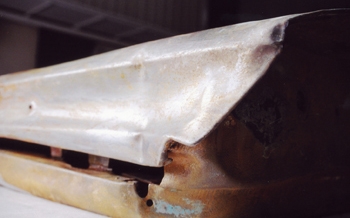
Tops of doors dented also.
4
Click to enlarge
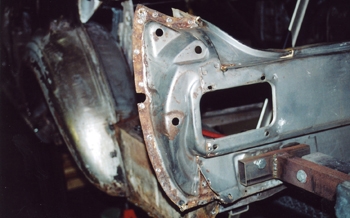
Left qter had to be removed because the inner structures had so much rust and damage.
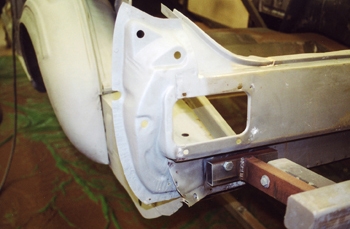
5
Click to enlarge
Once blasted white metal clean we can now start the process of restoration.
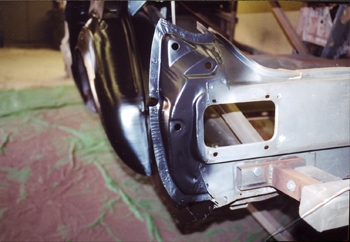
6
Click to enlarge
After all the repairs are performed epoxy primer is applied for life time protection on this Mustang restoration project.