
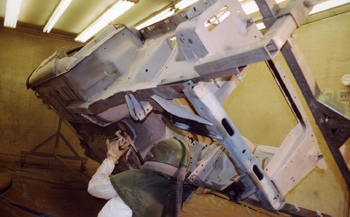
1966 Mustang - Media Blast
1
Click to enlarge
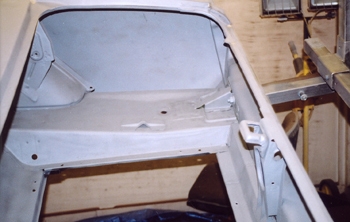
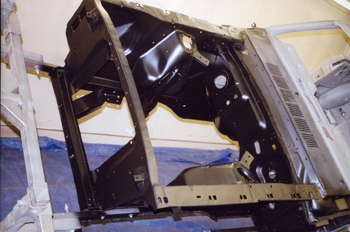
Once all the metal work was finalized it was time to media blast for adhesion and to apply our foundation primers.
2
Click to enlarge
White metal clean, there is nothing like it.
3
Click to enlarge
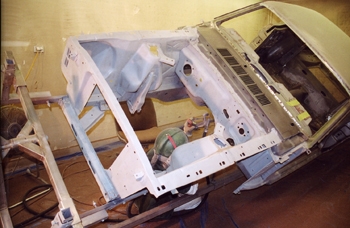
Every square inch.
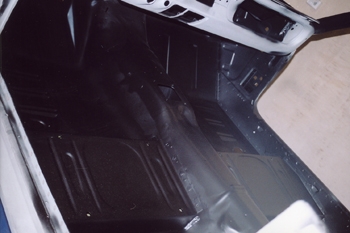
4
Click to enlarge
Inside, out side, you name it.
5
Click to enlarge
Inner trunk too.
6
Click to enlarge
Epoxy primed floors.
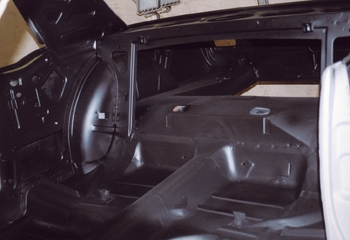
7
Click to enlarge
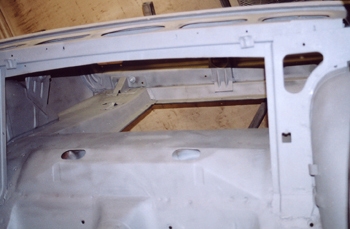
Inner wheel houses also.
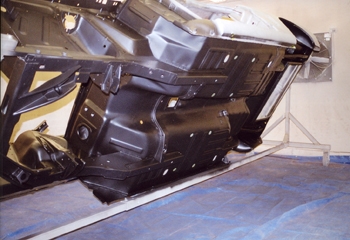
8
Click to enlarge
Under side floor and frame rails were done.
9
Click to enlarge
Engine bay etc.
10
Click to enlarge
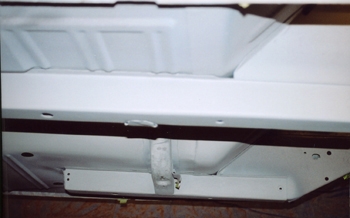
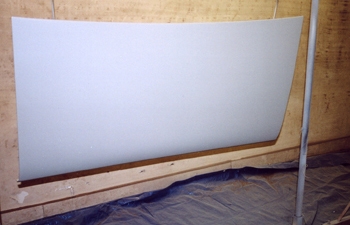
Trunk lid front and back side.
11
Click to enlarge
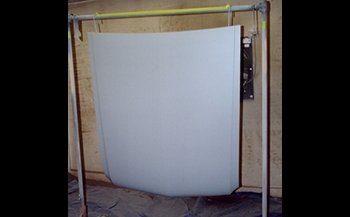
Same with the hood.