1966 Mustang - Assembly
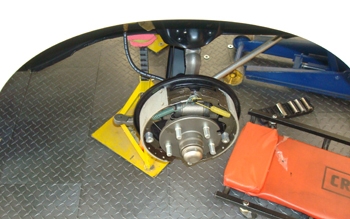
Time to assemble the little pony. The suspension and brakes come first .
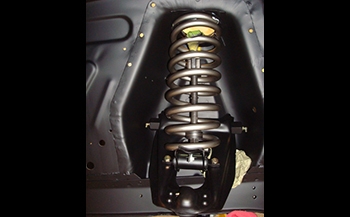
Coil spring installation. Note the taped fingers of the compressor tool to keep from scratching.
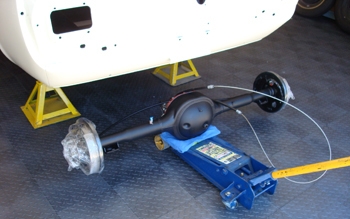
The Ford rear end is ready to install so we roll her in place.
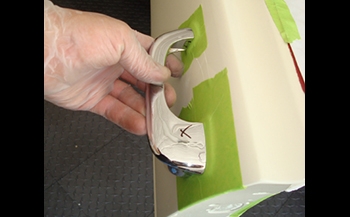
Eric checks out the door handles for fit and sees some day light, so trimming is needed.
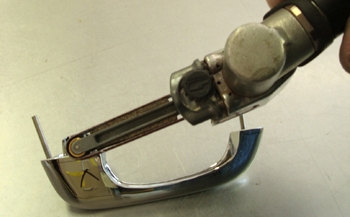
A bit of trimming to get her to fit right. Some times the fit is off just a bit and a little " behind the scenes" grinding will do the job. More often then not we have to strip all the chrome and nickel, file the base metal, apply acid copper and begin to refit the part.
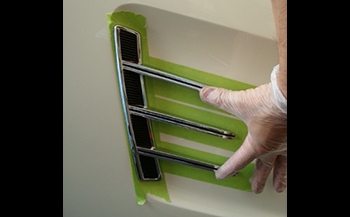
Side hash molding needed a little tweakage also.
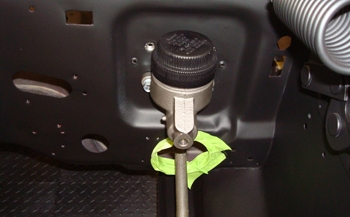
Stock is the way we are building this car and a single master cylinder is the command.
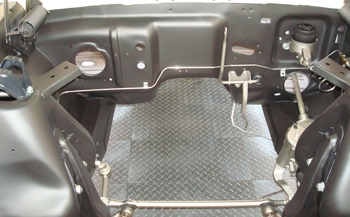
Brake lines, Steering box, gas pedal linkage etc.
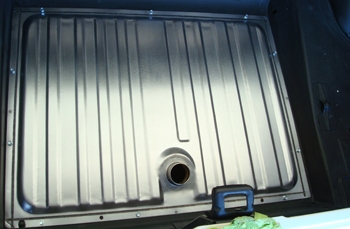
New gas tank, sealer applied then set in place.
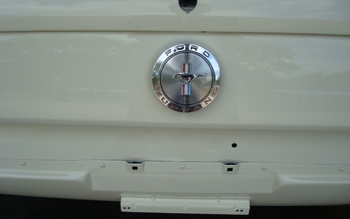
We had to fit the gas filler cover to get it even with the body. Repro parts, you can bet on needing to tweak them.
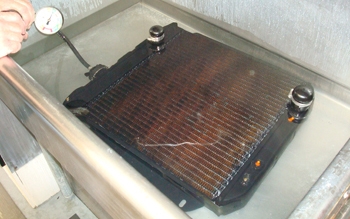
Brand new radiator is pressure tested under water for leaks before any work was performed.
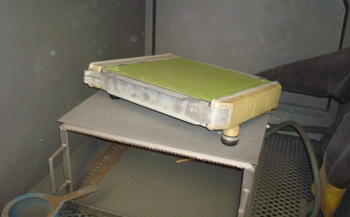
Off to the blaster to get all the trash paint removed down to the brass and steel for Max adhesion of our paints.
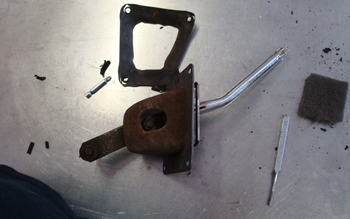
Interior parts are rebuilt and detailed to final install. This shifter is disassembled and being prepped for a 100 % rebuild.
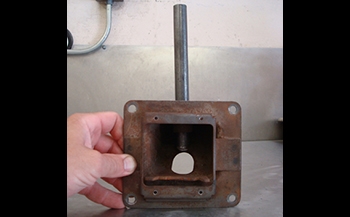
Mounting plate ready for blasting.
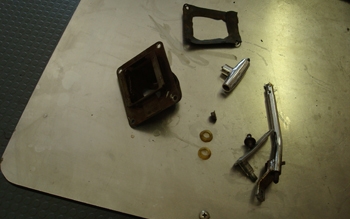
Apart and ready for E.O's magic.
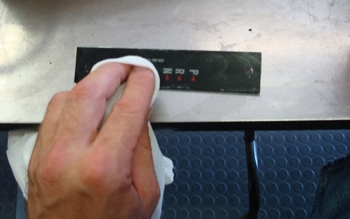
Detail selector plate.
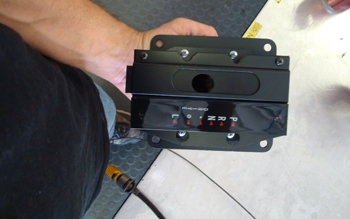
Looking good.
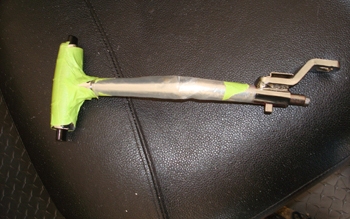
Plate and paint the linkage arms.
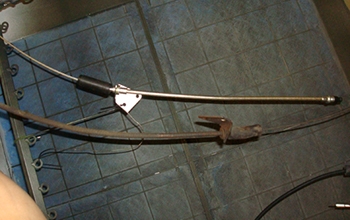
New cables clear coated for corrosion protection.
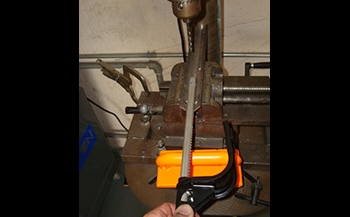
We Redrilled the emergency brake lever for proper adjustment.
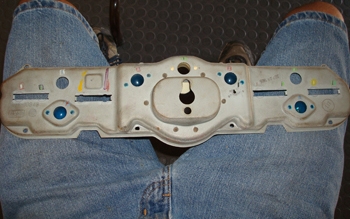
Odometer needed complete refurbishment.
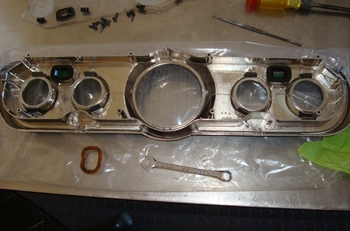
Repro needing much tweaking to make it fit.
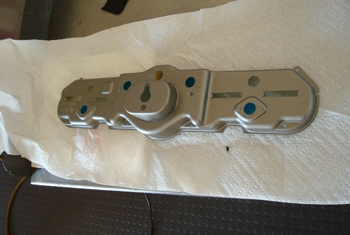
Back side housing prepped and painted in bare steel.
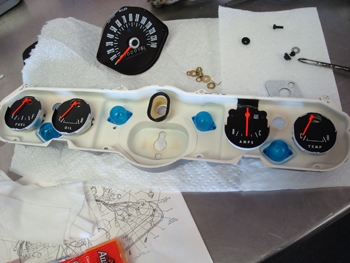
New gauges detailed and installed.
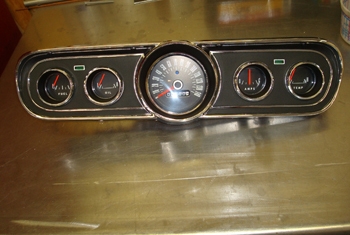
Looks good and ready for installation.
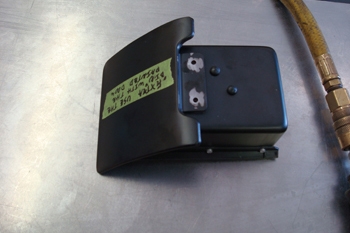
Old ash tray needs work.
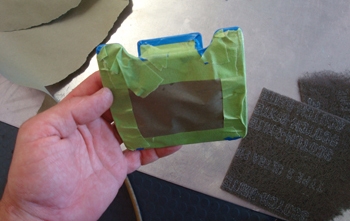
Mask off and ready for detailing
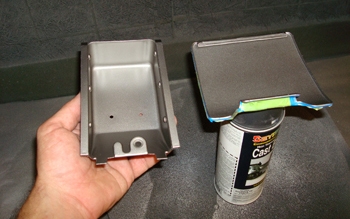
Bare steel paint. The owner does not smoke so this will get it done.
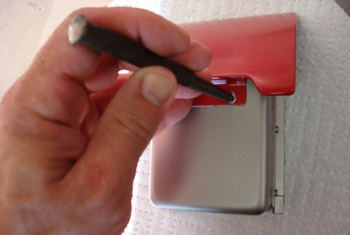
Once painted we attached new rivets.
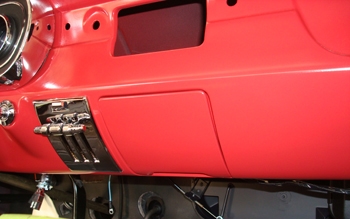
Fits and looks great.
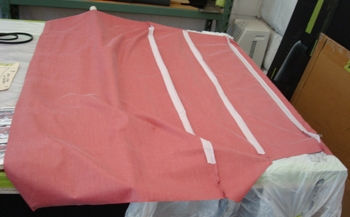
Headliner pulled out and ready to stretch in to place.
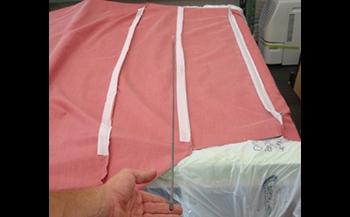
Installing the wires is next in line.
