
1966 Mustang - Align & Block Sand
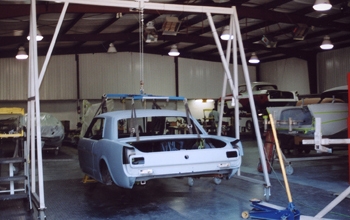
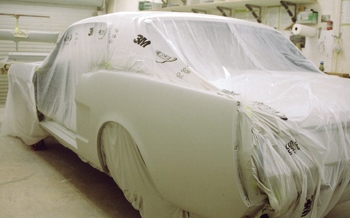
Time to set the body on to a rolling cart during the panel line up phase.
Because the structural work was done right it allows the body to line up correctly.
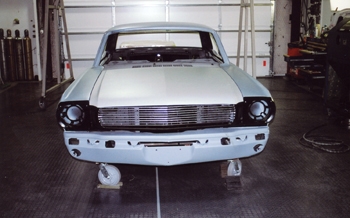
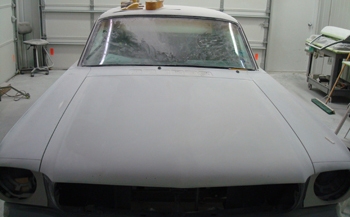
Front grille and head light assemblies look great.
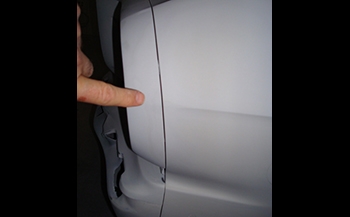
Panel to panel and edge to edge.
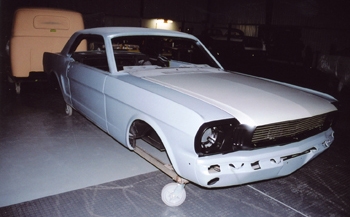
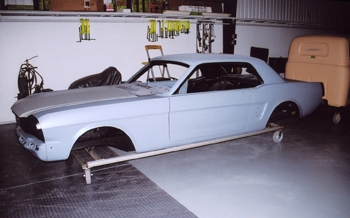
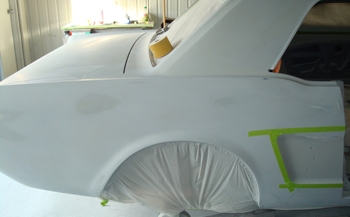
Down the side she looks good.
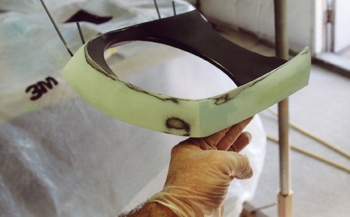
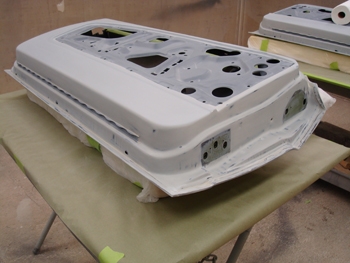
Body worked to remove imperfections the head light covers are ready for hi-build primer.
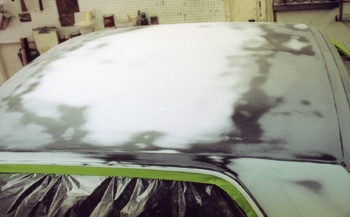
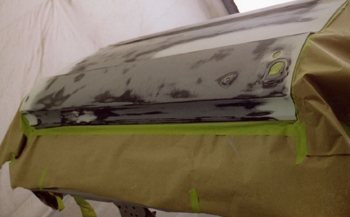
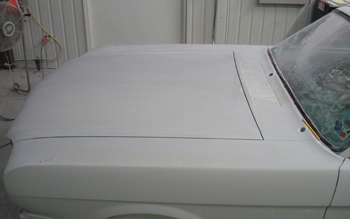
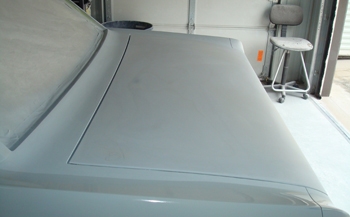
Same on the top, over the years the expansion and contracting of the panels in the hot and cold temps eventually stretch and shrink the steel giving it small ripples. A skim coat of fill solves the problem.
The stamping on the factory roof had some issues so a skim coat 1/16th thick worked that out. As seen the transparent metal is seen through out the fill thus proving the ultra thin skim coats.
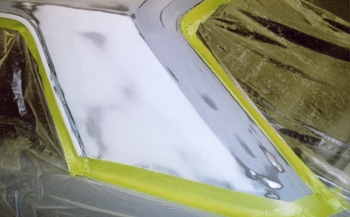
Same on the fenders.
Doors get the treatment also.
Hi-build primer is next.
All the parts are primed and re blocked in finer grits.
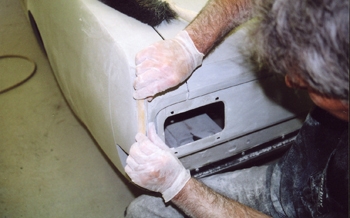
Bob blocks out the taillight area with a round block that fits the contour.
In order to get this pony straight and true it required a lot of hand blocking, using a myriad of the 70 sanding blocks we have made over the years.
Every line is true and straight.
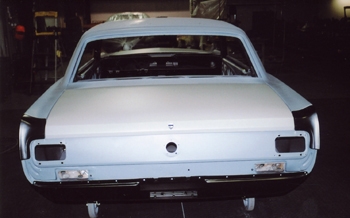
From Rust Stang to Pristang she is looking great.
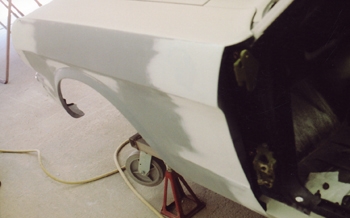
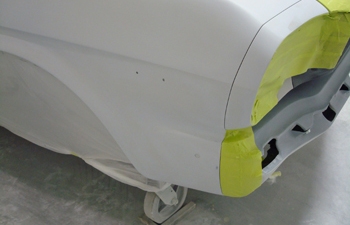
Even the qter extension gap inside the trunk edge is dead on.
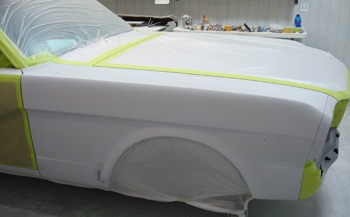
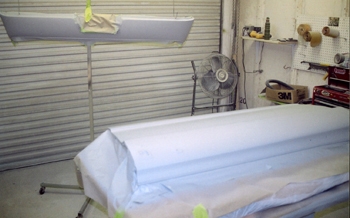
Fenders are coming along.
Extension gaps are nice.
Deck lid fits exact.
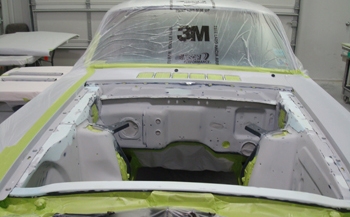
Engine bay is coming along also.
Smooth and right is the way we build them.
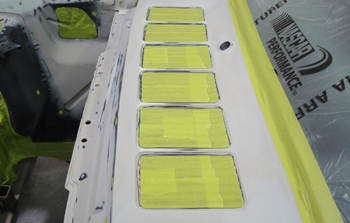
Being careful to keep debris and dry spray out of the drain cowl during our blocking phases is important.

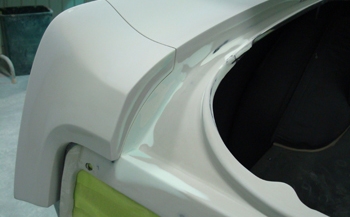
The gaps on the head light cover are also exceptional.
Top gaps are razor blade true.
Another angle shows them just as nice.
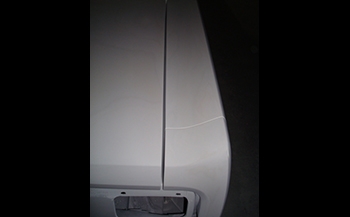
Trunk lid to qter gaps. Dead on.
Thin caulk was in applied to the drain gutter for water proofing and sealing out the over lapped roof panel.
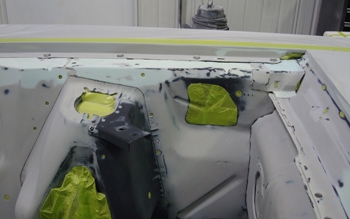
We prepped the door back sides for white and red interior colors.