1966 442 - Tri Power Engine
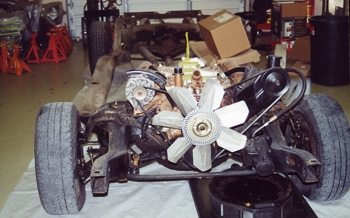
The 400 V8 with Tri-Power system awaits restoration. 40 plus years of daily driving have put the hurt on her as she has seen better days.
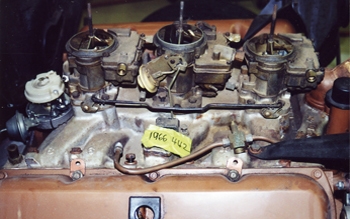
Tri-Power looking worn and tattered with every screw, bolt, clip, rod and plating surface needing done.
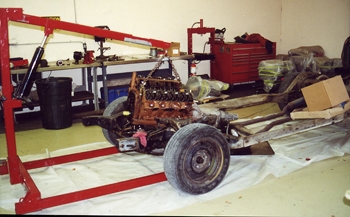
We yank her out and start the process.
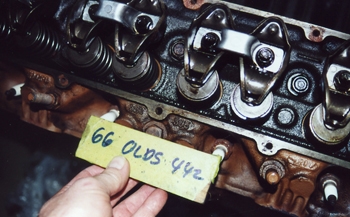
Always checking for correct date codes, never assume they are right. They all check out so lets proceed.
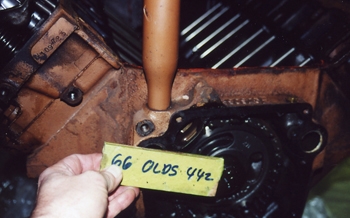
For sure we are in for some hard work on this old Copper beauty.
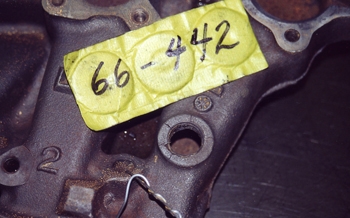
Around the temp sensor hole of the intake you can see some hair line cracks. We need to weld them and resurface for no repair detection.
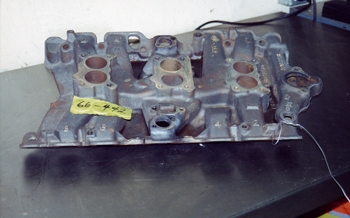
After repairs our heated dip / strip tanks made short work of the cleaning process while we are working on other parts of the car. The " piranha " cleaning agent knocks it out. As seen the 3 deuce intake is clean to the bone.
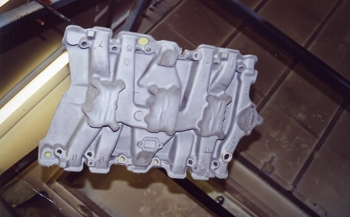
After repairs our heated dip / strip tanks made short work of the cleaning process while we are working on other parts of the car. The " piranha " cleaning agent knocks it out. As seen the 3 deuce intake is clean to the bone.
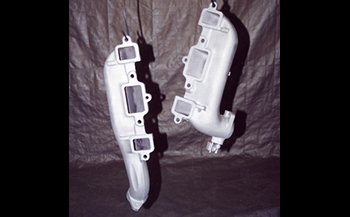
Same with the exhaust manifolds, any crack repairs done then media blast and paint with 1200 degree cast iron paint.
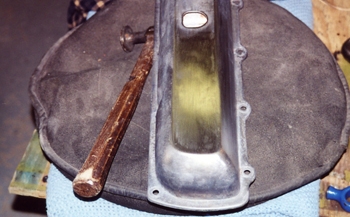
Valve covers were dented and in need of metal work.
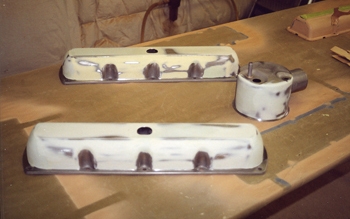
A slight skim coat of polyester and they are straight and true.
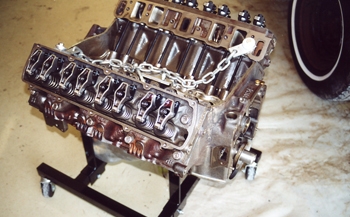
We rebuilt the engine and now it is time to prep her for paint.
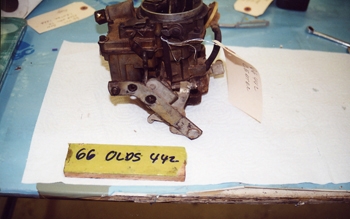
Original carb close up shows a rough puppy that once could flow some fuel but not any more. Lets take her back to better then her former glory.
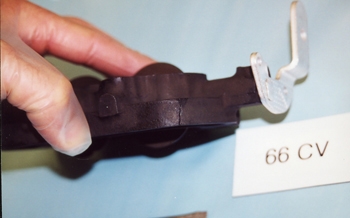
Carb bases showing cracks also in need of welding. When heat and cold with age is combined these things happen. That's why we will always have a job!
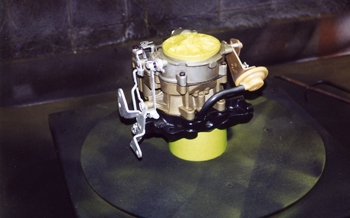
Once we have them restored we always spray them with high heat gas resistant satin clear to keep them looking good for many years.
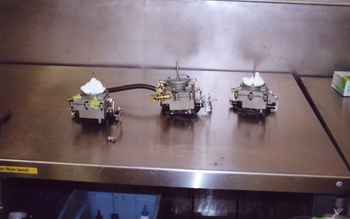
Three's a matching set, that is.
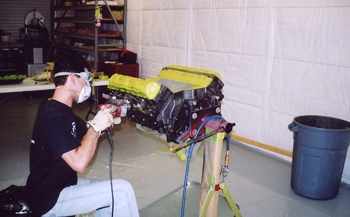
Eric starts the tedious process of cleaning the cast iron to a shiny metal surface on every square inch of the block and heads. Note the taped and covered entrance holes to keep all the wheeling debris out of the engine.
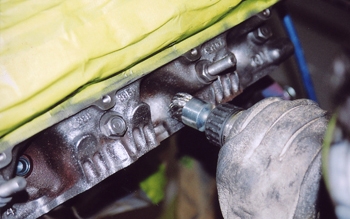
Small wire wheels are used to remove nearly 50 years of baked on grime that the dip tanks would not remove. As seen special plugs are inserted in to the spark plug holes.
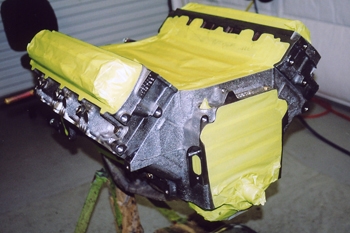
Once done she is re masked clean before primer. This must take place as soon as possible because cast iron is so porous it can re rust quickly so time is of the utmost importance.
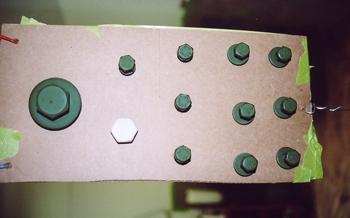
Each bolt with correct head markings is prepped and blasted then primed with a super thin coat. This will avoid any markings from being covered and keep from cracking the paint during assembly. We have special hi density nylon sockets/tools to tighten painted bolts with out cracking.
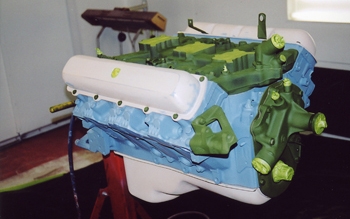
Oil pan, water pump, timing chain cover, brackets and valve covers were all prepped and then assembled to the motor. The more parts you can put on " with out them affecting the spraying " the better to avoid having to touch up bolts. In the case of this 66 - 442 engine copper metallic paint is the correct shade and touching up small bolts with a brush after assembly is nearly impossible to do effectively compared to a pastel or non metallic paint. Hence why we spray it together.
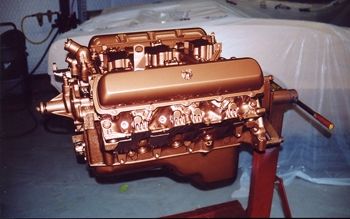
In the booth and looking good, Jeff is a master at spraying engines with all the nooks and crannies.
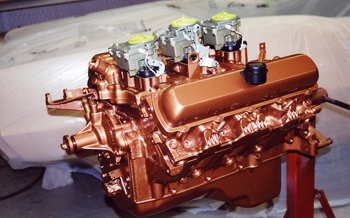
Coming together she is taking on her character.
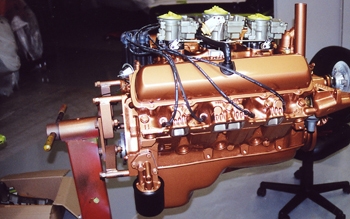
Dated coded wires installed, oil filter, fuel pump, pcv hose, etc almost time to prime the engines oil system and install in to the chassis.
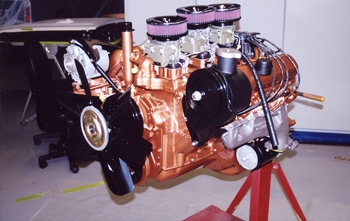
Driver side nice.
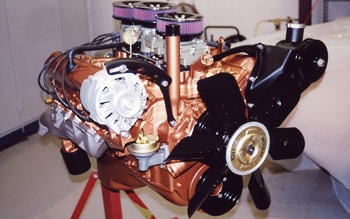
Passenger side looks good and ready.
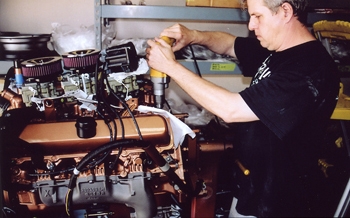
Jack primes her up and gets her ready for her installation
