
1966 442 - Misc Assembly
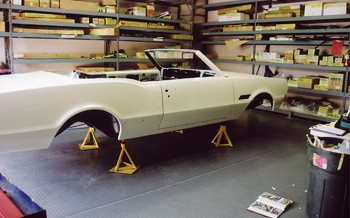
Painted and polished we are ready to assemble the car.
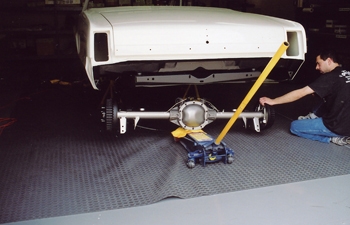
Eric and Jack roll in the rear end suspension system.

Up and in she bolted in smooth.
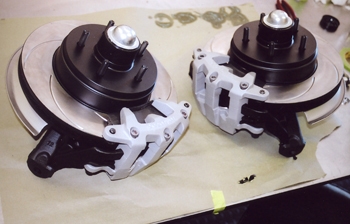
Front brake assemblies are ready.
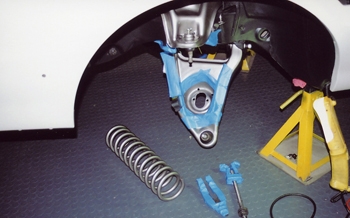
First we install the upper and lower control arms with springs. Note every thing mask up to protect against scratching.
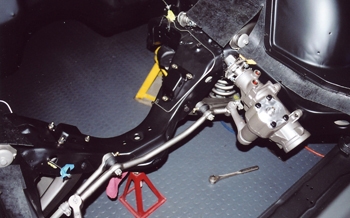
Steering box, drag link, tie rods etc.
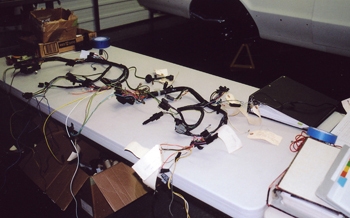
Wiring installed in to the dash and back to the rear of the body.
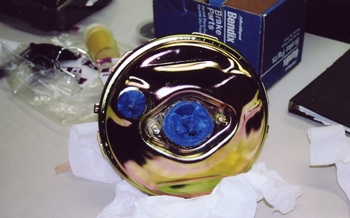
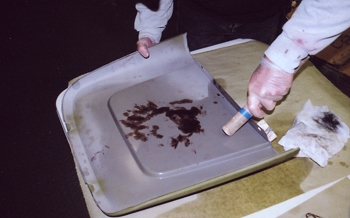
Re plated and rebuilt power booster.
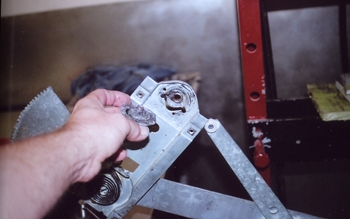
Window cranks are built and gone over, The old rivets were removed and inspected inside etc.
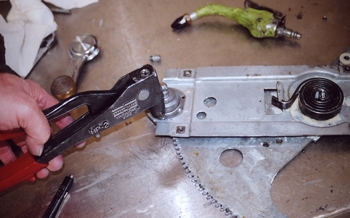
Once packed with grease we re-riveted.
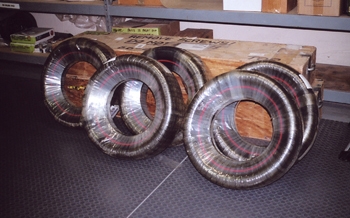
Red lines are ready to mount.
The seat backs had dents in them so we carefully rolled them out using rounded tooling. They have a grain like vinyl stamped in to the metal on the front outer side so no filler or hi build primer can be used or it would cover up the grain.
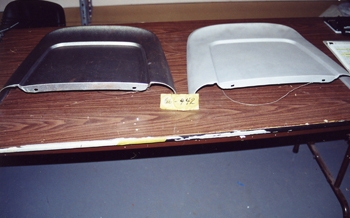
Looking good and about ready to prep and paint with no dents.
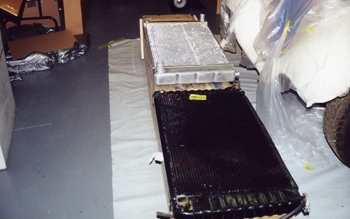
We used a griffin aluminum radiator for better cooling and prepped and painted it factory satin black color per original specs.