
1966 442 - Convertible Top
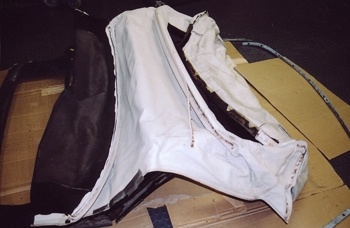
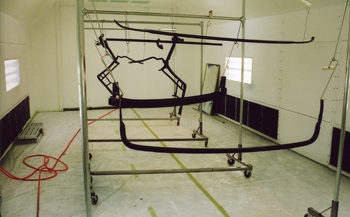
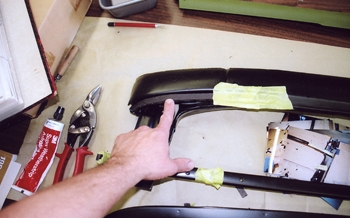
Orig Convertible top is ready to be restored.
Jack removed each part step by step noting condition etc.
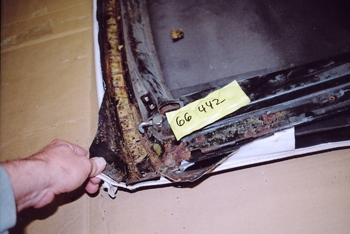
Convertible tops are usually rusty around the header or very front above the windshield. As seen the staple tack strips need replaced.
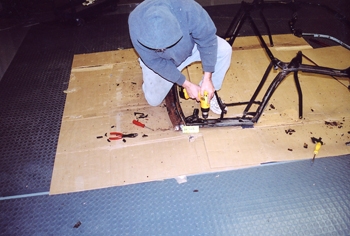
Jack is drilling out rivets and noting measurements as a starting point.
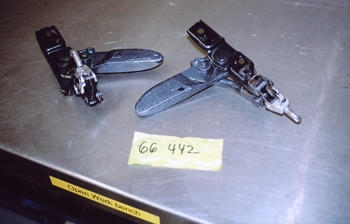
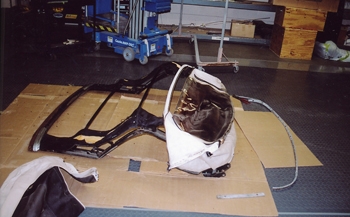
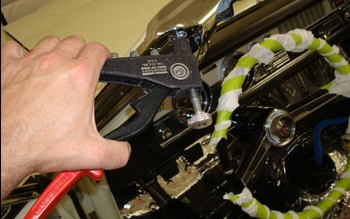
Every part right down to the top clamps need restoring.
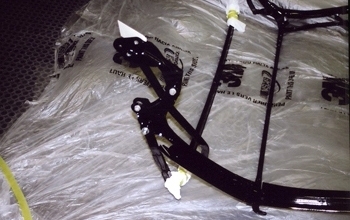
After media blasting all the parts and primer blocking the imperfections we painted the frame gloss black per the factory.
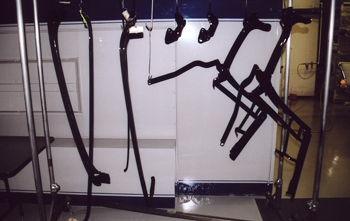
Convertible top all painted individually and ready for assembly.
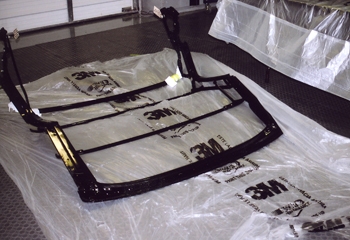
Starting to assemble and looking good.
New tack strips installed.
Every bolt restored and re plated too.
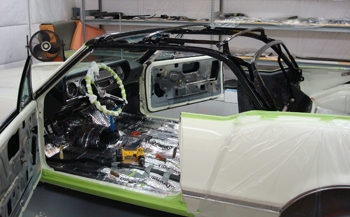
After each part was blasted, painted and reassembled on the frame we have it installed to the body and are currently adjusting for optimum fit.

The back bow gets stapled first.

Eric laid out the top and pre marked the center line and a few other areas.
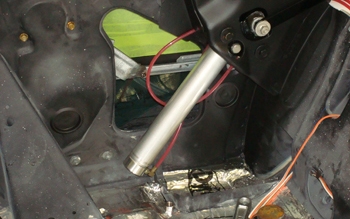
New convertible top pumps and lines in place.
Stainless trim rubber retainer gets riveted where the side meets the top section.