1966 442 - Body & Rust
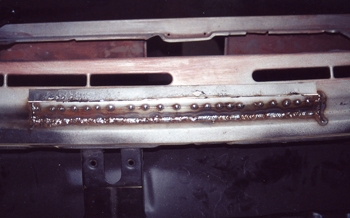
The holes we mentioned in the drain cowl previously became larger once the panel was opened up. A large patch was needed and now we will grind it down smooth.
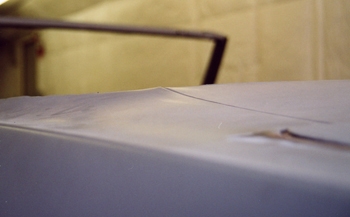
Fit problems take place on every car. As seen where the qter panel and rear deck meet it was welded in too high at the factory which affected the trim from fitting correctly.
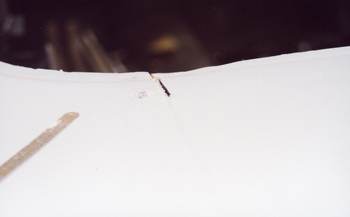
A small slice and then rewelding can make all the difference in the world.
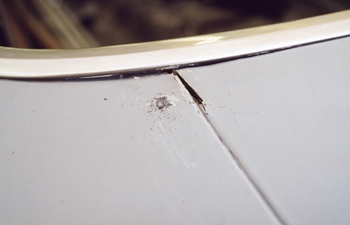
We always pre fit the trim to be sure we accomplished what we were after.
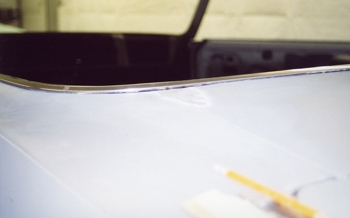
After welding we ground it smooth, as seen the molding lays down and fits right.
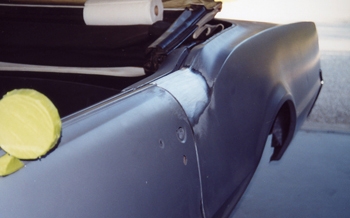
Aligning all the body panels and being sure they match each other is our standard policy.
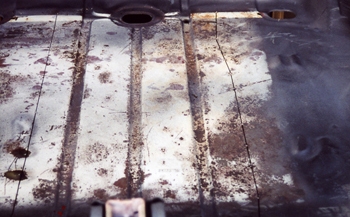
The trunk floor will need to be replaced.
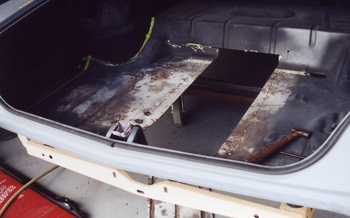
We start by cutting out the center section and then the two side panels.
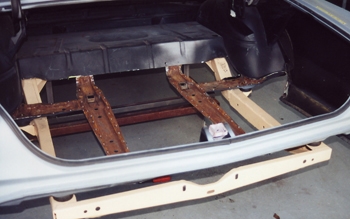
With the trunk floor removed we will blast the braces white metal clean.
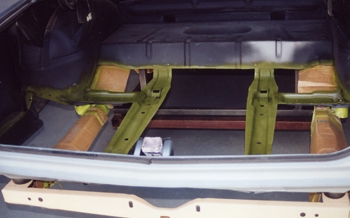
After blasting we primed them with zinc chromate and now we will start the replacement.
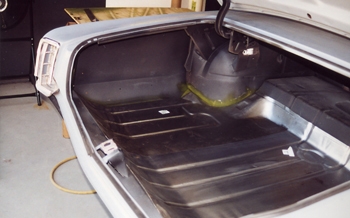
New metal fits good! We trimmed it to fit and then removed it to prime before welding in.
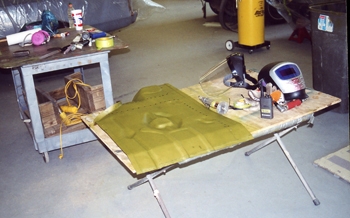
Time to pull it back out and apply zinc chromate.
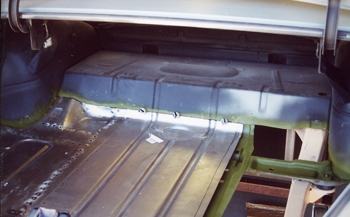
Once the back side of the new floor is primed we will refit for the final time and go on to the welding phase.
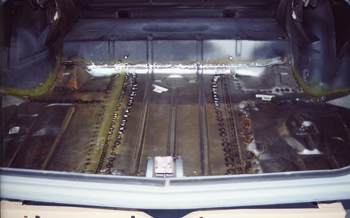
All welded up and ground down smooth.
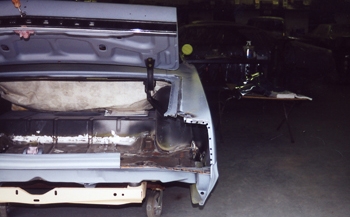
The passenger tail light housing was crooked from the factory so we drilled out the spot welds and are ready to blast and prep then re-install correctly.
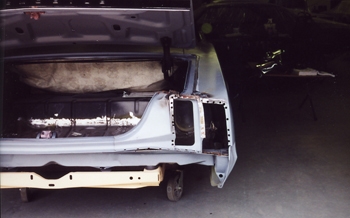
We pulled the old light housing out after many spot weld holes were drilled. Now we can re-position it.
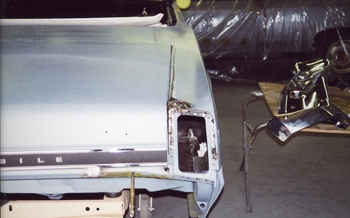
Back in place the light fits in the confines straight and true.
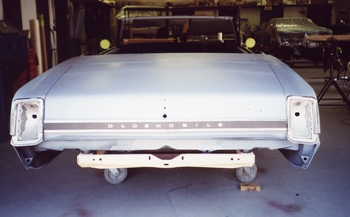
All the lights and chrome go back on to the car for a final fit.
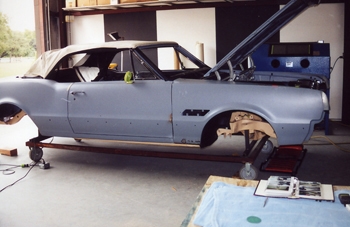
Every car we build gets reassembled and tweaked to be sure all the parts fit correctly.
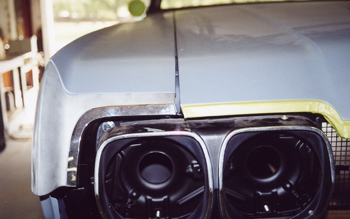
The moldings need much attention. As seen the hood and trim are much lower then the fender.
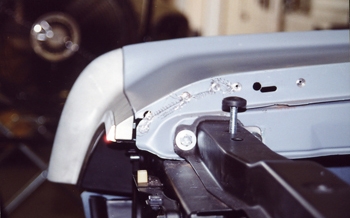
The hood was slightly higher then the fender so we cut out the spot welds on the fender and raised it to cure the problem.
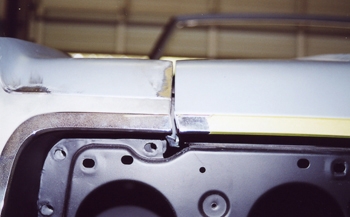
The Remedy fixed the problem We rewelded the fender and went on to the next part.
