
1965 Corvair - Trim Fit
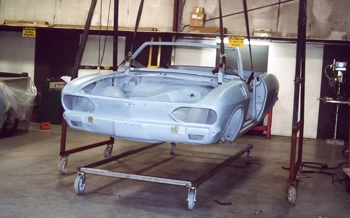
Now that all the rust repairs are done we are ready to drop the body down to a body cart and start aligning the panels.
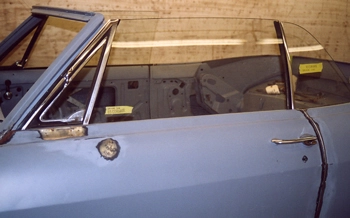
We start by installing the doors and glass to see what the factory adjustments will allow us to refine.
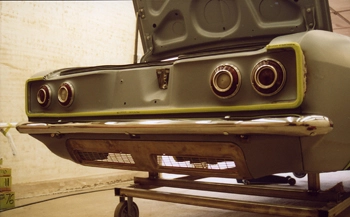
Trim, bumpers, tail lights and tail pan are all lined up.
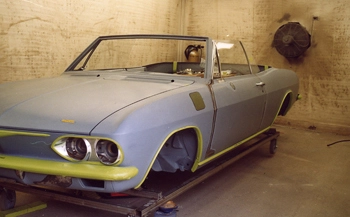
Hood, trunk etc
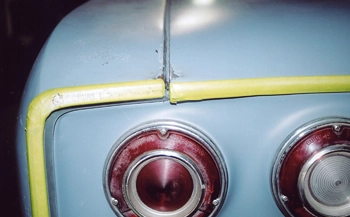
First we find out what our limitations are. Based on what the factory did " or did not do " it helps us to plan an attack of refinement. As seen the rear trim does not line up due to the holes drilled improperly. Re-drilling will give us what we need. This is an easy fix but most refinements take much more time and talent to repair.
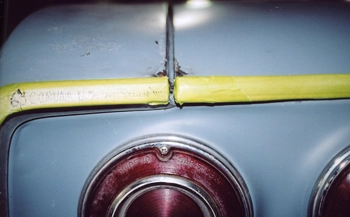
As seen the holes were re-drilled which allowed us to adjust it to our liking.
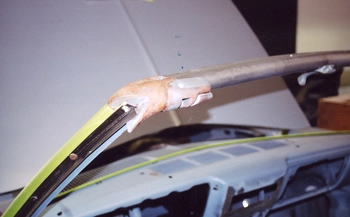
Pot metal parts are stripped to bare metal / copper and then fitted and tweaked for refinement including grinding away materials on the back side and edges to fit better.
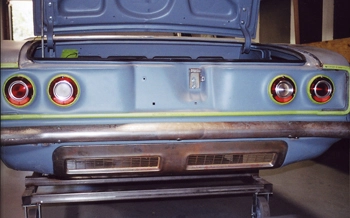
Even the rear engine intake panel below the bumper is fitted and tweaked to refine the gaps.