1965 Corvair - Seat Build
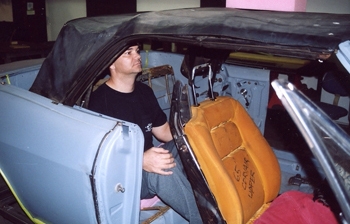
Jeff checks the road sight from the rear seat to see how much the passengers will be able to see. Every detail is important when installing custom seating in a car.
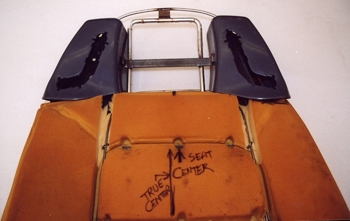
First we took some 1/4 inch stainless rod and bent it to shape the seat to our liking and also connect one side to the other.
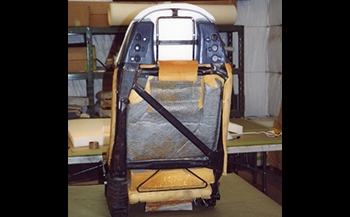
The back side view shows the wire form with some white foam installed on the front side as we get a look at what she will become.
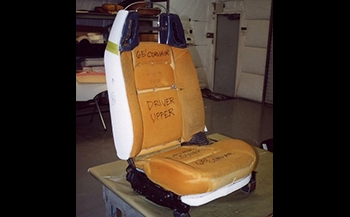
The side bolsters needed upgrading to make the transition more subtle to the top.
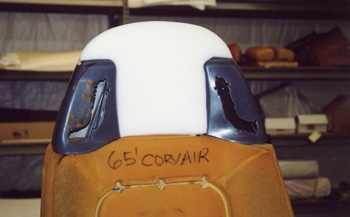
We added foam in the center section first before covering the whole head rest. This provides maximum support.
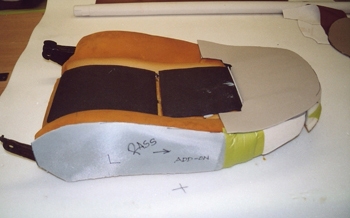
We also installed black foam on the inserts and started a few mock ups on the top half. We have no patterns to go by when building custom seats so we have to build as we go.
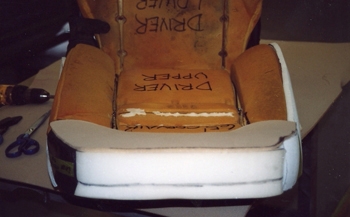
You can see the amount of foam work required on the top section to make it conform to our liking.
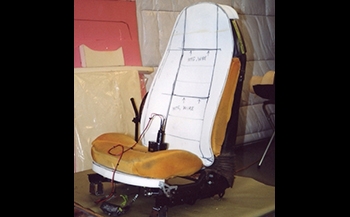
The complete front section now gets additional foam to allow the cover to make a smooth transition over the whole seat. Note the 12 volt battery from a cordless drill to test the 6 way power seat to be sure no restrictions take place.
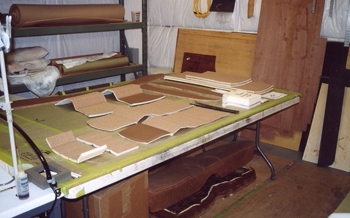
The patterns are now ready for sewing to see what we have.
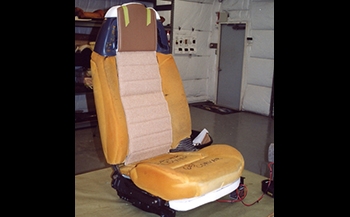
The inserts will be in tweed and the outer sections in camel naugahyde.
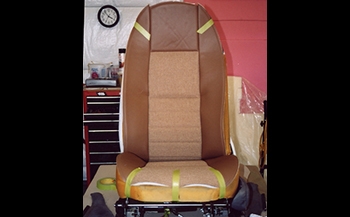
A nice match if I might say so.
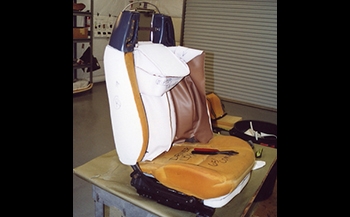
Time to put our new cover on. Because of the internal seat belt system mounted at the top we will have to turn the cover inside out and roll it down over the seat once it is completed. For now we simply hog ringed the front section to check a few preliminary measurements.
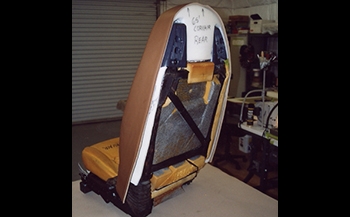
The front section fits pretty good so now we will measure and start the rear.
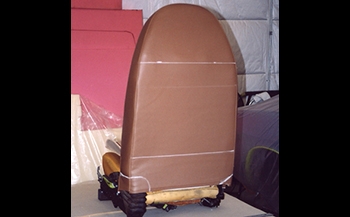
As seen we will trim it around the hinge boots at the bottom marked with chalk. In addition we marked where a pocket will be sewn in to the back side to break up the seat a little.
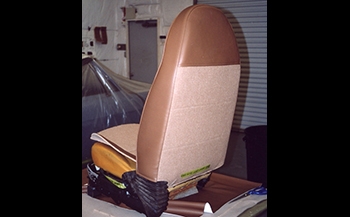
We trimmed the bottom around the billow covers and inserted the tweed on the back side. Next we will build the pocket.
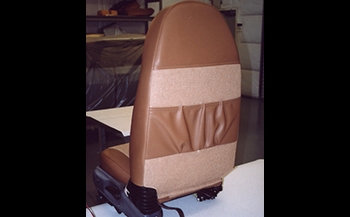
Pocket looks good and breaks up the rear very well. The back side of a seat is not the best looking part but we wanted it to be stylish.
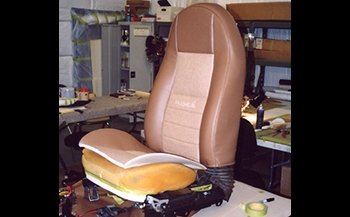
Top cover is coming around so on to the bottom.
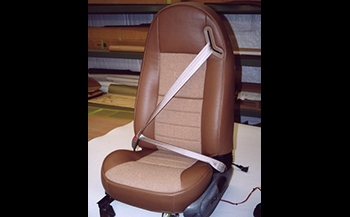
She looks pretty good. A bit of tweaking here and there and she will work. We also have to paint the side bottom covers to match.
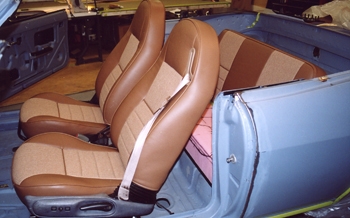
Installed they look pretty good. Click here for finished photos.
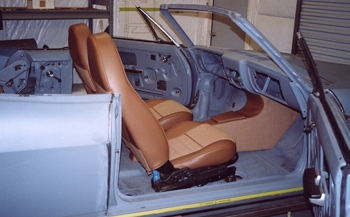
The console looks good next to the seats. The buckets are a little large for the car but the customer is tall and wanted comfortable seating with out altering the floor system.
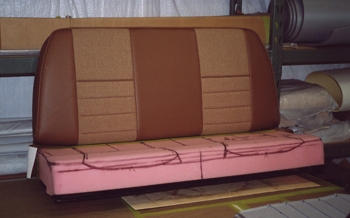
Time to finish off the rear seat bottom.
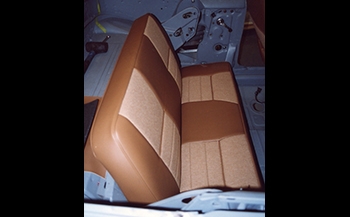
Looking good and ready to store away until the car is finished.
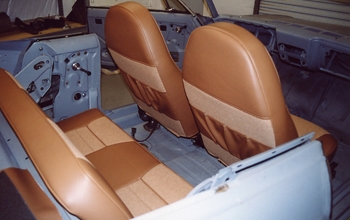
Nice look from the rear.
