
1965 Corvair - Console
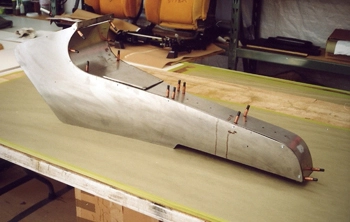
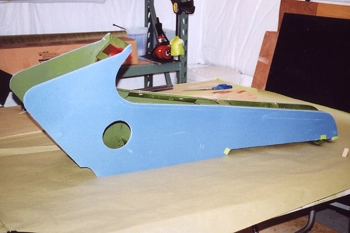
The console has been fabricated and now its time to upholster it. Before we start a few things need to be checked.
First things first, we start with the glove box lid and test foam thickness.
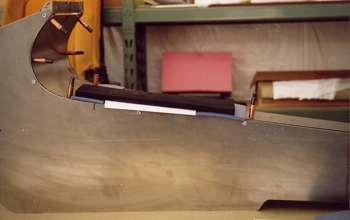
Next we start mocking side panels.

Fitting some test pieces to see how she will look.
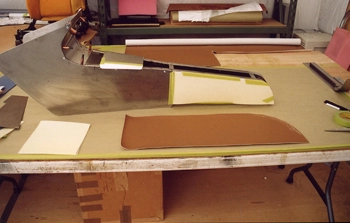
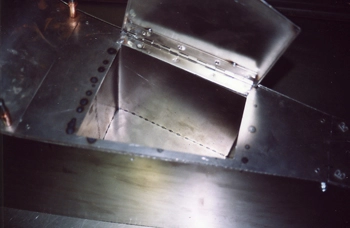
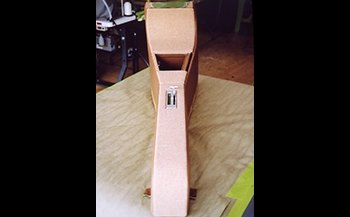
The bottom side shows the snap in clips used to hold the top cover in place.

Under side braces were installed to keep it stable from side to side.
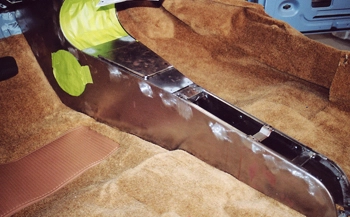
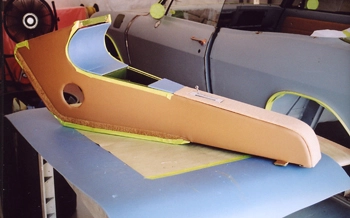
The console fits fine with the carpet and pad thickness height changes and it is time to upholster it.
The console has a glove box that will require special attention during folding, gluing and trimming in and around this area.
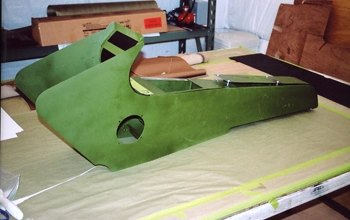
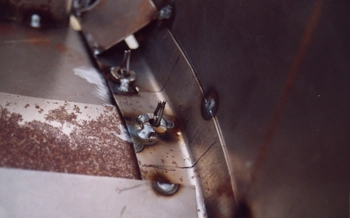
First we blasted and primed with zinc chromate.
We used abs plastic on the contour.
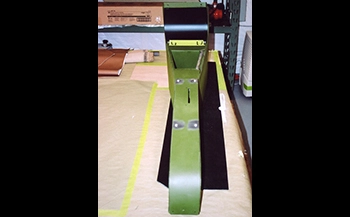
3/8 foam was used to cover on both sides.
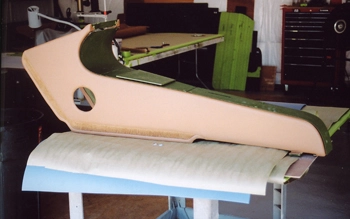
A final foam was used to give the outside a nice smooth surface.
We then applied the matching upholstery to the seats. Notice the strip of carpet on the bottom edge.
The same as the front seat inserts, tweed was applied in the center of the console.