63 Galaxie - Trunk
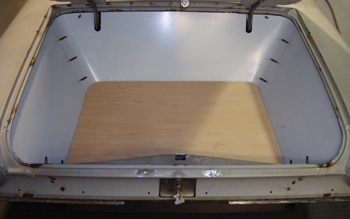
The trunk was designed with a smooth flowing design. Behind all the panels we hid the air ride system, batteries, fuse block and amps for the stereo.
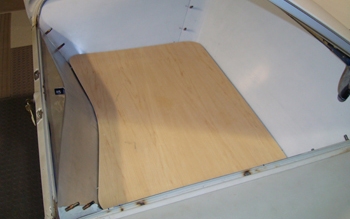
We used 5/8 birch hard wood for the floor to support any weighted items from potentially denting the gas tank. Note the rear panel flowing smoothly from side to side.
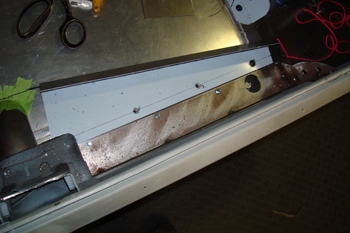
The first step was to lay out the bottom floor confines by bending a few strips at the correct angle to enable the side panels to flow evenly to the top edge where the rubber weather strip channel is.
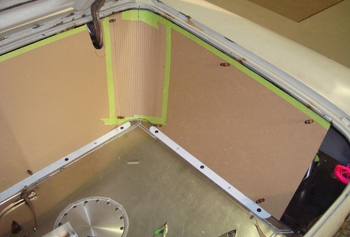
The remaining panels were laid out for proper fit. We will also decide on the seam locations best suited to service the components hidden behind the panels.
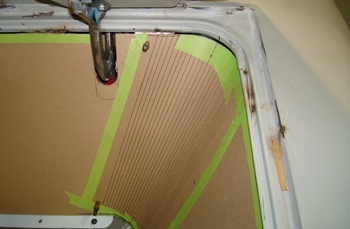
Note the U shape cut out around the hinge. Time to make the same bends in the aluminum sheet and finish up the project.
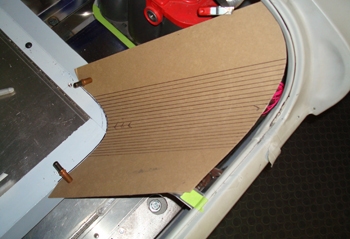
We then took 4 mil chip board and drew out our angled lines and bent the board on our brake to conform to our desired shape. It fits good so we are ready to fab the aluminum.
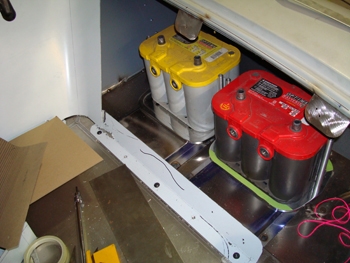
As seen above the batteries we welded tabs on the rubber channel edge. These will be used to hold the top edge of each side panel in place. We will use Velcro to attach the panels to these tabs.
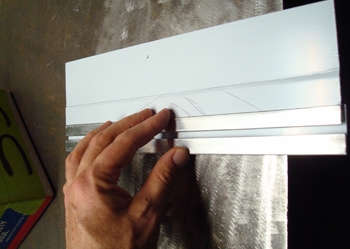
We wanted the panels to fit each other flush. It is best to have a bent over hem on the end of the panel to keep a strong edge.
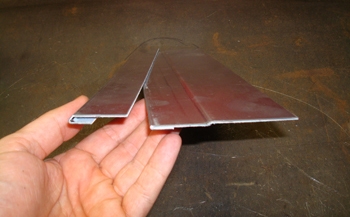
Male and female joints are bent with step downs and simply slide over each other. This leaves a flush panel that is tight. We have to make the panels removable for servicing the components behind them.
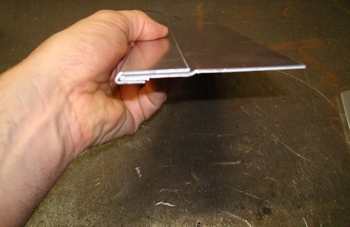
Flush and level every time.
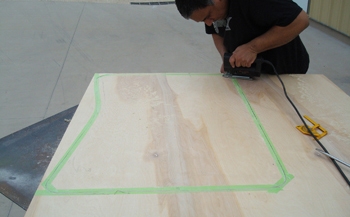
Lou has it marked out and is slicing away. We angle cut the trunk floor to fit flush against the angled side panels.
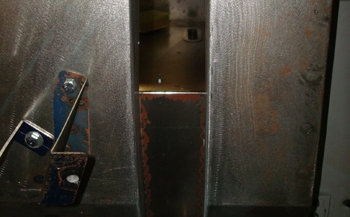
The trunk lock was relocated and a simple bracket was fabricated and overlaid on to the orig Ford bracket to hold the lock assembly in place.
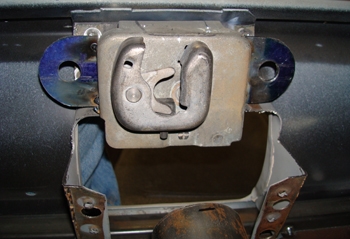
In order to keep the top of our back panel as small as possible we had to alter the lock mechanism by dropping it lower, yet still clearing the gas tank filler tube.
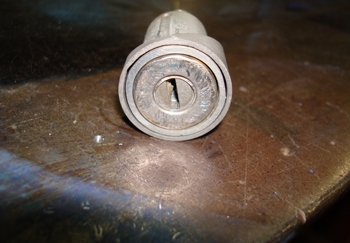
We made a sheathe to surround and support the original style lock assembly. It was built to change the angle.

The lock is angled straight out the back now compared to Ford having it flush above the gas door.
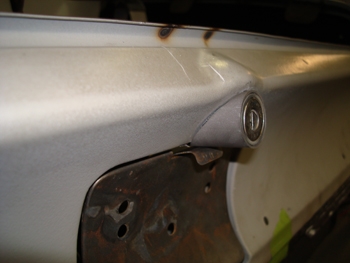
This pictures shows the sheath or holder and its angle to the body.
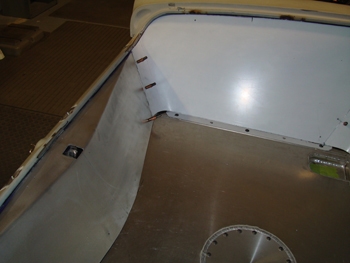
That allowed us to keep the top of our rear panel smooth and flowing in relation to the rest of the trunk panels for a beautiful trunk bay.
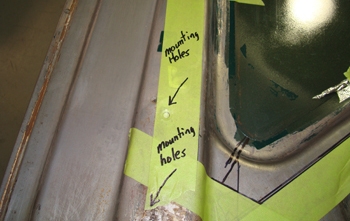
We have to move the mounting plates on the deck lid inward in keeping with our clearance issues inside the trunk area. As seen we have it marked out on the bottom side of the trunk where the new locations will be.
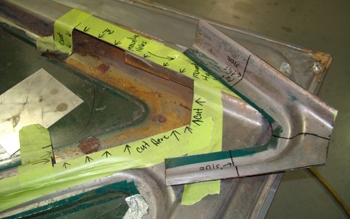
We removed a section of the trunk lid support metal and are ready to re configure in order to make room for a new hinge mounting plate moved inward.
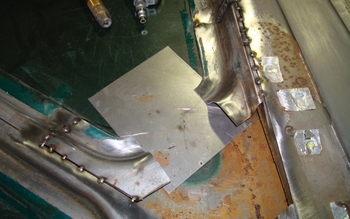
A little slicing and dicing and we are on our way. As seen we already shortened the original bracing on the sides and tack welded them in place.
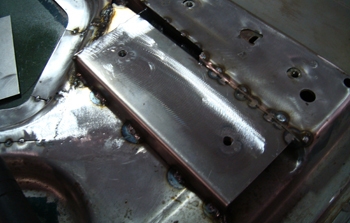
By making the side pieces shorter it allowed room for a new hinge support plate to be installed 4 inches inside of the original mount which gave us the room to clear our inner wheel houses.
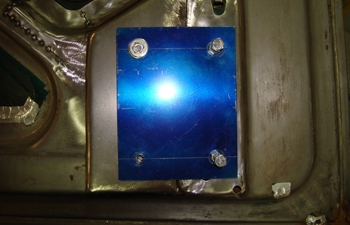
The hinge pivot system also needs to be moved inward so a plate was built to add to the rear deck to support the hinge system. We bolted it to the trunk lid first then mounted the lid to the car and then lined up the panels before tack welding the hinge system in place.
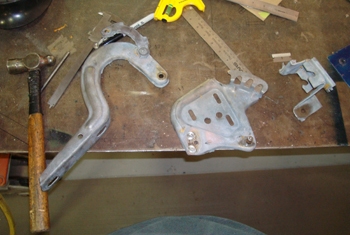
We disassembled the hinges and then added bronze bushings for smoother operation.
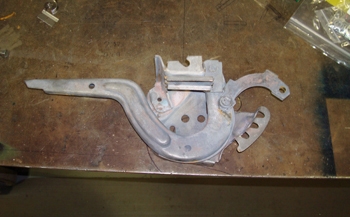
Ready to remount.
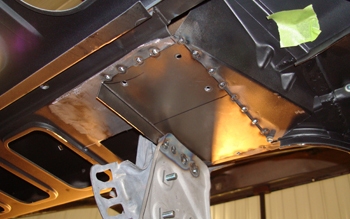
As seen we notched out the rear deck to fit our new plate up inside and the hinge system is now mounted and welded in. This will all be covered by the trunk panels once done so high cosmetics are not needed.
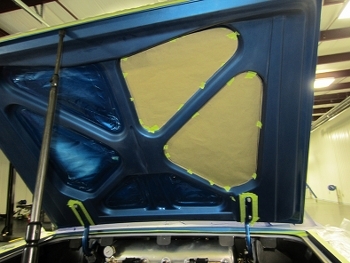
63 Galaxie- Trunk Backside Panels
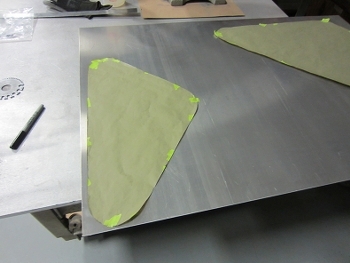
63 Galaxie- Trunk Backside Panels
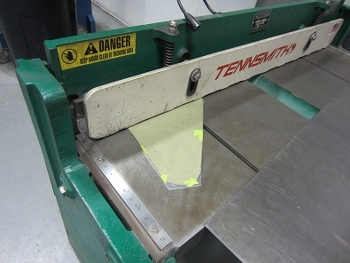
63 Galaxie- Trunk Backside Panels
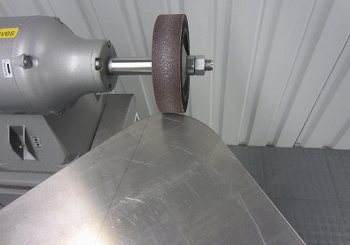
63 Galaxie- Trunk Backside Panels
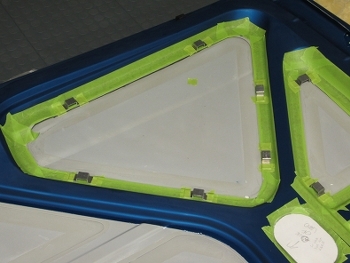
63 Galaxie- Panel Spacers
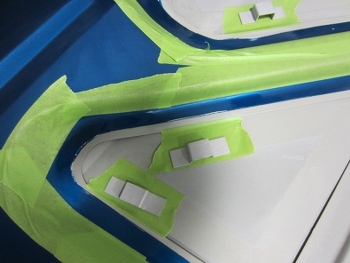
63 Galaxie- Panel Spacers
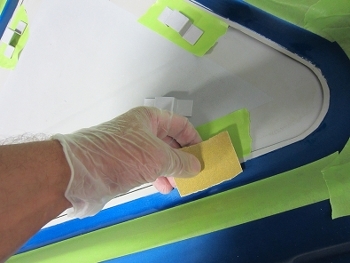
63 Galaxie- Panel Spacers
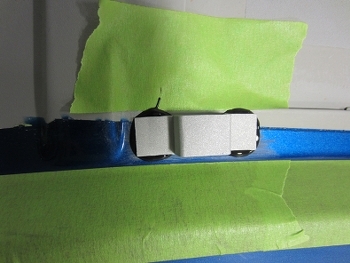
63 Galaxie- Panel Spacers
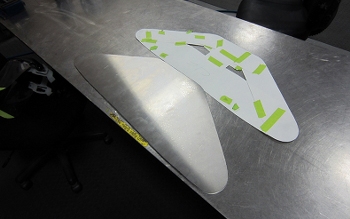
63 Galaxie- Panel Spacers
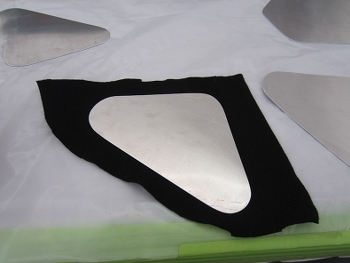
63 Galaxie- Panel Spacers
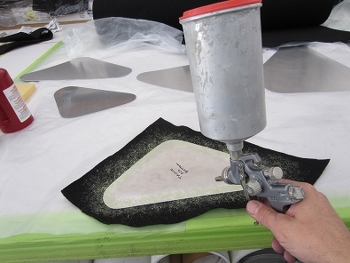
63 Galaxie- Panel Spacers
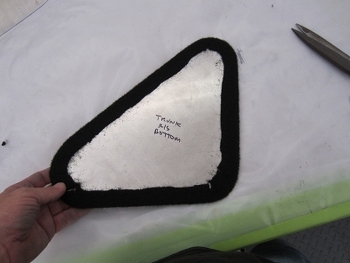
63 Galaxie- Panel Spacers
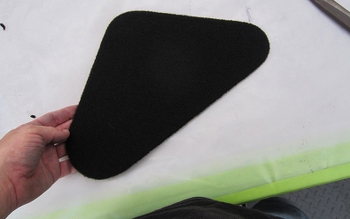
63 Galaxie- Panel Spacers
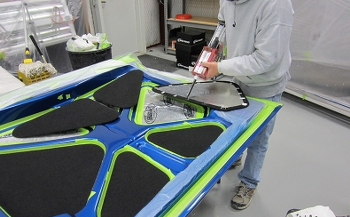
63 Galaxie- Trunk Install
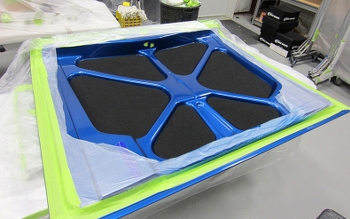
63 Galaxie- Trunk Install

