63 Galaxie Sway Bar
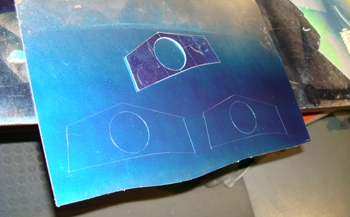
We start off by laying out some side brackets from a template we made. Blue dykem on sheet metal allows precise marking.
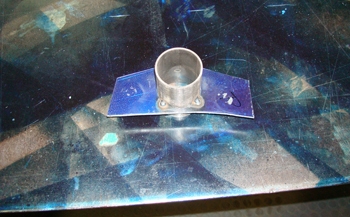
Using tubing sized to fit our bushing and sway bar we tack welded the inside while we still have access.
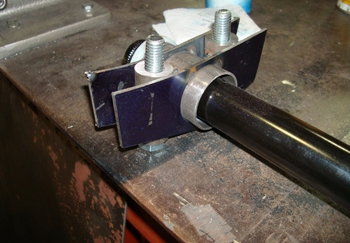
We inserted the sway bar through the tubing with the bushing pressed on the end. Using 2 pieces of round stock to hold our bolts in place we welded them to the bushing before hand.
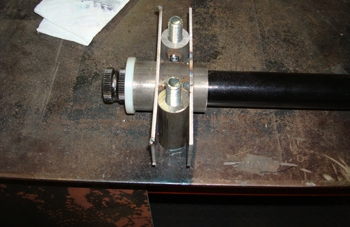
This view shows how the nylon bushing is pressed inside the tubing to hold it firmly in place.
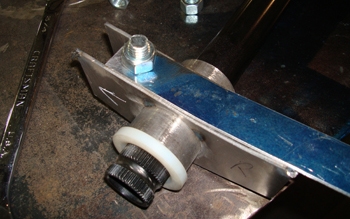
We then added some strap metal to the top and we will now drill out the other hole for both bolts to go through each side.
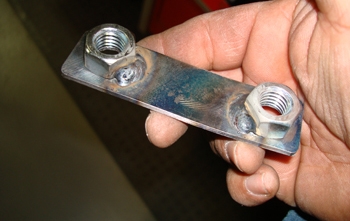
A strap / nut insert was welded together. This is how the sway bar mount will be bolted to the frame.
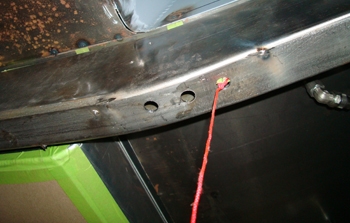
This string was run through the frame to pull the nut and strap combo plate through and in to its proper position. We will then bolt it down tight before welding it in place.
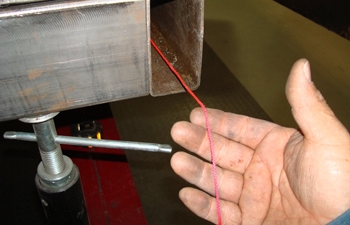
As discussed Luie is going to tie the nut plate on to the end of this string and pull it through the frame in to position.
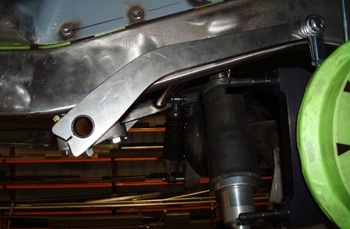
Mounted up it fits nice and is tucked in close to the frame rail.
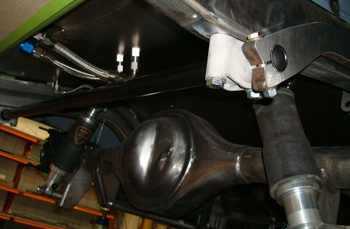
The bracket is in and looks good too.
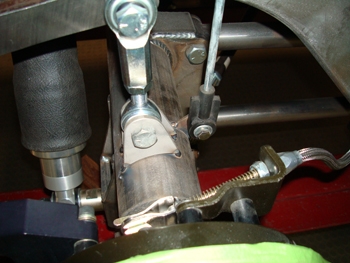
Small brackets were fabbed to attach the adjustable rod ends.
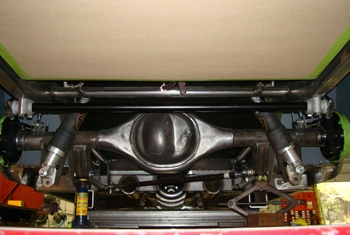
Dishes are done and ready for some fun.
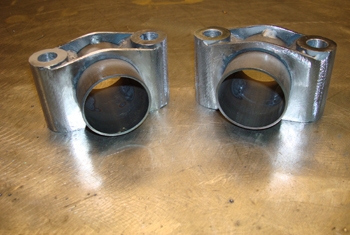
Many one off parts were built for this Galaxy we call " Behemoth" These stylish sway bar mounts are looking good and ready to mount up.
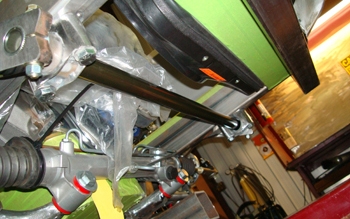
Front sway bar is in place and will hold " BEHEMOTH " tight in the turns on the Arizona Highways.

