63 Galaxie - Radiator Support
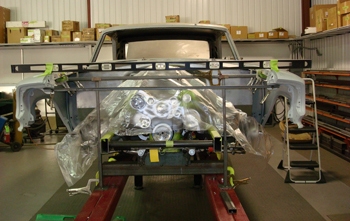
Time to build the radiator support. Bob did a preliminary alignment on the doors and front end sheet metal. She is leveled and braced so we can now build the support.
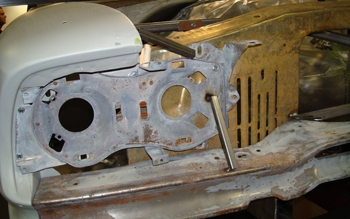
Louie installed the head light buckets and aligned them using the upper half of the original radiator support which has had the bottom cut off to fit. Keep in mind that the original frame is no longer being used so the original radiator support will not fit our custom frame. Note the small tubing to keep every thing aligned.
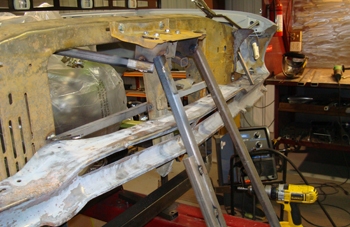
As seen he also used the upper section of the original radiator support to hold the bumper filler and hood striker locations. He then ran tubing down to the chassis table to stabilize even more.
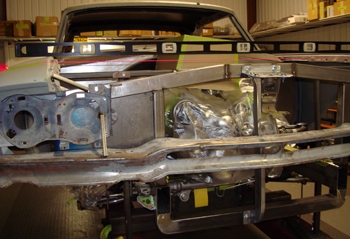
Once all the measurements were figured we started to build the new radiator support. We used 1x2 tubing and built it as low as possible to support the sheet metal and hold the extra large radiator in place while providing enough clearance for our engine bay cover to be built later on.
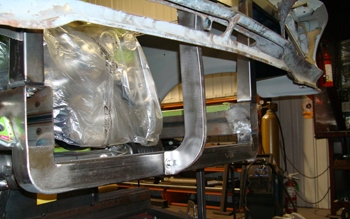
As seen at the bottom of the frame we built some extensions to allow our radiator to sit lower. Notice the rounded corners in keeping with the smooth flowing frame design.
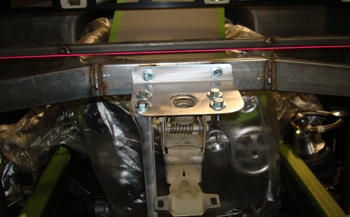
We also fabbed a new hood release and striker plate.
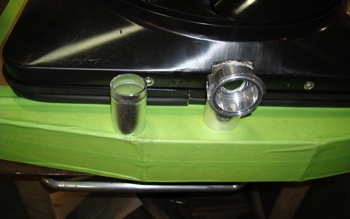
The radiator neck is a 90 degree unit for low profile clearance and the upper hose neck is in its proper location. We will tig weld them on at a later time in the build.
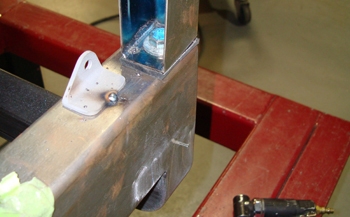
Inside the custom radiator support we see the open leg where it is bolted to the top of the frame horns. We used 1/4 inch rubber for the vibration dampener mount.
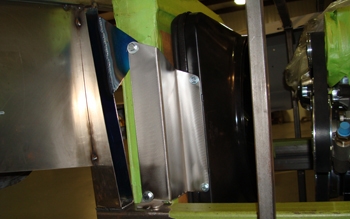
The electric fan and radiator were attached with a custom fabbed side bracket that Louie designed.

