63 Galaxie - Power Windows
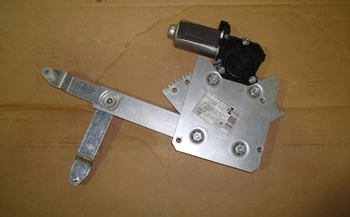
The Galaxie never had power windows and there are no kits available for the car. We purchased a kit for another model and will use the motors and modify our original crank window arms to fit.
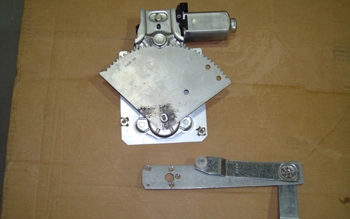
First step was to remove the generic arms from the main bracket.
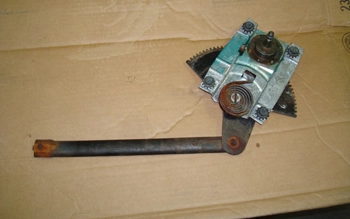
The original crank window has a longer main arm and a shorter base one.
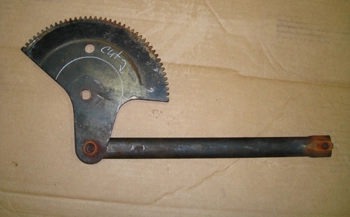
As seen we have it marked to cut the gear section off because our new motor and gear assembly is a matched set with a different tooth pitch that must stay together.
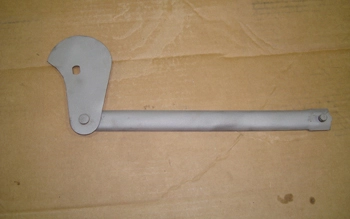
Once Louie cut it off he blasted it up to get it clean and we are ready to go on to the next step.
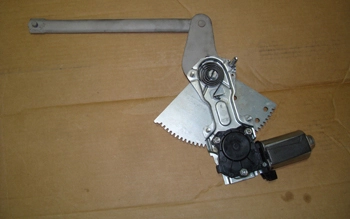
We mounted the unit in the door and figured the exact location to work the window, we then tack welded the brackets together.
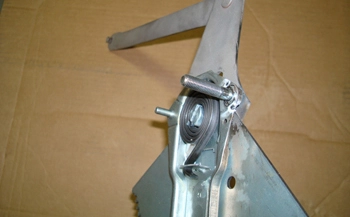
We ran two bolts through the gear housing on the outside ears for easy removal and installation. We still need to make a flat support bracket to fit our door and then shim it to
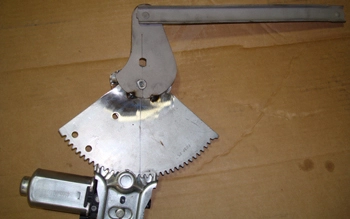
As seen the center line where we marked it. We can now weld it up solid.
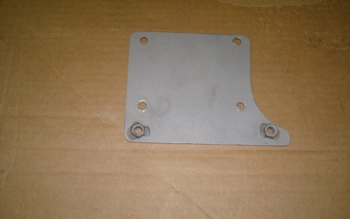
Using flat 14 gauge steel we made a bracket that attached to our motor and arm assembly that allowed good contact with the inside of the door on a flat surface.
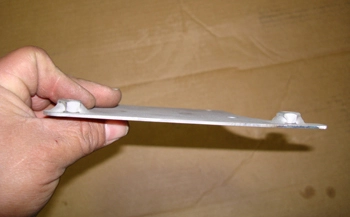
As seen some simple nuts welded to the plate get the job done.
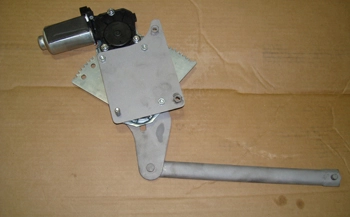
The assembled unit is ready.
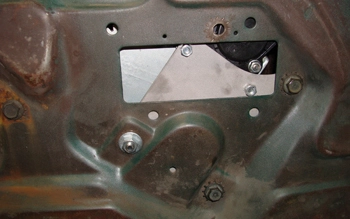
This photo allows you to better understand what we had to do to mount the unit. As with most doors the inside panel has dips and curves making it hard to mount any thing level and square to the window. Our bracket fits exact, for years of trouble free service.
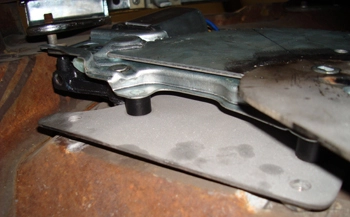
A close up shows the rubber spacers between the mounting plate we fabricated and the unit itself. These provided the correct " angle" to align everything and make it run smoothly.
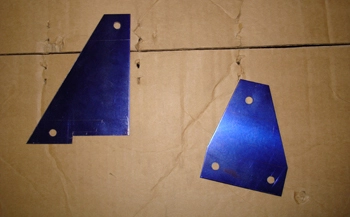
The vent window is next and will require a totally different power system because of the tight confines.
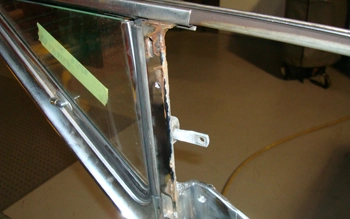
We start with the turning pivot on the vent window as our focus.
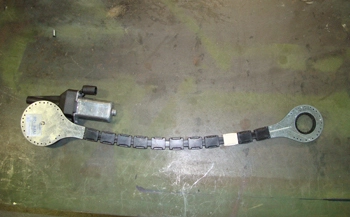
We decided to use a power motor with a flexible shaft because of the space limitations.
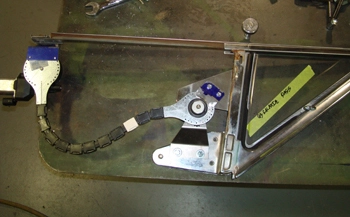
Lou made a bracket to mount the turning gear to the existing frame of the vent window and another one at the bottom to hold the motor assembly stable.
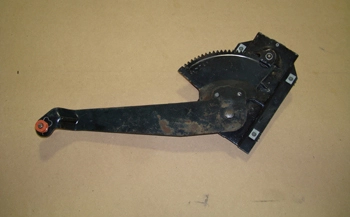
The qter window assembly was done much in the same way the door was done.
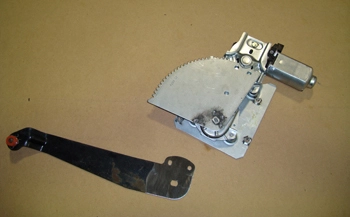
He needed to use the original arms so he drilled the welds then removed it.
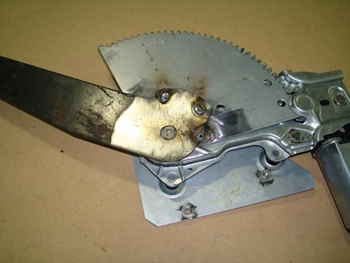
Next he clocked it to work properly then rewelded in the proper position.
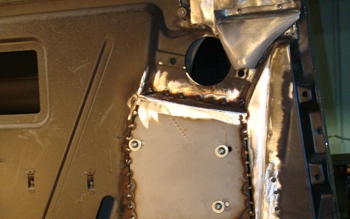
Then he built a plate to stabilize it much in the same way the door was done.

