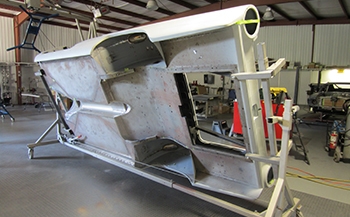
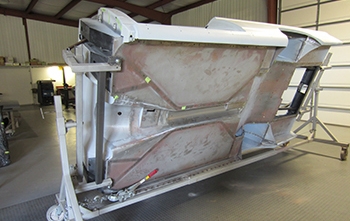
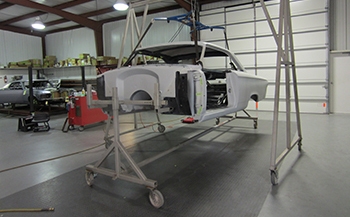
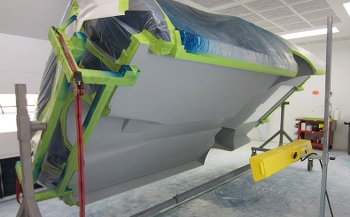
63 Galaxie Floor System
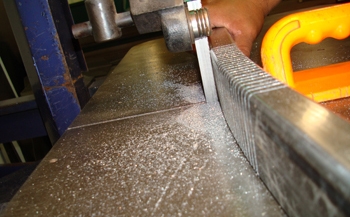
We go back to the floor system and as seen we took some more 1x2 tubing and relief cut in order to bend it in place.
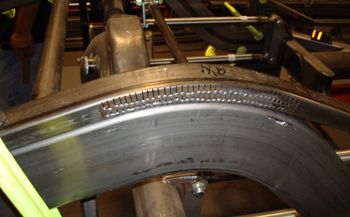
We then laid it over the rear frame rail for a snug fit.
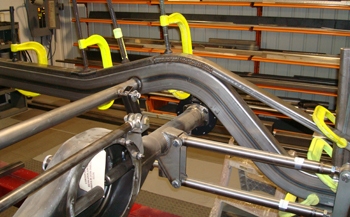
Before welding it up we simply clamped all of it in place.
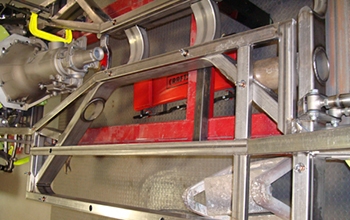
As the floor supports get laid out you can see the 1 inch holes that will be used for the mounting bolts.
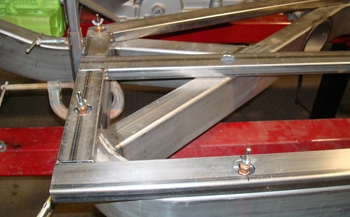
We installed cleacos with heavy duty wing nuts to secure the frame.
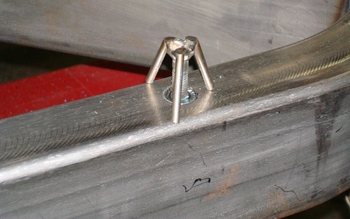
Now that we have the correct placement of the support system we need to install heavy duty flush mounted nuts to the surface of the frame. As seen, we made a jig to hold the nuts at the correct height and still allow tack welding them in place. We then unscrew and finish welding them in solid.
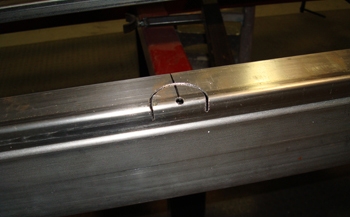
We will install a cut out to clear the fastener on the frame side mounts.
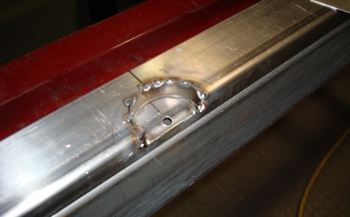
Tacked in and ready to weld up complete then grind smooth.
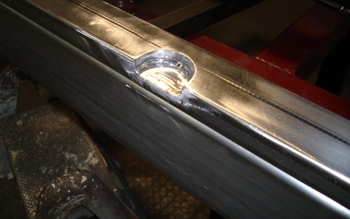
Finished she looks great.
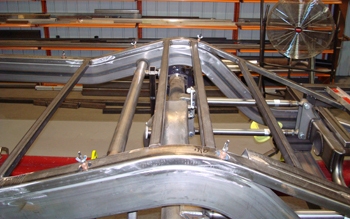
This photo shows extra tubing to support the frame and allow ample support for a curved floor.
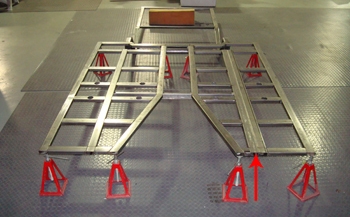
The complete support system is off the frame to get a better look. Notice the double tubing "See Red Arrow" the inner one will be cut open on the top for fuel and brake lines and wiring to run front to back thus keeping them serviceable while providing a super clean look from the underside.
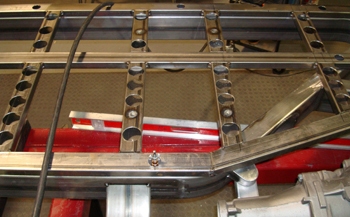
We have the basic support system laid out and it is time to check out the seat placement. Note the swiss cheese cut outs to lighten the system up a bit.
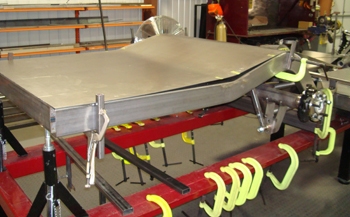
We removed the support system and installed 14 gauge metal then clamped it in place and pre bent close to what is needed before the support system goes back down.
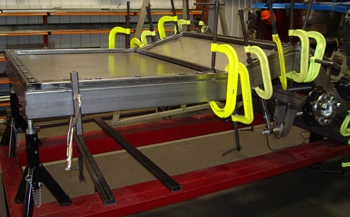
The support system is back in place and clamped down tight. At this point we can now start to weld the support system to the flat sheet metal.
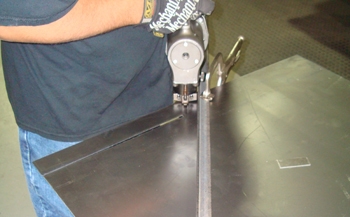
We use a heavy duty nibbler to cut the 14 gauge steel. As you look under the car you will see a smooth floor system with no ripples.
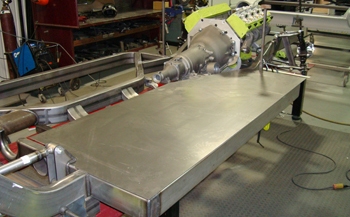
Once in place you have an idea of how smooth this floor will look like when viewed from the underside.
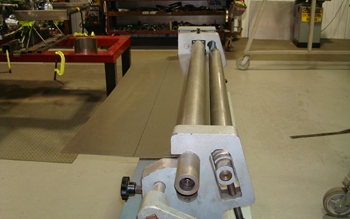
We used the roller to roll the trans tunnel out and will then fit it.
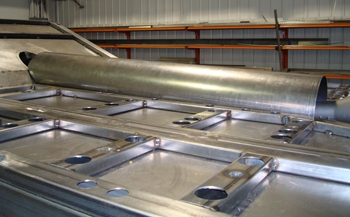
The Trans tunnel is as low as we can make it and it fits good.
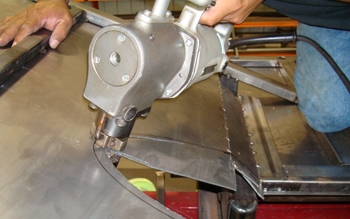
She fits good so we marked it and now need to trim it out at the rear to butt fit and weld. Out comes the big nibbler again.
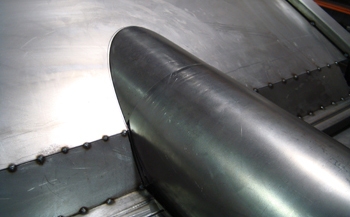
A small oval top section was then fabbed to finish it off.
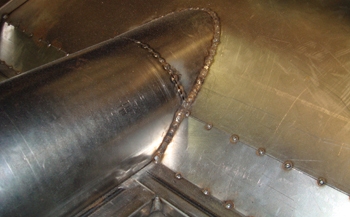
All welded up and ready to grind smooth.
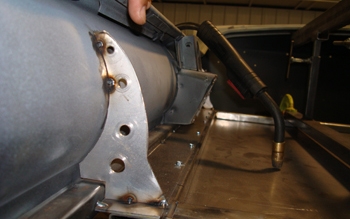
At the rear of the car inside the trunk we fabbed some brackets to attach to the taillight panel to support all the body weight.
