

1963 Ford Galaxie “Behemoth”
63 Galaxie - Exhaust
1
Click to enlarge
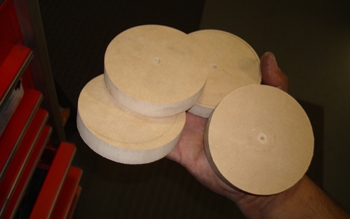
Lou simply cut out some MDF wood in the proper diameter to fit the frame tubing. We will now cut out the center hole at just over 3 inches for the tubing
2
Click to enlarge
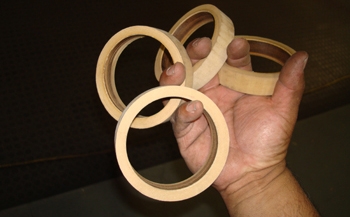
The hole saw made short work of it and we are ready for install.
3
Click to enlarge
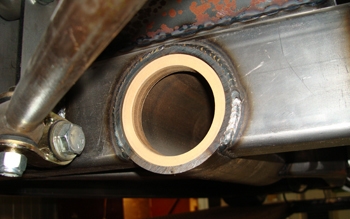
Inserted in to the frame they will hold the 3 inch tubing dead center in the openings.
4
Click to enlarge
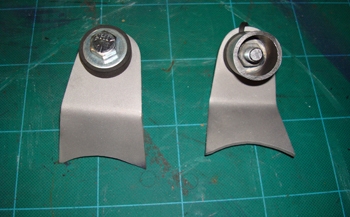
Custom made exhaust hanger tabs.
5
Click to enlarge
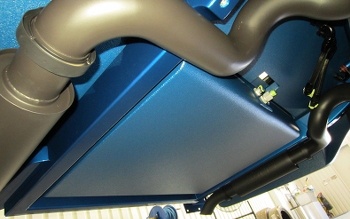
63 Galaxie Exhaust

6
Click to enlarge
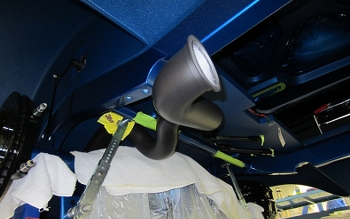
63 Galaxie Exhaust
7
Click to enlarge
63 Galaxie Exhaust