63 Galaxie - Console
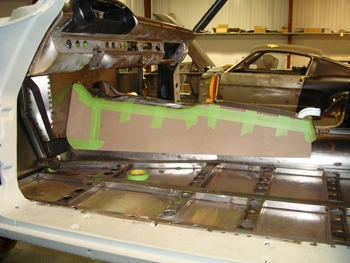
The customer wants an original look to the interior but we obviously have to change some items to make it look stock and still fit in to our new floor system. The top of the console will retain its original look but the sides are being refitted and tweaked to fit the new floor.
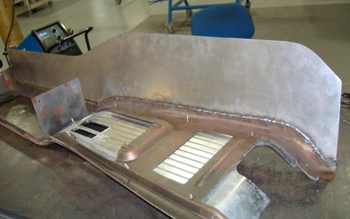
Turned over you can see the new metal side piece fitted in keeping with the new floor system. Lou welded it up solid and is working the other side.
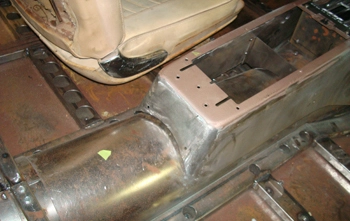
The back or rear part had to be fabricated to fit over the larger trans hump.
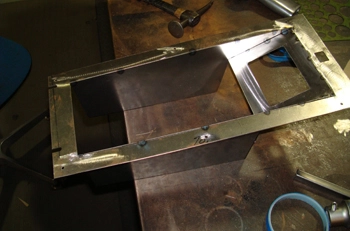
Under the factory console lid we are building a tray to house the power window switches along with the ignition key and air ride suspension controls. The dash will have a knob used as a push in starter for the engine that will match the other knobs for wiper, headlights with no keys hanging down looking out of place.

The front section simply received a block off panel where it will rest under the dash.
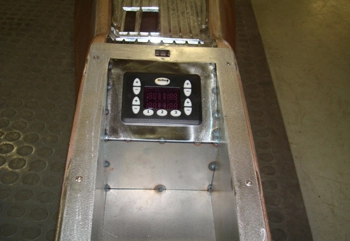
Here we have the air ride controller fitted to the tray.
63 Galaxie - Kick Panel
63 Galaxie - Kick Panel
63 Galaxie - Kick Panel
63 Galaxie - Kick Panel
63 Galaxie - Kick Panel
63 Galaxie - Kick Panel
63 Galaxie - Kick Panel
63 Galaxie - Kick Panel
63 Galaxie - Kick Panel
63 Galaxie - Kick Panel
63 Galaxie - Kick Panel
63 Galaxie - Kick Panel
63 Galaxie - Kick Panel
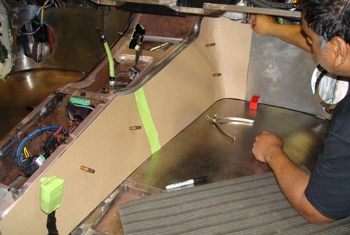
On to the console section Lou mocked up some chip board to see how it will flow in to the kick panel.
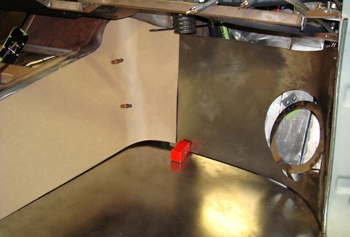
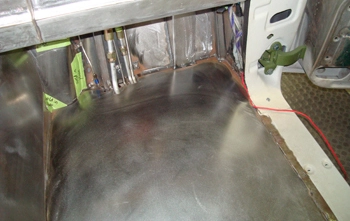
As seen the angled corner will look nice. Having a 1/2 inch of clearance between the floor and bottom edge of the panels will be needed to allow room for dyna mat and carpet.
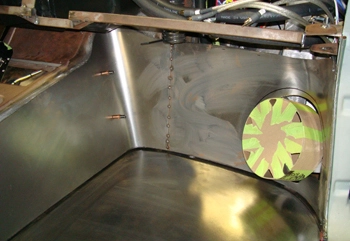
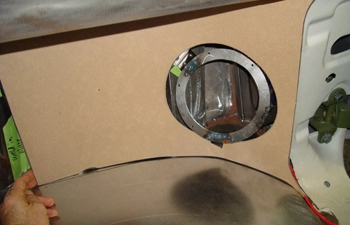
Lou bent the metal to match the template in 18 gauge steel and has a mock up of the speaker set half way in. He tack welded the panels where the two haves were made. Eventually the panels will be two pieces separated right down the center of the angled section at the end of the console. This will allow easy access behind the kick panel for many hidden components.
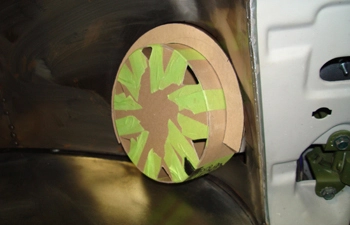
A close up shows the mock up of the mid range dyn audio speakers.
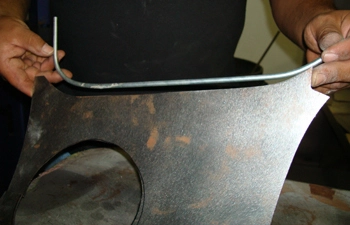
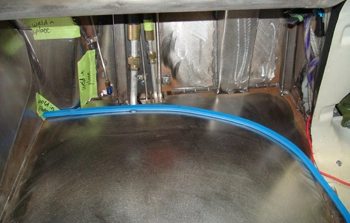
Lou fabbed some 3/16th tubing to match the shape of the outer kick panel. This will finish it off some what like a wind lace.
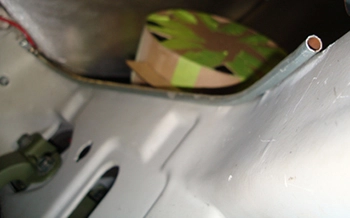
We tack welded it on to the kick panel. You can see how it fits against the door jamb.
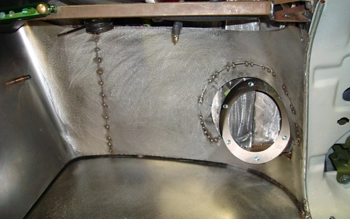
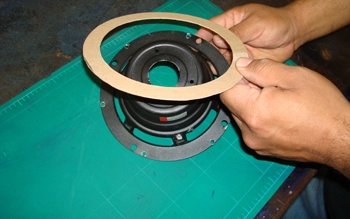
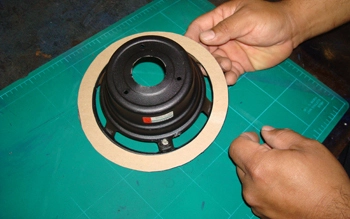
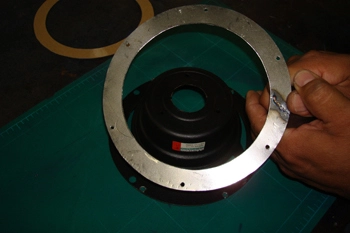
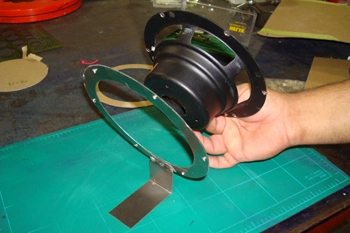
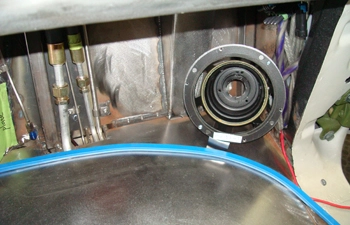
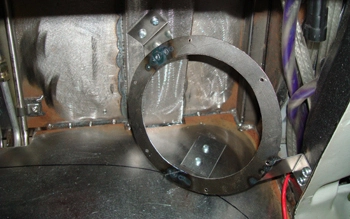
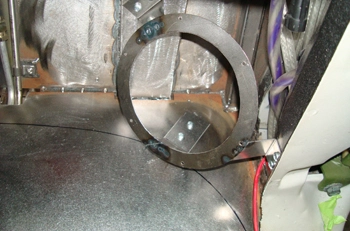
In keeping with the mock up Lou built a ring as a base mount for the speaker.
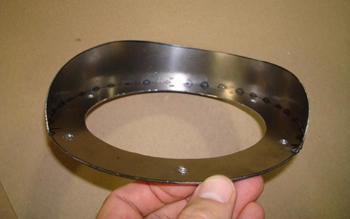
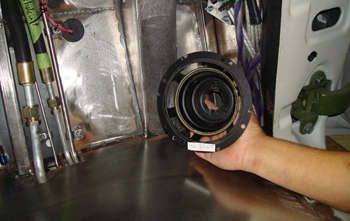
He removed the speaker ring and as seen the upper shroud is wave shaped to fit the curve in the kick panel.
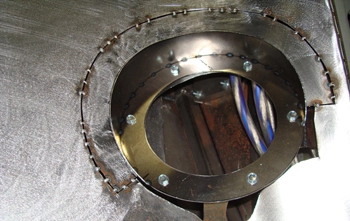
Once installed and tack welded in place it starts to take shape.
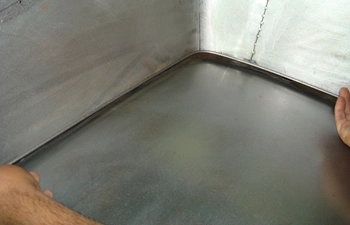
We then added a small wire on to the bottom of both the console and the kick panel to keep from tearing the carpet during removal and reinstalling.
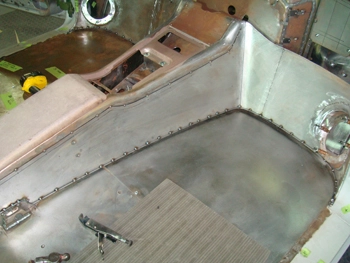
Full shot shows a very nice free flowing console to kick panel.
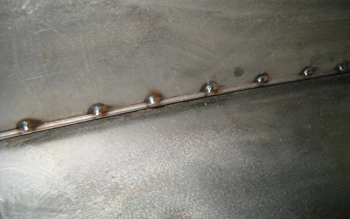
Close up shows the wire tacked in place.
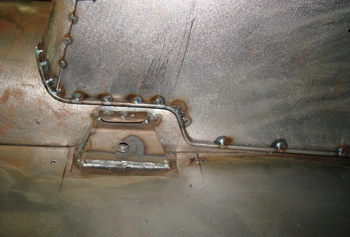
All the way around the console too.
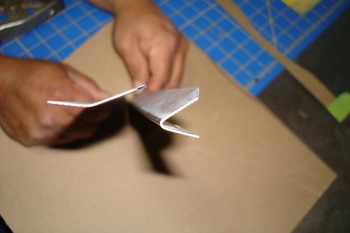
Next we design a two piece flange for easy on and off. Part A and Part B will have alignment pins to keep them straight and true.
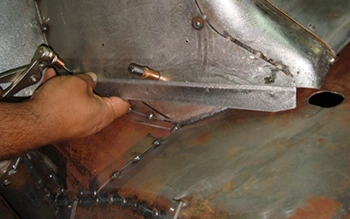
As seen the inside flange on Part A is angled just right to allow Kick panel Part B with guide pins to slip on easily.
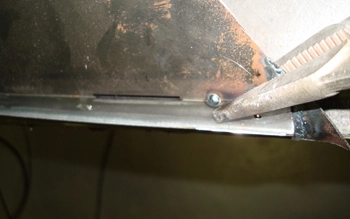
We tack weld it in place on the back side after final fitting.
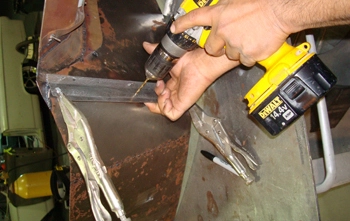
Once the kick panel and console flanges were mated we drilled three holes in order to place alignment pins in them.
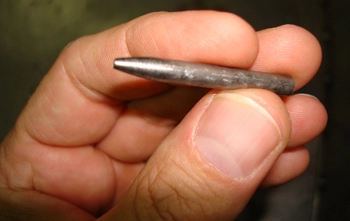
As seen Lou made alignment pins with a tapered point to attach to Part B
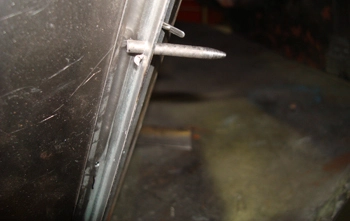
He installed them in to the Part B kick panel and tack welded them from the back side.
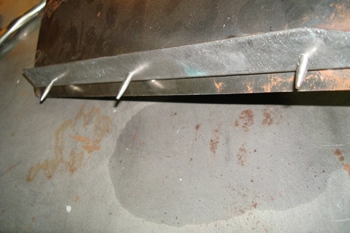
All lined up and ready for attachment.
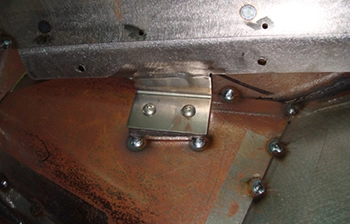
We also installed a small brace at the back of the console just behind the flange to stabilize the panel a bit more.
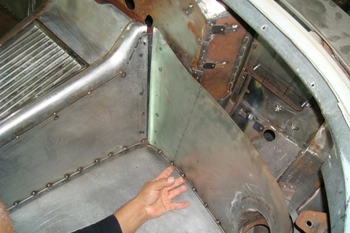
Lou slides the pins in to the console section and she will fit dead on every time.
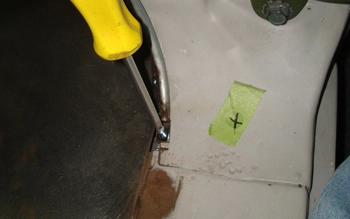
One screw at the bottom of the kick panel and that is all it takes to complete the install.
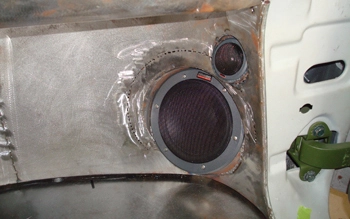
Speaker installed and looking good.
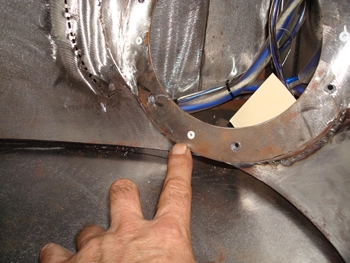
Threaded rivets were installed to attach the speakers.
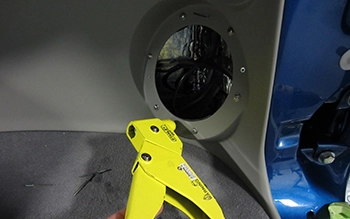
63 Galaxie - Custom kick and console panels installed with speakers.
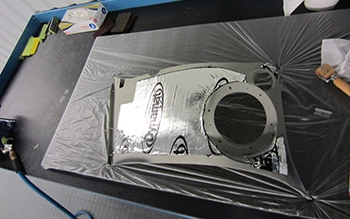
63 Galaxie - Custom kick and console panels installed with speakers.
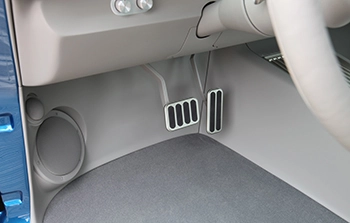
63 Galaxie - Custom kick and console panels installed with speakers.

