
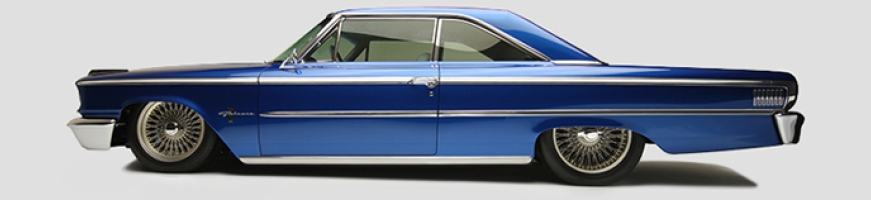
1963 Ford Galaxie “Behemoth”
63 Galaxie Body Metal Work
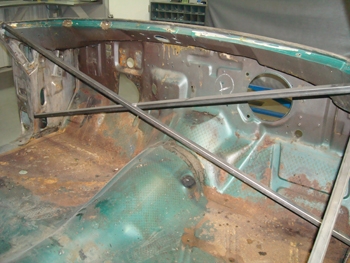
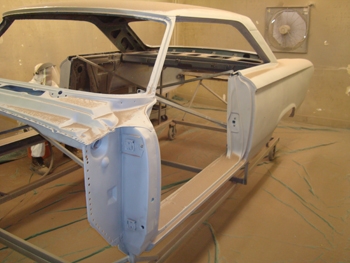
1. As seen we braced the body to keep her from folding up and twisting during the floor removal process
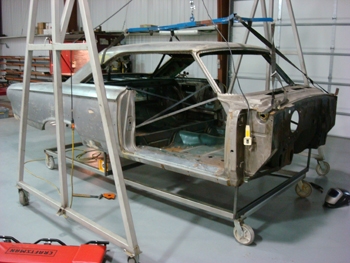
2. We completely disassembled the body of all the parts then stripped all of the paint. Then attached the mobile body picker and set it down on to a body cart.
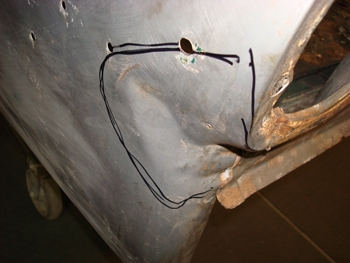
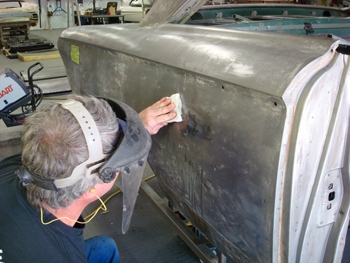
3. Many dents are in need of repair from 46 years of wear and tear.
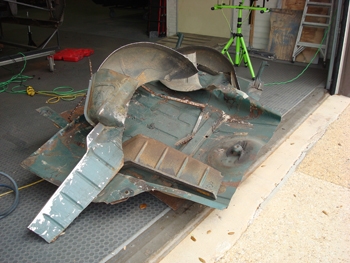
4. Out with the old floor as it is rusty and will not work with our custom Chassis. We will need to build a custom floor to coincide.
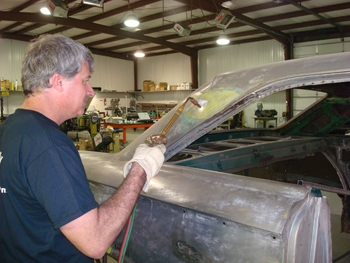
5. Bob melts out all the old lead to take it down to a BARE NAKED state.
6. Every seam and square inch is inspected and then repaired correctly.
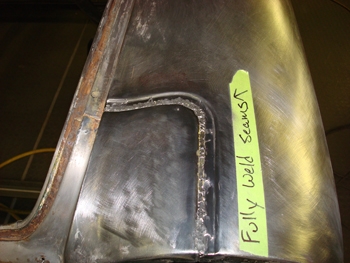
7. Qter panel to trunk even has a seam. As seen we have welded them up solid for no seeping of moisture at any time.
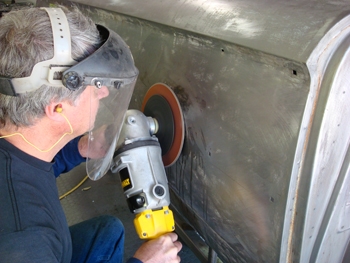
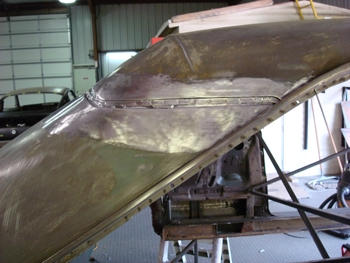
8. Dents are worked out with hammer and dolly then any high spots shrunk to a level surface using a shrinking disc.
9. Once the metal is heated to the correct temperature Bob cools it with water which shrinks it very slowly.
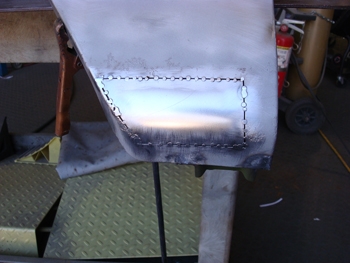
10. Many rust areas were cut out and metal was formed, tack welded in place then finished out.
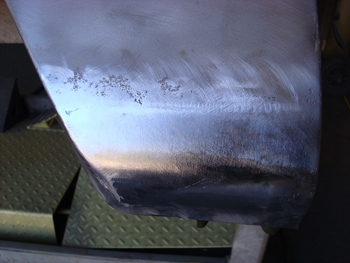
11. Welded in solid and smoothed out nice for a perfect patch. Numerous areas had the same procedures performed.
12. Off to the media blast shop to remove all rust and clean all welds before priming.
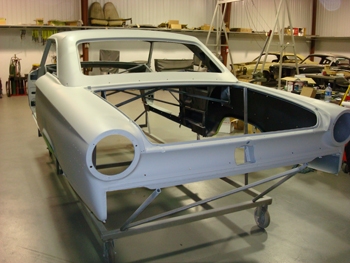
13. Hi build primer was applied and she is now ready for initial fabrication to a clean body, free of old sludge and goo.
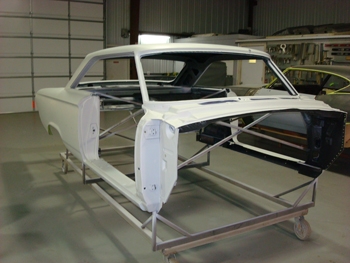
14. As seen she is now ready for her maiden voyage fit to our newly built chassis.