
1958 Corvette - Trim
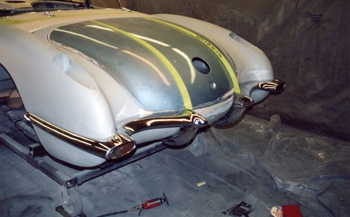
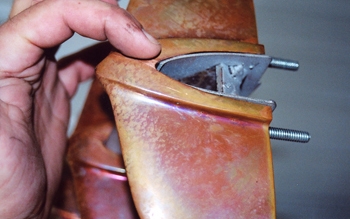
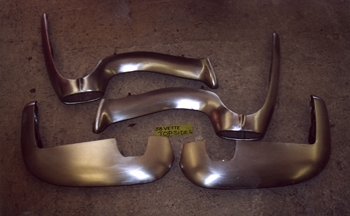
On the back end we fit the trunk trim by first removing the chrome and nickel and then shaving the die cast to a razor blade gap fit we then taped them off to protect the metal from oxidizing. In addition the bumpers were also stripped down to the base metal then fitted to a half inch gap from the body. The original deck lid fits decent but now needs stripped and massaged to fit "Dead On"

When the chrome and nickel is removed you can see the residue from the vat tank. These will now be cleaned up then fitted to the bumper and sanded down to remove all imperfections.
We perform the same operation on all of the 1958 Corvette's grill pieces and teeth.
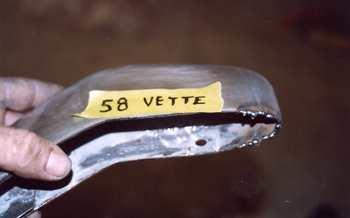
There is usually some welding that is needed to be done on tears and edges in order to build up and make them fit to corresponding parts including the gap between the body and bumper. We use various welding methods on pot metal, steel, aluminum, brass etc..
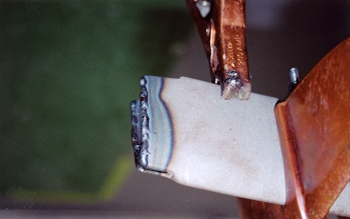
This grille bar was welded then ground down to fit the end of the outside tooth.
As seen we have achieved our fit of 1/16th gap. When the plating is applied the thickness will change and the gap will be a razor blade fit.
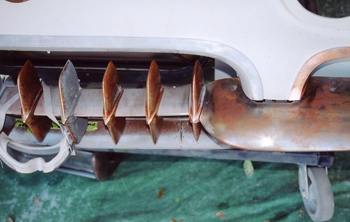
The Grill fits great and we are now ready to disassemble and final sand before plating.
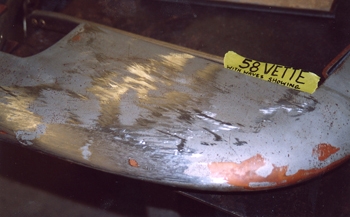
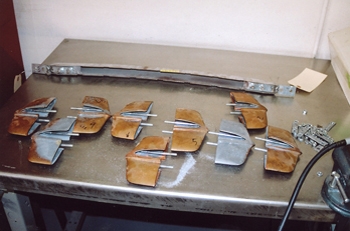
Most of these pieces start out with many ripples, as seen when we first ran a block and file over the surface the highs appeared immediately, we simply tap the back side to bring up all the lows then sand it until it is all smooth. Copper is then applied, sort of like primer would be applied to a body for build, allowing block sand and removal of imperfections before final nickel and chrome is applied.
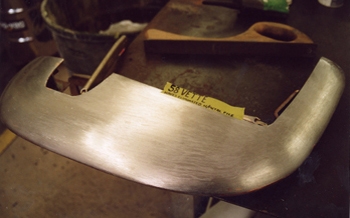
This part now has the base metal final finished and is ready for the copper plating process.
We continue the Corvette Restoration as all of the all bumper pieces are now ready for Copper.
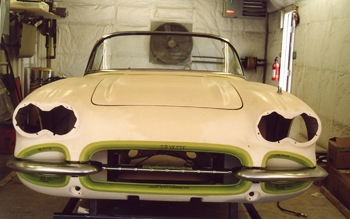
Complete trim installation has to take place during this phase to check the fit to the body and be sure everything is straight and level. Hand built is the only way to restore a Vette properly.
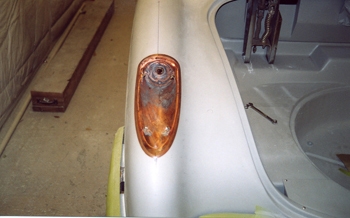
The same is done to the tail lights, only on these parts we had to sand the bottom edges with 80 grit to 180 and perform some high build work to the body to achieve our desired razor blade gap. these parts are very thin compared to a typical bumper so a combination of fitting filing and body work takes place to get the results.
Final fit and die cast trim in copper for that last cut and adjustment before nickle and chrome.
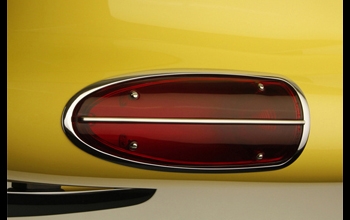
Finished product speaks for itself. Complete and beautiful Corvette Trim Restoration!
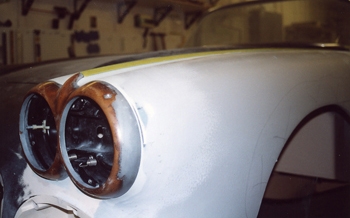
The same goes for the head light covers, compare the next two pictures of this area and you will see the razor blade gap we are speaking of.
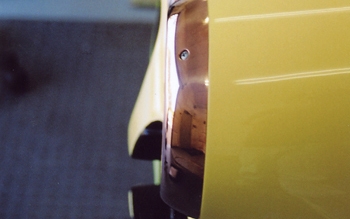
2nd phase after plating, the copper needs a final tweaking to overcome paint thickness changes.
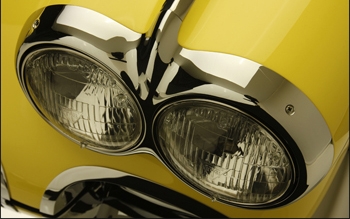
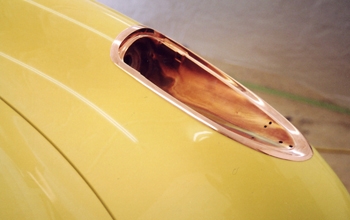
We have achieved our goal, a Razor Blade gap to the painted surface on the finished product!
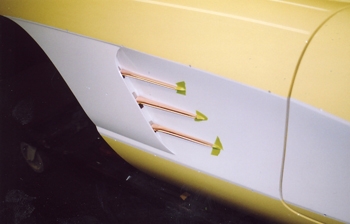
In Corvette restoration every part gets final fitted, even the cove spears!