
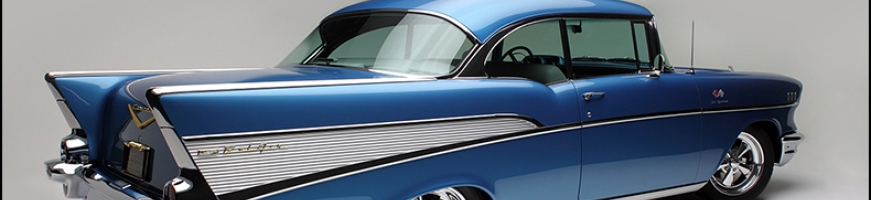
1957 Chevy “Timeless”
57 Chevy - Ram Air Duct

We start with a paper board mock up to design the air box which will be connected to the original headlight air vent on this 57 Chevy Custom project.

Doc started by bending a 2 ft piece of 18 gauge steel in the box brake to a 90 degree angle and is now creating a circle to join the air box to the vent by running the piece through the power stretcher / shrinker.

As seen we have attached the vent / airhorn to our custom air box. Notice the hinged cover to allow access to change the K-N filter during service.

We built an identical unit for the other side and then fitted and built the air transfer tube between the boxes.
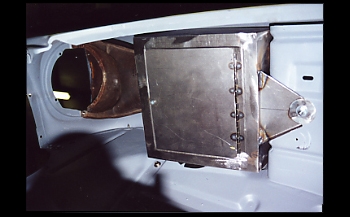
We view the air box from another angle and you get a better idea of how we attached the box to the underside apron and the filter access cover.

We set up the air transfer tube with a y pipe section fabricated to attach the unit to the fuel injection air box using a urethane hose connection.
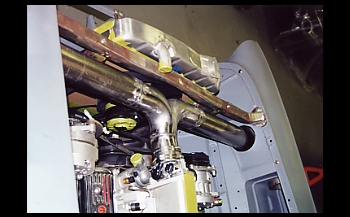
Assembled in place we check for fit of all components, she is looking good.

Once we finish the rest of the project we will paint the tube and plenum assembly.