
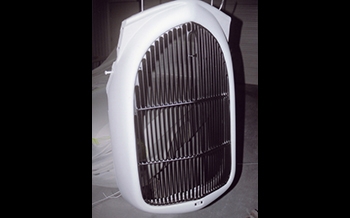
1936 Truck - Radiator Shell
1
Click to enlarge
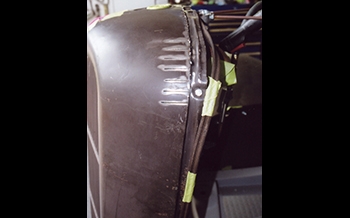
The grille shell needed a lot of massaging in order for the hood to fit dead on. As seen Bob sliced the edges to bring it in and down. He also welded a bead to the very edge to close up the gap to the hood.
2
Click to enlarge
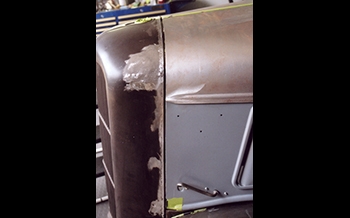
Ground and ready our gaps are starting to take on our standard 3/16th fit.
3
Click to enlarge
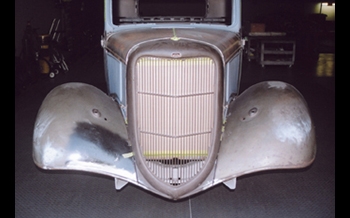
Straight and true we wanted the grill shell to look right vertically also.
4
Click to enlarge
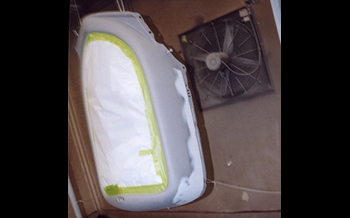
After we got it to line up and gap out properly we removed it to block sand and are ready to hi build.
5
Click to enlarge
As seen we did not hi build the center bars. We will apply 2 thin coats of primer near the end of the preparation on this area.