
1936 Truck - Rear End
1
Click to enlarge
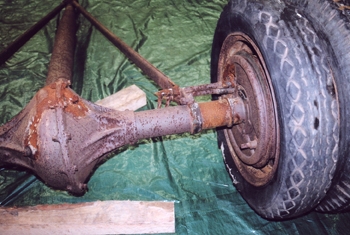
The rear end usually gets beat up the most on a vehicle and this 36 is no exception. Very rusty with deep pit scarring has occurred.
2
Click to enlarge
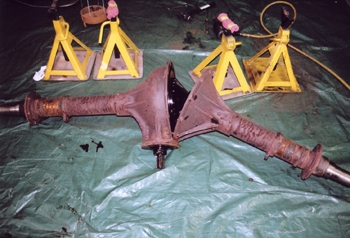
Cases are split, lets take a look inside.
3
Click to enlarge
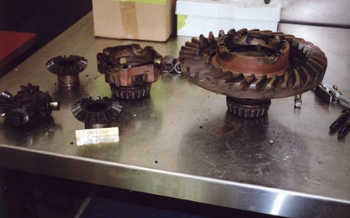
Many gears and bearings are shot.
4
Click to enlarge
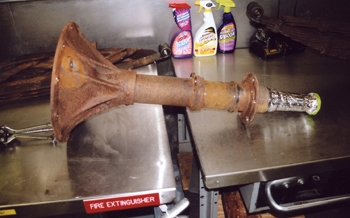
Prep axle ends off for blasting protection.
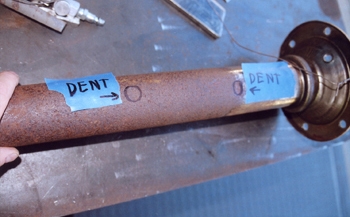
5
Click to enlarge
Dent removal.
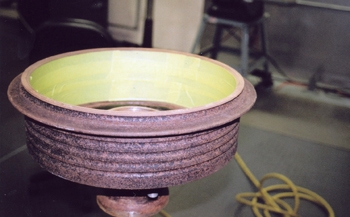
6
Click to enlarge
Brake drums are the same way "rough". Masking taped first for easy removal.
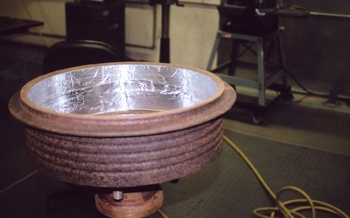
7
Click to enlarge
Then a coat of aluminum tape to take the abuse of the blaster.
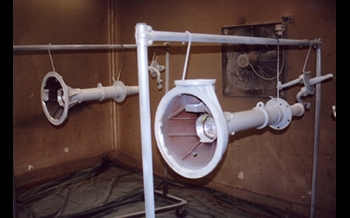
8
Click to enlarge
Primed in high build.
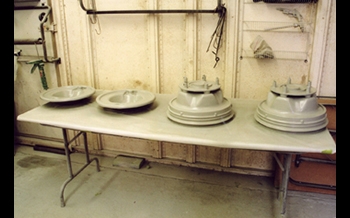
9
Click to enlarge
Drums lined up and waiting for pit removal.
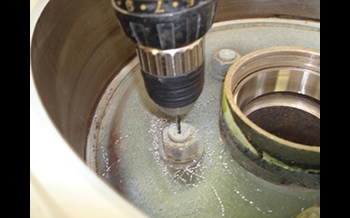
10
Click to enlarge
Drilling out some broken studs.
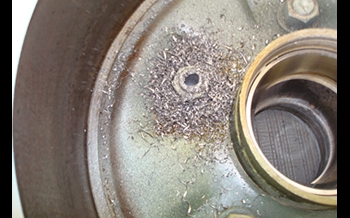
11
Click to enlarge
Larger 1/4 hole next.
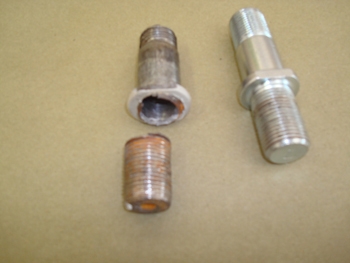
12
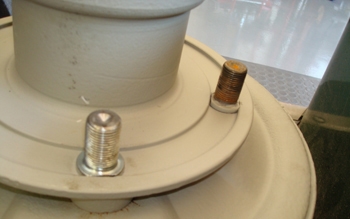
Click to enlarge
The original lug studs next to the new ones we purchased.
13
Click to enlarge
Installed and ready to get it done.