
1936 Truck - Front Fenders
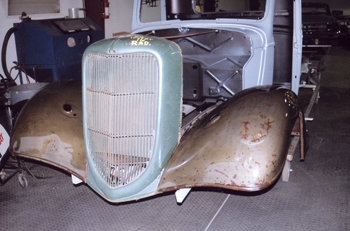
No NOS fenders are available so we have to go with the originals. Rough and Rusty bumped and twisted our metal magicians will make them as new.
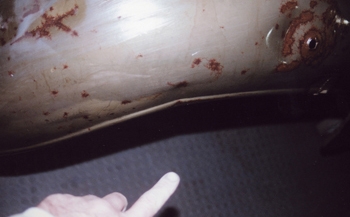
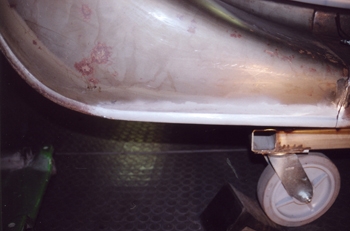
To give you an idea here is one hit from the side. The beading around the edge or opening is the hardest area to straighten.
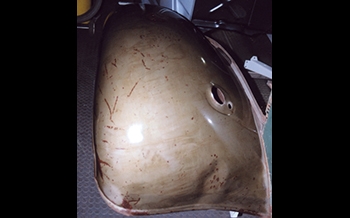
Same goes for the passenger side. Whacked and somebody Jacked with it at one time.
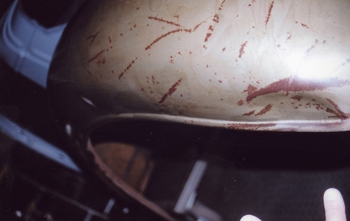
Creased pretty good.
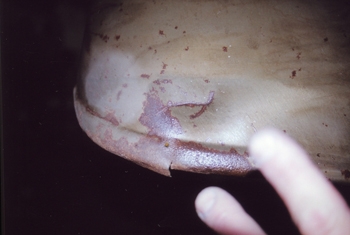
Some tears are present also.
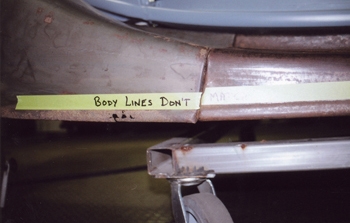
Body lines off.

Thin spots on the bottom edge of the fender need attention.
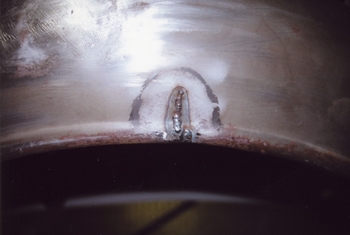
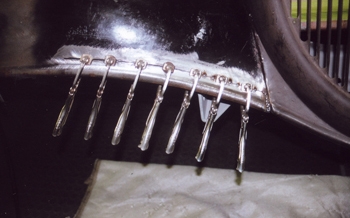
First step once we pulled the dent out was to weld up the split to stabilize the fender,
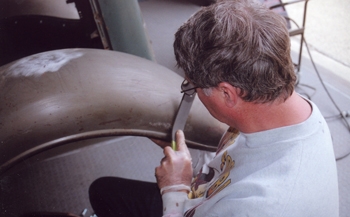
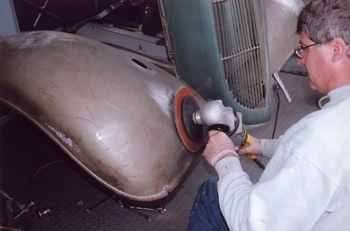
Bob, uses a slap file to remove dents .
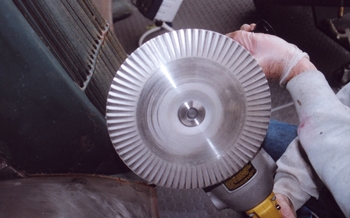
The old style shrinking disc works great and moves the heavy metal.
Heat, then cold water cool for a nice shrink.

Bob fabbed a piece of metal for a thin area at the bottom of the fender.
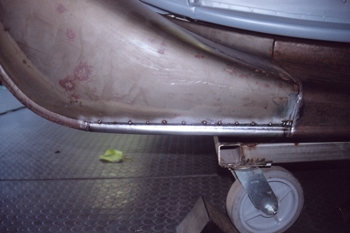
Tacked in place she is coming along.
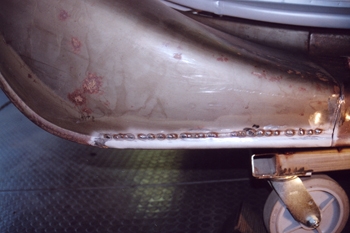
Fully welded.
Ground smooth and blasted.
Nice.
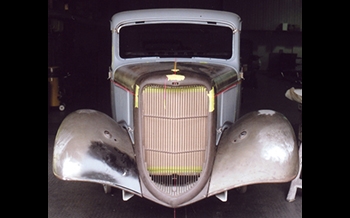
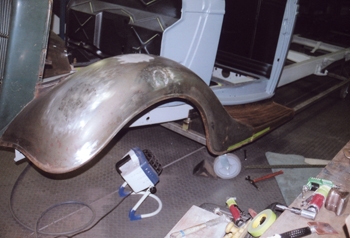
Both are ready to go. Notice the center line plump bob hanging below the radiator. This helps us to know what we have from side to side.
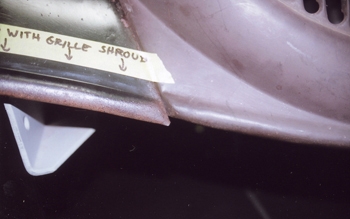
Fender to radiator edge is way off from the factory.
Sliced and diced we then move it together and tack her in place. We will not be beaten!
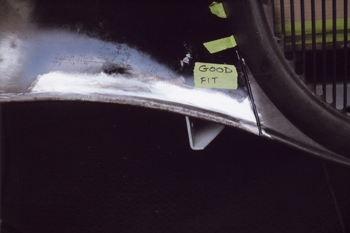
Ground smooth and we have a beautiful fit.
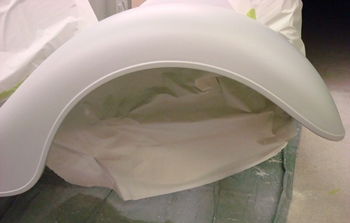
Blasted white metal clean.
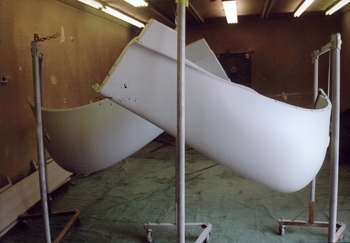
Epoxy primed and ready for the next fit stage.
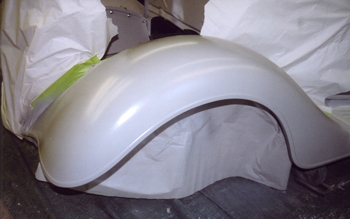
Looking good.
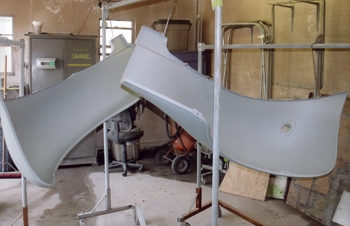
Both sides as seen the beading edge is dead on.