1936 Truck - Bed
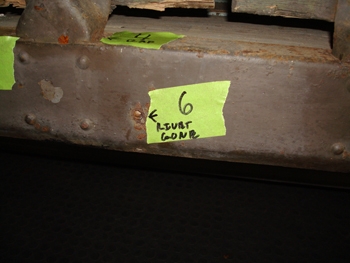
The original bed is pretty rough but it is all we have to work with. It had Rivets originally installed to hold it all together. We will install new Rivets after we restore and reassemble
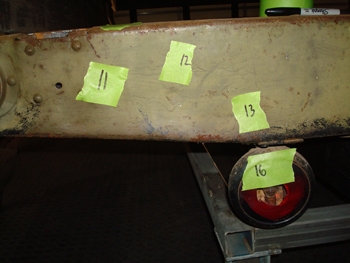
73 years old with lots of stories to tell of use and abuse. Dents galore.
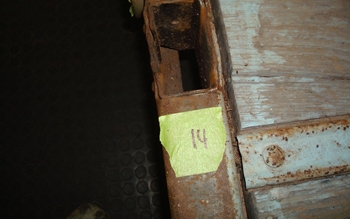
Original bed pockets are crusty and tweaked. The bed will not have side rails installed as she will be a flat bed only.
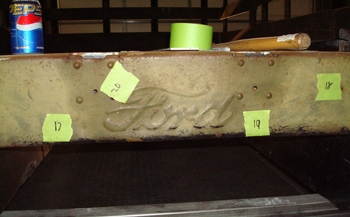
The all important rear script is dented really bad.
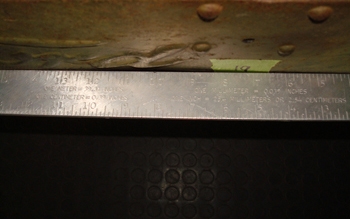
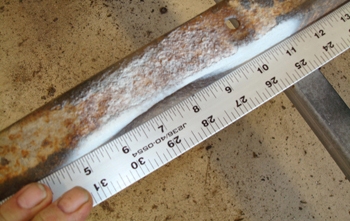
The straight edge tells the truth. We found a MFG of this rear cross member but it is for a 1/2 ton truck so we will purchase two of them and graft the ends in to make it wide enough for our 1.5 ton project.
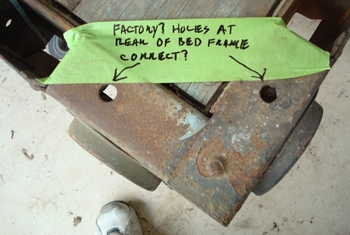
Some holes are original and some are not. We have books and original Ford sales brochures to analyze for correctness. Note the side marker reflectors. This is incorrect for a 36 and probably attached in the 50's or 60's
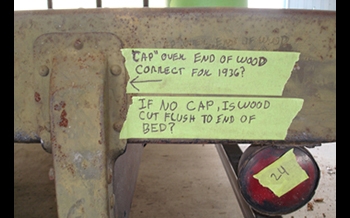
End caps are all beat up and need to be straightened. No turn signals in 36.
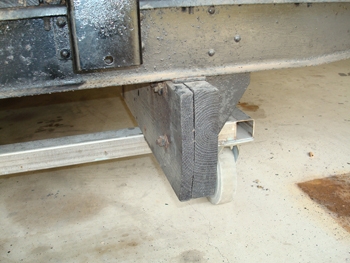
The original bed rail wood was made with separate boards to make up the thickness. We will do the same for authenticity.
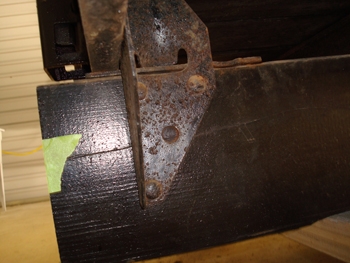
The angled brackets from the wood rails to the cross members are deeply pitted.
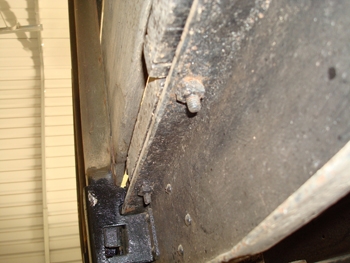
Bolts and nuts were used for attaching the metal bed strips and the outer wood to the side rails as seen, but rivets hold all the metal brackets and main frame together.
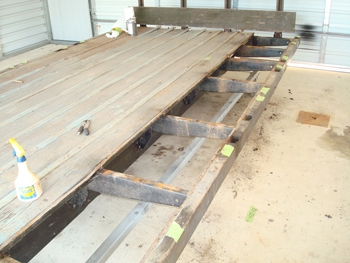
The old oak has seen better days.
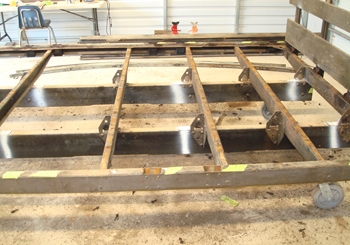
Cross members are finally bare and showing signs of use and physical abuse.
Bent and bruised, thin and tweaked.
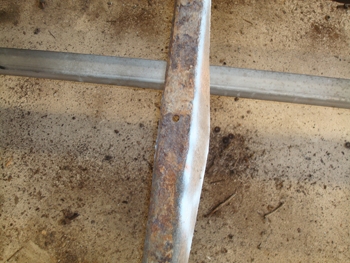
Mani will knock them out and get them back to shape.
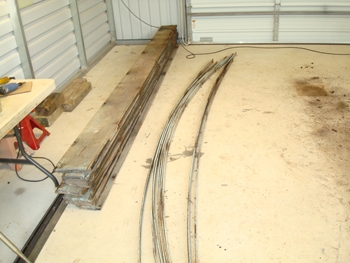
The old metal strips and wood are kept for reference but will be tossed eventually as they are unusable.
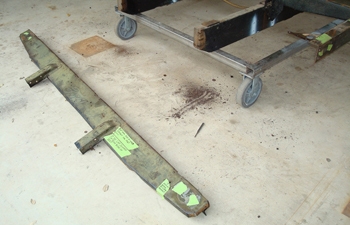
Coming apart, rivet by rivet.
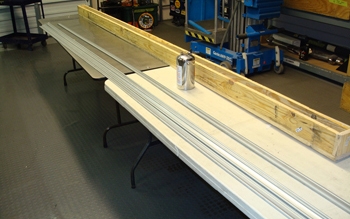
We ordered new strips un drilled for dividing the wood.
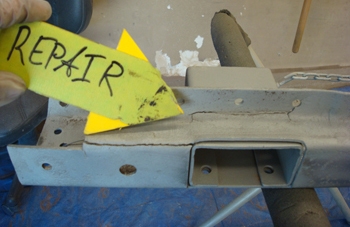
After the initial media blasting we are better able to see the problem areas like these stress cracks. These side rails and cross-members are not available new so they must be restored.
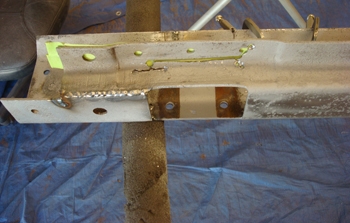
To start the procedure we weld them up and on we go.
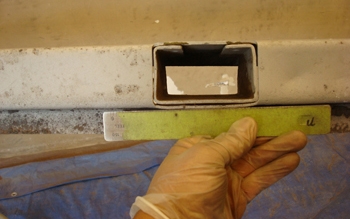
Rail pockets are bent and tweaked. Straight edge shows the truth. We will cut the factory welds and remove them to straighten properly.
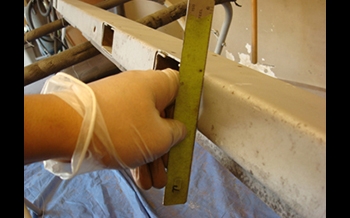
Dips and dents every where.
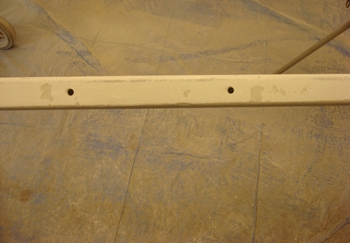
Once we had them dent free, we applied hi build primer then sanded. As seen they have scarring pits from the rust before we blasted them. This needs to be filled with glaze.
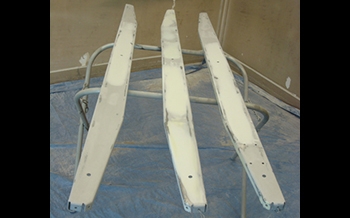
Smoothed and ready for the next prime.
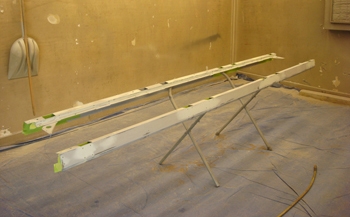
Rails are looking good.
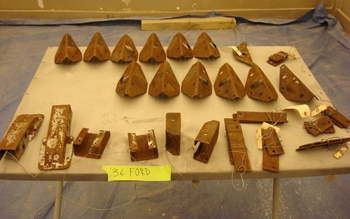
Same goes for all the angled brackets, Straighten blast and smooth.
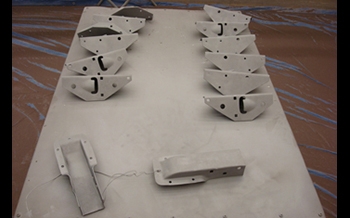
We have them blasted white metal clean using 80 grit aluminum oxide media.
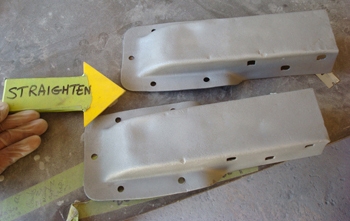
Heavy dents in the end caps must be repaired.
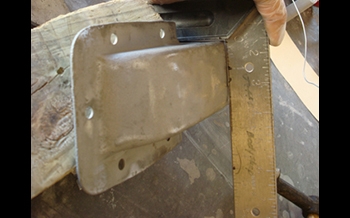
Straight edge shows them coming along.
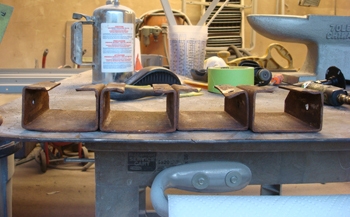
Pocket braces were removed from the rails and as seen are very tweaked and bent.
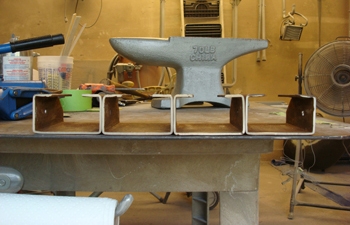
Hammer time, the anvil makes them straight and true.
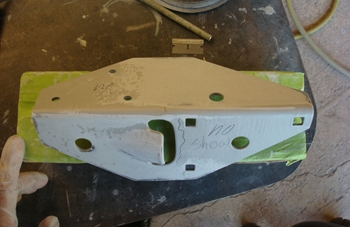
As seen we marked them where smoothing is not needed.
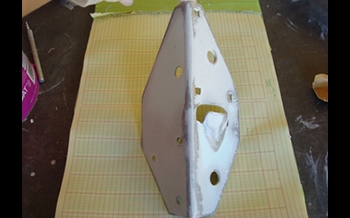
We only smooth out and perfect the specific areas that are seen but not where they are covered such as against the wood frame rails and cross members. This helps save time.
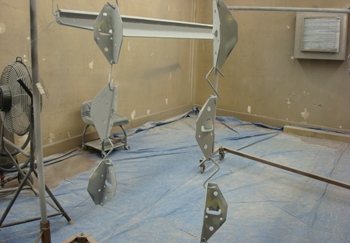
Ready to prime so we hang them for best access.
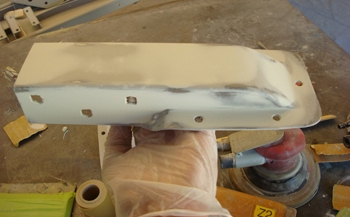
Ends caps are ready
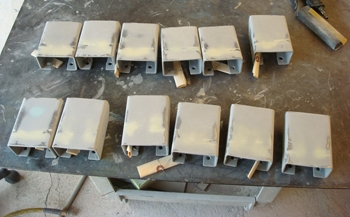
Pocket braces ready for primer also.
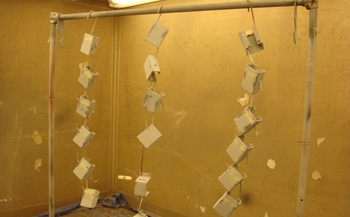
Hung precisely for optimum primer application.
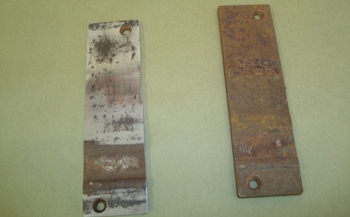
These are the spacers that shim the cross members off the wood rails.
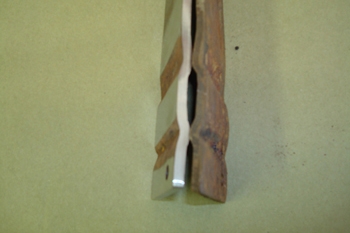
Jack ran them over the grinder to true them up. Notice the wave shape. They also position the u-bolts that strap down the wood rails to the frame.
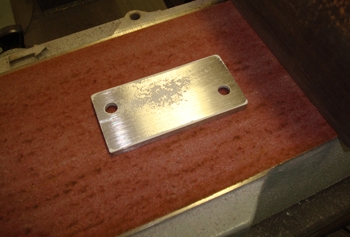
The end pieces are a bit smaller.
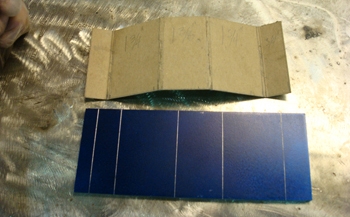
We had to make small pockets just behind the cab as they were missing from this bed. We fabbed them per factory specs in size.
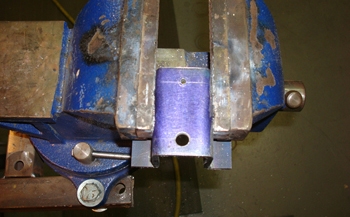
Bent and ready.
The original crusty wood rails were fitted again to mark the frame for installation of our new white oak rails.
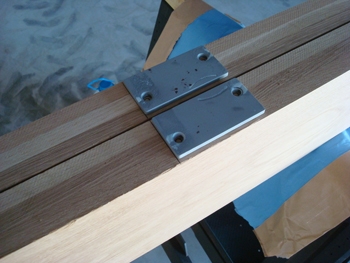
New oak gets the shims installed.
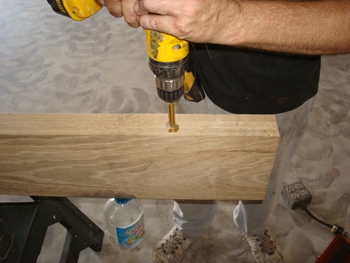
To clear the frame rivets we used a forester bit which drills out the wood completely flat, in a circle.
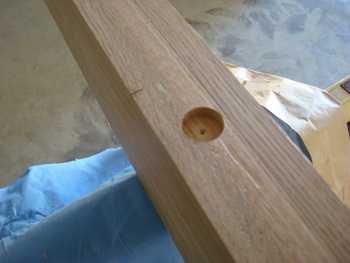
Nice !
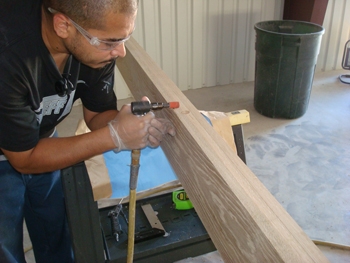
Mani shapes a small relief with a round file disc.
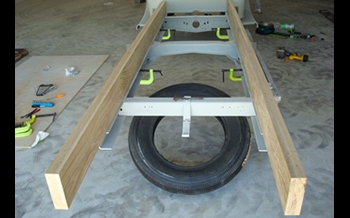
We have it mocked up and installed with clamps for now to mark the locations for the shims and can now screw them in place.
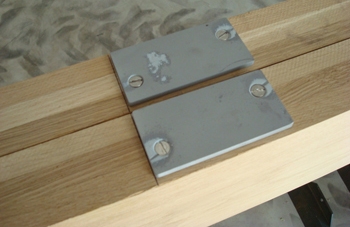
Drilled and screwed in place we will remove and paint them later.
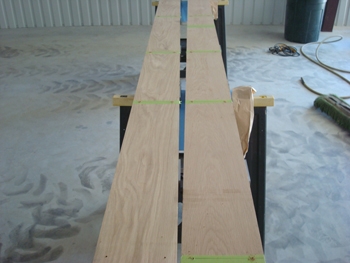
We also drilled locations to duplicate the small screws that Ford used to hold the wood together. We have our boards glued and laminated for strength so this is done for cosmetic correct appearance.
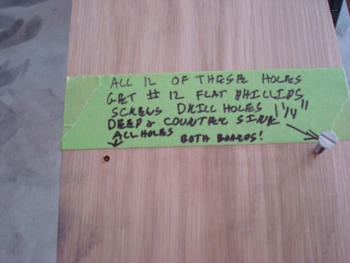
As seen slotted screws per 1936.
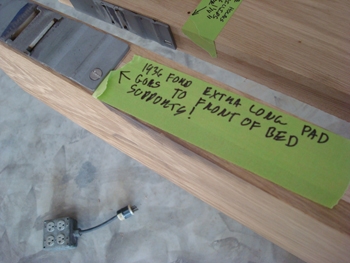
A longer pad was originally installed in the front.
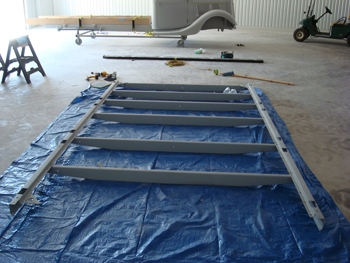
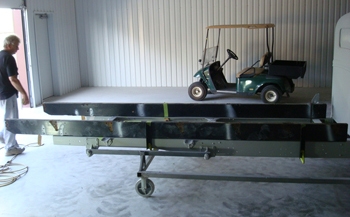
Laid out on the floor the rails and cross members come together.
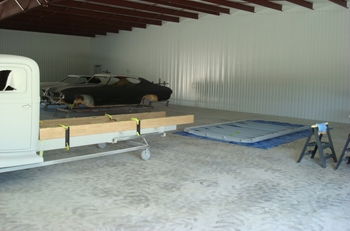
Ready to mount to the bed.
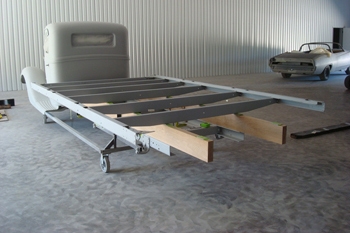
Mounted she is looking good.
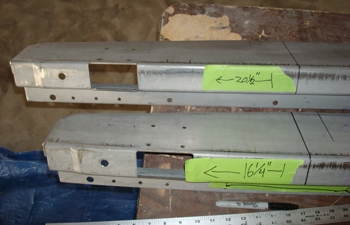
The rear cross member mentioned earlier was available but only in a 1//2 ton size approx 8 inches to narrow. We purchased two of them and will widen to fit our extra wide 1.5 ton bed.
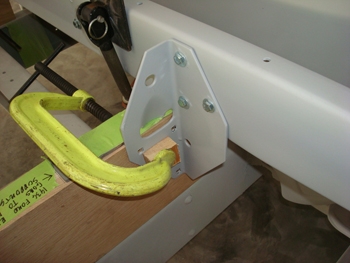
Side braces clamped in place for temporary fit.
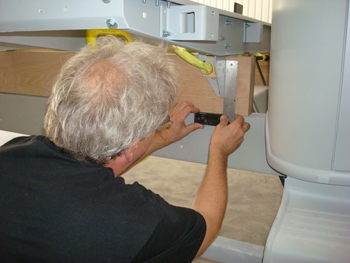
Jack measures twice, marks once to install dead on.
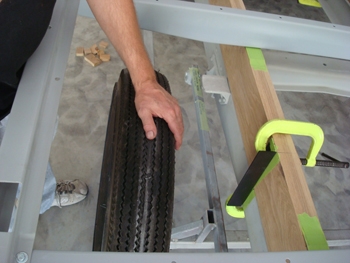
We fit the tire to be sure of clearance height etc.
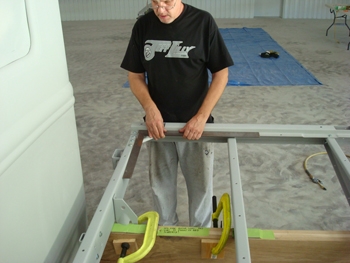
Square it up.
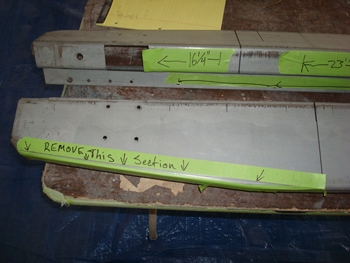
We also have to slice a bit out of the taper to get it to match the other original cross members.
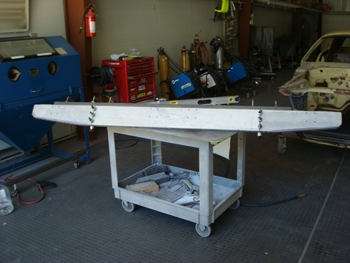
Mani cut, sliced, trimmed and clamped the rear cross member and she is coming along.
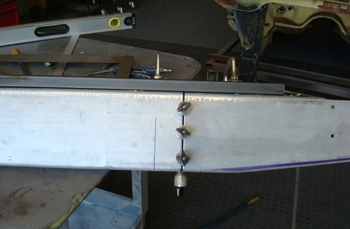
Time to tack weld after pre fitting.
