
1928 International Truck - Radiator Emblem
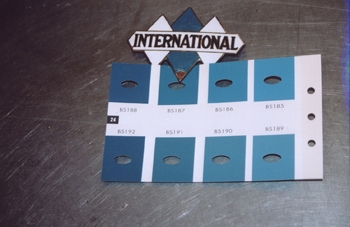
First thing to do is match the original colors because once we strip all the old porcelain out it will be too late. As seen we have to mix a few toners to get it dead on.
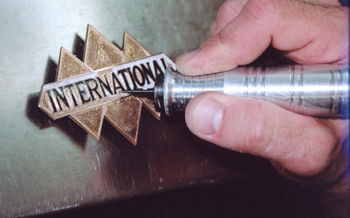
A Foredom tool and micro bit is used to cut out the old materials without damaging the part.

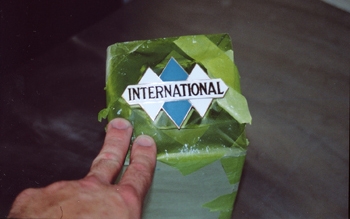
Once we have it stripped we mounted it so we could rotate it easily during the paint process.

Eric uses a flow pencil to apply the white and blue in their respective diamond shapes after spraying a light coat of Zinc chromate for adhesion to the brass. The hardest part is getting it to flow in and around the letters.
After a few days of curing it is now ready to block sand the paint down and revel the lettering to a fine degree. He will then clear coat the part and she will be ready to mount.